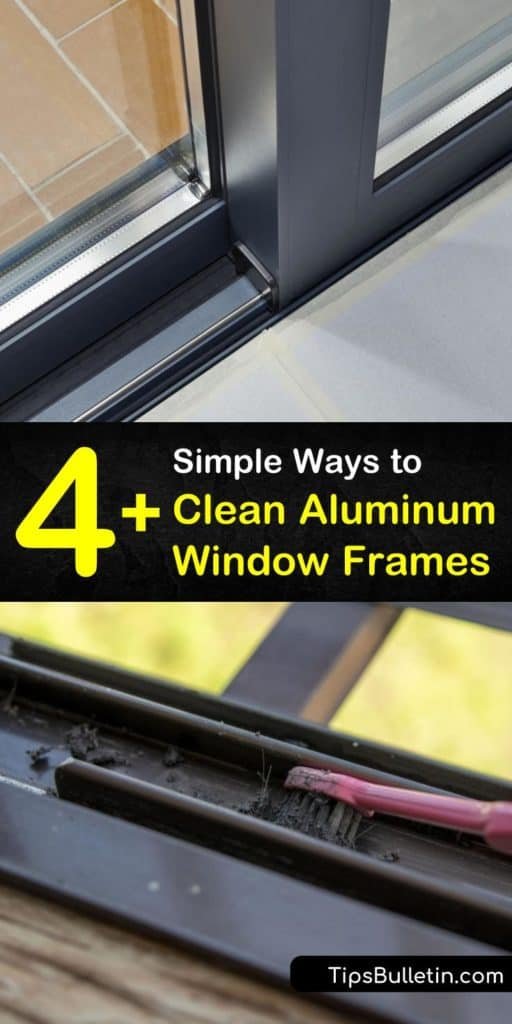
Aluminum window frames are low maintenance but not no maintenance. Over time they accumulate grime, hard water stains, and a dull white oxidation layer that no amount of soap and water will remove. The fix is a two-step process: remove the oxidation with an acid-based cleaner or paste, then protect the surface with automotive wax to slow future buildup. This guide covers standard cleaning, oxidation treatment, track cleaning, and long-term protection.
What You’ll Need
| Tools | Cleaning Agents |
|---|---|
| Soft-bristle brush (old toothbrush for corners) | Dish soap and warm water |
| Microfiber cloths | White vinegar (for hard water and light oxidation) |
| Spray bottle | Cream of tartar + water paste (for medium oxidation) |
| Bucket | Commercial aluminum cleaner (for heavy oxidation) |
| Cotton swabs | Automotive aluminum polish |
| Butter knife or thin putty knife (for tracks) | Paste car wax |
| Rubber gloves | Rubbing alcohol (for stubborn residue) |
Safety and Precautions
- Never use abrasive scrubbers on aluminum frames. Steel wool, scouring pads, and stiff wire brushes scratch the aluminum surface and create rough areas that attract and hold more oxidation and dirt. Use only soft brushes and microfiber cloths.
- Test any acid-based cleaner on a hidden section first. Vinegar, cream of tartar, and commercial aluminum cleaners are all mildly acidic. Test on the inside edge of a frame before applying to visible areas to confirm the product doesn’t discolor the specific finish on your frames.
- Wear rubber gloves when using commercial cleaners. Even mild aluminum cleaners can irritate skin with extended contact. Rinse any product off your hands promptly.
Step 1: Initial Wash to Remove Loose Dirt
Always Clean Before Treating — Don’t Scrub Grit In
- Mix a few drops of dish soap in warm water in a bucket. Dampen a microfiber cloth and wash all aluminum frame surfaces — both the flat outer face and the groove channels on each side of the frame.
- Use a soft-bristle brush (an old toothbrush is ideal) to work the soapy water into the corners, screw holes, and track channels where dirt packs in.
- Rinse with clean water from a spray bottle or a damp clean cloth. Dry the frame completely with a dry microfiber cloth — don’t let it air dry, which leaves water spots.
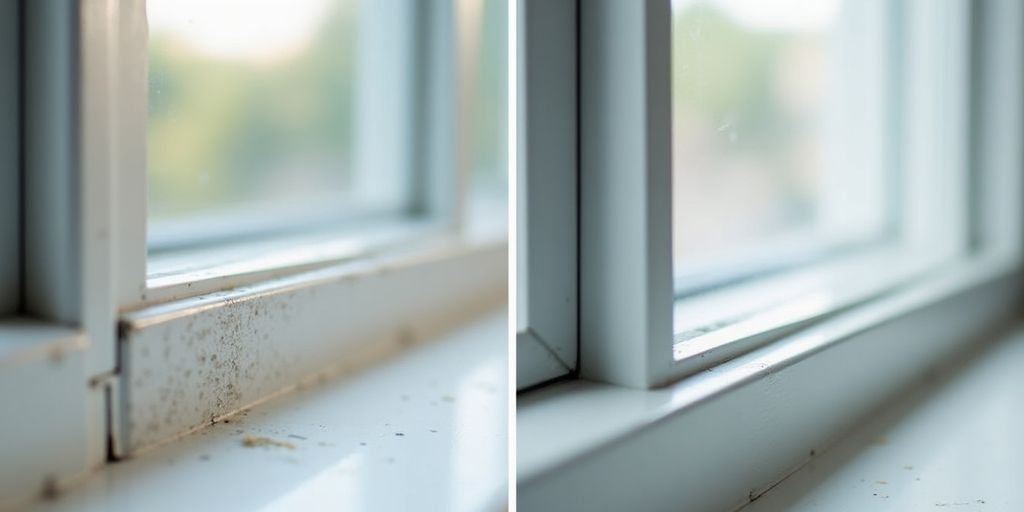
- Evaluate the frame now: if it looks clean and bright, you’re done and can skip to Step 5 (wax). If the surface looks dull, chalky, or has white spots or streaks, proceed to Step 2.
Step 2: Remove Light Oxidation and Hard Water Stains
White Vinegar Solution — The Starting Point
Light oxidation (dull white haze) and hard water mineral deposits both respond well to diluted acid. White vinegar is the safest and cheapest option.
- Mix equal parts white vinegar and water in a spray bottle. Spray liberally onto the oxidized areas of the frame.
- Let the solution sit on the surface for 3–5 minutes — don’t let it dry.
- Scrub with a soft-bristle brush in the direction of the metal grain (usually vertical on window frames). You’ll see the dull layer begin to lift.
- Rinse immediately and thoroughly with clean water. Acid left on aluminum too long can etch the surface.
- Dry with a clean cloth. Evaluate: if the oxidation is gone, proceed to Step 5. If significant dullness remains, move to Step 3.
Step 3: Remove Medium to Heavy Oxidation
Cream of Tartar Paste or Commercial Aluminum Cleaner
For oxidation that vinegar won’t fully remove — particularly on older frames or those in harsh sun or coastal environments — a more aggressive treatment is needed.
- Cream of tartar paste: Mix 2 tablespoons of cream of tartar with enough water to form a thick paste. Apply to the oxidized areas with a soft cloth and rub in the direction of the grain. Leave for 5 minutes, then scrub and rinse. This is the gentlest effective treatment for medium oxidation.
- Commercial aluminum cleaner: Products like Bio-Kleen Aluminum Cleaner, Alumabrite, or similar are formulated specifically for aluminum oxidation. Follow the product label for dilution and dwell time — most require a 2–5 minute contact time, then scrubbing and rinsing.
- Rinse all cleaner residue off thoroughly. Any cleaner left in the frame channels or corners can cause discoloration over time.
- Dry completely before moving to the polishing step.
Step 4: Polish to Restore Shine (Optional)
For Bare Aluminum or Anodized Frames That Have Lost Their Luster
- Apply a small amount of automotive aluminum polish (Mothers Mag & Aluminum Polish, Flitz, or similar) to a soft microfiber cloth.
- Work the polish into the frame surface in small circular motions on flat areas, then along the grain direction for finishing passes.
- Buff off the polish residue with a clean section of cloth. The surface should look noticeably brighter and more uniform.
- Note: this step is optional for frames with a painted or anodized finish and is most beneficial for bare aluminum or lightly anodized frames that have significant oxidation.
Step 5: Apply Protective Wax
The Step Most People Skip — Don’t
After cleaning, unprotected aluminum begins oxidizing again almost immediately in outdoor conditions. A coat of paste car wax creates a physical barrier against moisture, UV rays, and airborne pollutants.
- Apply a thin coat of paste car wax to the clean, dry aluminum frame using an applicator pad or soft cloth.
- Allow the wax to haze (usually 5–10 minutes) then buff off with a clean microfiber cloth.
- Apply wax to the inner channels of the frame as well — not just the visible outer face.
- Reapply wax twice a year (spring and fall) to maintain protection. After waxed frames, the next routine cleaning will be dramatically easier — dirt and oxidation won’t bond as aggressively.
Step 6: Clean the Frame Channels and Tracks
The Grooves Where Dirt Packs In Most
- Vacuum the channels and tracks with a crevice tool to remove loose debris first.
- Spray vinegar solution into the channels and let sit 3 minutes.
- Scrub with an old toothbrush, working into the corners and along the full channel length.
- Use a butter knife wrapped in a damp cloth to wipe the inside corners clean. Cotton swabs reach the very corners and screw holes.
- Rinse by pouring a small amount of clean water through the channel and wiping dry with a cloth strip.
- Once dry, apply a thin line of dry silicone lubricant into the sliding channel if this is a window that slides — it restores smooth operation and resists future dirt adhesion.
Pro Tips and Common Mistakes
- Work on one frame at a time and don’t let cleaners dry on the surface. Acid-based cleaners left on aluminum leave a different kind of stain. Apply, scrub within the recommended dwell time, and rinse before moving to the next frame.
- Dry immediately after rinsing. Air-drying aluminum leaves mineral deposits from tap water. Always dry with a clean microfiber cloth immediately after rinsing.
- Clean windows at the same time as the frames. Window cleaning sprays can deposit overspray onto just-cleaned frames. Clean the frames and glass together in one session, finishing with the wax on the frames after the glass is done.
- Check and clear weep holes while cleaning. Aluminum window frames have small weep holes at the bottom to drain water. They often get blocked with dirt and oxidation. Use a toothpick or cotton swab to clear each one during your cleaning session.
Troubleshooting
| Problem | Likely Cause | Fix |
|---|---|---|
| White powder returns within weeks | Surface not protected after cleaning | Apply paste car wax after cleaning; reapply twice a year |
| Dark streaks that won’t lift | Mold or organic staining in the frame joint | Apply diluted bleach solution (1:10) carefully; rinse thoroughly |
| Pitting on the aluminum surface | Deep oxidation from long-term exposure | Polish with aluminum polishing compound; protect with wax |
| Vinegar left a different-colored spot | Left on surface too long or frame has painted finish | Test on hidden area first; rinse within 5 minutes |
| Window frame has black residue in corners | Degraded weatherstripping or mold | Remove old weatherstripping; clean with diluted bleach; replace strip |
Frequently Asked Questions
What causes aluminum window frames to turn white?
The white, chalky coating is aluminum oxide — a natural oxidation product that forms when bare aluminum is exposed to air and moisture. It’s not structural damage but does look dull. While aluminum oxide is actually somewhat protective, it accumulates as a powdery layer that makes frames look neglected. An acid-based treatment removes it and wax prevents rapid reoccurrence.
Can I use CLR on aluminum window frames?
CLR (Calcium, Lime, and Rust remover) is effective on hard water deposits and light oxidation but is a stronger acid than vinegar or cream of tartar. Test on a hidden area first. Do not leave CLR on aluminum for more than 2 minutes and rinse thoroughly. It can etch or discolor some aluminum finishes if overused.
How do I get black stains off aluminum frames?
Black staining on aluminum frames is usually mold, mildew, or degraded window sealant/caulk. Mix 1 part bleach with 10 parts water, apply to the stained area with a cotton swab or soft cloth, let sit 5 minutes, and rinse thoroughly. Wear gloves and avoid getting bleach on glass gaskets or painted surfaces. If the caulk is the source, remove and replace it.
How often should I clean aluminum window frames?
A full cleaning with oxidation treatment is needed once or twice a year for most climates. Quarterly quick cleans with soap and water keep frames from building up significant oxidation. Coastal homes, dusty environments, or areas with heavy air pollution may need more frequent attention.
Will aluminum frames ever need repainting?
Bare or anodized aluminum frames don’t need painting. Painted aluminum frames may need spot touch-up when chips or scratches expose bare metal — leaving bare aluminum outdoors invites corrosion. Apply a self-etching primer and aluminum-compatible paint to any bare spots. Full repainting is rarely needed on residential window frames.
Conclusion
Cleaning aluminum window frames properly is a two-part job: remove the oxidation with an acid-based treatment, then seal the clean surface with paste car wax before it oxidizes again. The wash-and-wipe routine most people do leaves the oxidation in place and does nothing to slow future buildup. Once you do the full cleaning treatment, subsequent cleanings are dramatically easier because the wax barrier prevents oxidation from bonding as aggressively.
If you’re cleaning your whole door and window area in one session, our guide on how to clean sliding glass door tracks covers the same oxidation-removal approach for the door channels. And if your window frames also show weatherstripping wear, our guide on how to seal and weatherproof a door covers the full weatherstripping replacement process that applies to windows as well.
