A drafty exterior door wastes energy year-round and lets in moisture, insects, and noise. The full weatherproofing system has four parts: door sweeps at the bottom, weatherstripping on the top and sides, door shoe threshold seals, and exterior caulk around the frame. You can seal most exterior doors in 2–3 hours for under $60 in materials. This guide covers all four areas from scratch.
What You’ll Need
| Tools | Materials |
|---|---|
| Measuring tape | Door sweep (automatic or fixed) |
| Utility knife or scissors | Foam or rubber weatherstripping tape |
| Phillips screwdriver or drill/driver | V-strip (tension seal) weatherstripping |
| Hacksaw or tin snips (for metal sweeps) | Door shoe or threshold seal (if needed) |
| Caulk gun | Paintable exterior caulk |
| Utility knife (for caulk prep) | Mineral spirits (for cleanup) |
| Pencil and straightedge | Backer rod (for large frame gaps) |
Safety and Precautions
- Work on a dry day for exterior caulking. Exterior caulk must be applied to a dry surface and needs at least 24 hours of dry weather to cure properly. Applying in rain or high humidity causes adhesion failure.
- Don’t caulk the door threshold to the floor. The threshold is designed to be removable for adjustment. Caulking it in place can also trap moisture and cause rot. Seal the threshold-to-frame joint, not the threshold-to-floor joint.
- Test for carbon monoxide risks before sealing a door in an attached garage. Sealing an extremely drafty garage entry door can reduce combustion air for water heaters or furnaces. Ensure appliances are properly vented before achieving a very tight seal.
Step 1: Diagnose All the Air Leaks
Find Every Gap Before You Buy Materials
On a windy day (or using a stick of incense), move slowly along all four sides of the door — bottom, top, latch side, and hinge side — with the door closed. Watch for the flame or smoke disturbing.
- Bottom gap: Install or replace the door sweep (see Step 2)
- Sides and top (door stop area): Install or replace weatherstripping (see Step 3)
- Threshold gap: Adjust or replace the door shoe or threshold seal (see Step 4)
- Frame-to-siding gap (exterior side): Re-caulk the frame perimeter (see Step 5)
Step 2: Install a Door Sweep
Seal the Bottom Gap — The Biggest Air Leak on Most Doors
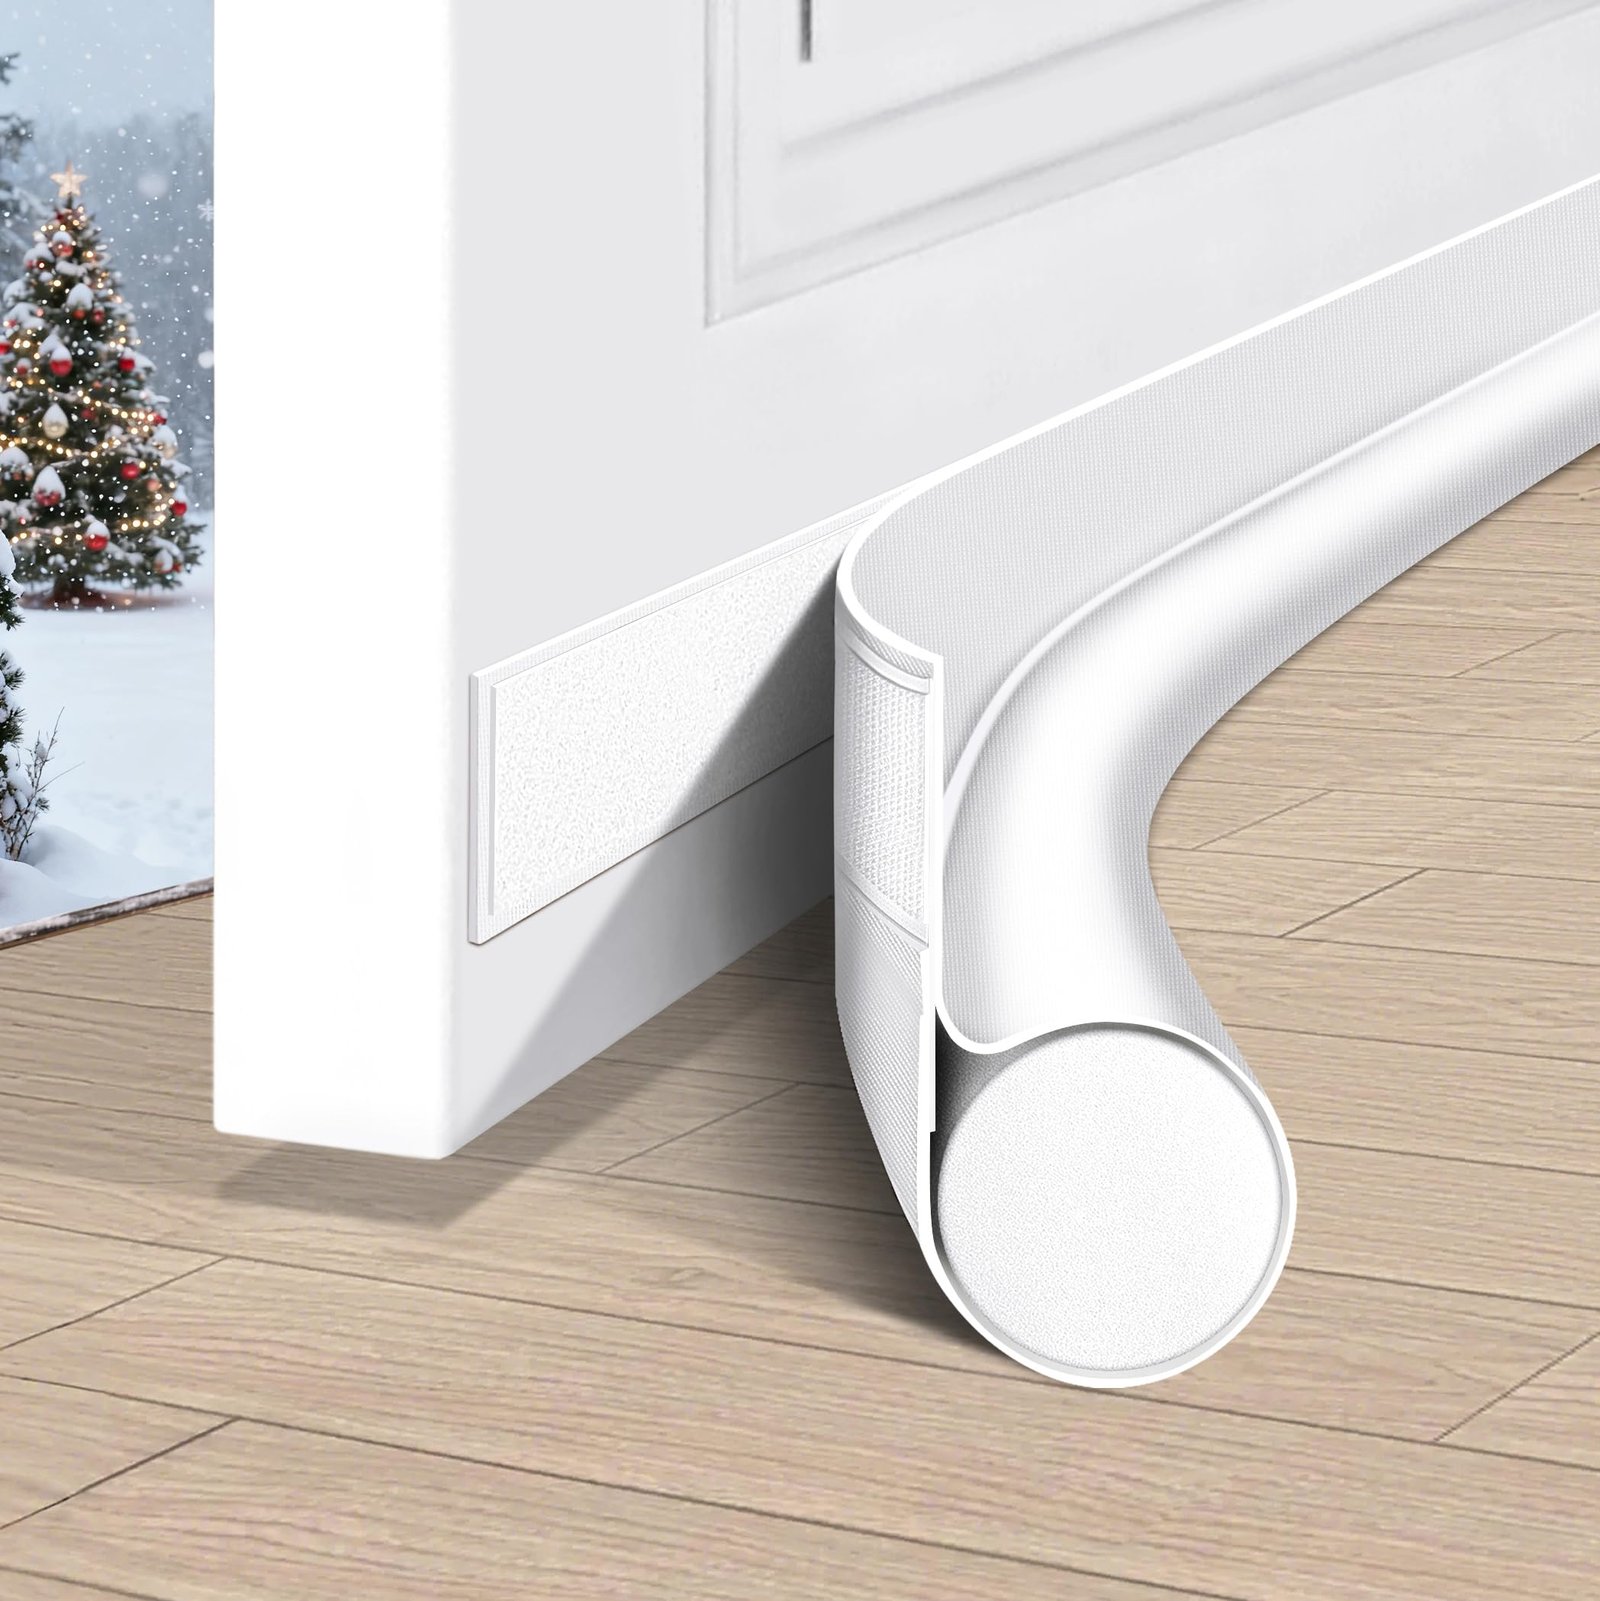
A door sweep attaches to the bottom of the door and bridges the gap between the door and the threshold. Two main types:
- Fixed sweep: A flat rubber or vinyl fin that drags lightly on the floor. Simple and inexpensive, but can wear and drag on carpet.
- Automatic sweep: Drops down to seal when the door closes, lifts when it opens. Better for carpet or uneven floors, and longer-lasting. Cost: $20–50.
- Measure the door width at the bottom edge. Cut the sweep to length with a hacksaw or tin snips (for metal sweeps) or scissors (for vinyl/foam).
- Close the door. Hold the sweep against the bottom of the door with the rubber blade just touching the threshold or floor — light contact, not compressed.
- Mark the screw hole positions with a pencil. Pre-drill pilot holes to prevent splitting (especially on solid wood doors).
- Drive the screws to secure the sweep. Close the door and verify the seal: slide a piece of paper under the door — you shouldn’t be able to pull it through easily.
Step 3: Install Weatherstripping on the Door Sides and Top
The Door Stop Jamb Is Where Air Enters on the Sides
Weatherstripping seals the gap between the door face and the door stop — the narrow strip the door closes against on all three sides. The three most effective types:
- Foam tape: Self-adhesive, easy to install, least expensive. Best for light-use interior doors or temporary fixes. Compresses and loses effectiveness within 1–2 years on frequently used exterior doors.
- V-strip (tension seal): Spring bronze or plastic strip that folds into a V shape inside the gap. Long-lasting (10+ years), invisible when installed, and highly effective. Best choice for exterior doors.
- Door seal strips (bulb or D-profile): Adhesive-backed rubber or foam profiles that compress against the door when closed. More durable than flat foam tape, easier to install than V-strip.
Installing V-Strip Weatherstripping (Recommended)
- Measure each side jamb and the head jamb separately — cut three pieces to length with snips or scissors.
- Open the door fully. Peel the backing from the V-strip and press it into the groove between the door stop and the jamb, with the open side of the V facing the exterior (toward the outside when the door is closed).
- Use a putty knife to press the strip firmly into the groove, ensuring full contact along the entire length.
- Close the door. The door compresses the V, creating a continuous seal on all three sides.
- Repeat for the top jamb, cutting the V-strip to fit the head jamb width.
Step 4: Adjust or Replace the Door Threshold Seal
The Gap Between the Door Bottom and the Floor Sill
The threshold is the raised strip across the floor at the door base. Most modern thresholds have an adjustable rubber seal insert built in. If the seal is worn or compressed flat, it can be replaced without replacing the whole threshold.
- Inspect the threshold: look for a rubber or vinyl insert running along the top surface. Press it — if it compresses easily with no spring-back, it’s spent.
- For adjustable thresholds: look for screws on the face of the threshold. Turning them raises the threshold height to close the gap between the seal and the door bottom. Test by closing the door and checking for light along the bottom.
- To replace only the insert: most threshold seals are a snap-in rubber strip. Pry the old one up with a flathead screwdriver, measure the length and profile, and take it to the hardware store to match the replacement. Snap or press the new one in.
- If the full threshold needs replacement: remove the screws, lift out the old threshold, cut the new one to width, prime the wood sub-floor area, and screw the new threshold in place.
Step 5: Caulk the Exterior Door Frame
Seal the Frame-to-Siding Gap From the Outside
- Inspect the exterior caulk line around the entire door frame — where the trim or brick mold meets the siding, stucco, or masonry. Look for cracks, shrinkage gaps, or missing sections.
- Remove old caulk: score it with a utility knife and peel away as much as possible. Clean the joint surface with mineral spirits to remove residue and allow the new caulk to bond.
- For gaps larger than 1/4 inch: fill with foam backer rod before caulking. Press the rod into the gap so it sits about 1/4 inch below the surface, giving the caulk a backing to bridge against.
- Cut the caulk tube tip at a 45-degree angle to create a bead slightly smaller than the joint width. Apply a smooth, continuous bead along the full joint.
- Smooth the bead immediately with a wet finger or caulk tool, pressing it into the joint. Wipe away excess with a damp cloth.
- Allow to cure per the label (typically 24 hours before exposure to rain for exterior caulk).
Step 6: Seal the Door Itself (Exterior Wood Doors)
Paint or Polyurethane All Six Sides
Raw or poorly sealed wood doors absorb moisture, swell seasonally, and deteriorate faster. If you have a wood exterior door, sealing all six surfaces (including top and bottom edges) is critical.
- If the door needs a fresh finish, now is the ideal time since weatherstripping and sweeps are already off.
- Sand the door surfaces with 120-grit, then 220-grit. Wipe clean with a tack cloth.
- Apply exterior-grade primer to all surfaces, including the top and bottom edges (the most commonly missed areas). Allow to dry fully.
- Apply two coats of quality exterior paint or exterior spar varnish (polyurethane for wood doors). Allow full dry time between coats.
- Reinstall hardware, sweeps, and weatherstripping after the final coat is fully cured (usually 24–48 hours).
Pro Tips and Common Mistakes
- Don’t stack old weatherstripping on top of new. Remove the old material completely before installing new. Layering creates uneven compression and gaps at the overlap points.
- Seal the attic hatch above the door too. Heat and air loss at exterior doors is often matched by the attic access point nearby. While you’re in weatherproofing mode, add weatherstripping to the attic hatch perimeter.
- Don’t over-compress weatherstripping. The door should close with a slight resistance and a satisfying click. If the door feels stiff or the latch barely reaches the strike plate, the weatherstripping is too thick — use a thinner profile.
- Replace all four zones together. Doing only the bottom sweep while leaving cracked side caulk is inefficient — air will re-enter through the next weakest point. Complete all four zones in one session for best results.
Troubleshooting
| Problem | Likely Cause | Fix |
|---|---|---|
| Still feel draft after weatherstripping | Gap at threshold or caulk failure on exterior | Check threshold seal; inspect and re-caulk frame exterior |
| Door hard to close after weatherstripping | Weatherstripping too thick | Replace with thinner profile or compress existing with door closer |
| Sweep drags loudly on floor | Set too low | Raise the sweep slightly — light contact only |
| Caulk cracks within a season | Applied in cold/damp conditions, or wrong product | Re-caulk with 100% silicone or elastomeric exterior caulk |
| Door still sweats / condensation inside | Air leaks allowing humid outside air in | Check all four zones; also consider storm door installation |
Frequently Asked Questions
What’s the best weatherstripping for an exterior door?
V-strip (tension seal) in spring bronze is the most durable option for high-use exterior doors — it lasts 10+ years, compresses without permanent deformation, and is invisible once installed. For a faster install, adhesive-backed D-profile or bulb weatherstripping gives good results and lasts 3–5 years on exterior doors with normal use.
How much energy can I save by sealing a drafty door?
According to the U.S. Department of Energy, air sealing a home can reduce heating and cooling costs by 10–20%. Exterior doors are among the top air leak locations. The material cost for full door sealing ($30–60) typically pays back in energy savings within one heating season.
Should I use foam or V-strip weatherstripping?
Foam tape is fine for interior doors, rarely-used secondary entries, or as a temporary fix. For the main exterior door, V-strip or quality D-profile rubber weatherstripping is worth the extra cost. Foam tape compresses flat within 1–2 years on frequently used doors, requiring repeated replacement.
Can I weatherproof a door without removing it?
Yes — door sweeps, weatherstripping, threshold seals, and exterior caulk can all be installed without removing the door. The only scenario where removal helps is if you need to seal the door edges and bottom edge of a wood door with primer and paint.
How do I know if my door threshold seal needs replacing?
Close the door in daylight and look from inside along the bottom — if you see a line of light at any point, the threshold seal isn’t making contact. Also press the rubber insert with your finger: a good seal springs back immediately. A flat, hard, or cracked insert needs replacement.
Conclusion
Weatherproofing a door is one of the highest-return DIY projects you can do — low cost, afternoon-long, and immediately noticeable in comfort and energy bills. Work through all four zones (sweep, weatherstripping, threshold, and caulk) rather than just the most obvious gap, and you’ll have a door that stays sealed through all four seasons. The full job costs under $60 in materials and can realistically pay for itself in a single winter.
Once your door is properly sealed, you might also want to check the door condition itself. If the wood door shows signs of weathering, our guide on how to stain a fiberglass door covers finishing options. And if you’re dealing with alignment issues alongside drafts, see our tips on how to fix a rubbing door to get the door seating correctly in the frame before sealing it.
