
A rubbing door drags, scrapes, or sticks because the door has shifted out of alignment with its frame. The fix depends entirely on where it rubs — top corner, latch side, bottom, or full edge. This guide walks you through a quick location test, then gives you the exact fix for each scenario. Most repairs take under an hour with basic tools.
What You’ll Need
| Tools | Materials |
|---|---|
| Flathead & Phillips screwdrivers | 3-inch wood screws (#8) |
| Hammer | Cardboard shims |
| Hand plane or belt sander | Sandpaper (80- and 120-grit) |
| Pencil or chalk | Wood filler or epoxy |
| Combination square | Primer and matching paint |
| Drill/driver | Petroleum jelly or candle wax |
| Utility knife | Replacement hinge screws (longer gauge) |
Safety and Precautions
- Support the door before removing hinges. A solid wood door can weigh 50–80 lbs. Have a helper hold it, or wedge a shim under the bottom edge before pulling hinge pins.
- Work in a ventilated space when sanding or painting. Fine wood dust is a respiratory irritant. Wear a dust mask and safety glasses.
- Check for lead paint on older doors (pre-1978). Use a lead test kit before sanding. If positive, wet-sand and dispose of dust per EPA guidelines rather than dry-sanding.
Step 1: Find Exactly Where the Door Is Rubbing
The Chalk or Lipstick Test
Rub chalk, a candle, or lipstick along the door’s edges, then close the door slowly. Open it and look for the transfer marks on the frame — that’s your rub zone. This takes 2 minutes and saves you from planing the wrong edge.
- Rubs at the top corner (latch side): Hinge sag — hinges are loose or need shimming. Fix: Sections 2 and 3.
- Rubs along the latch-side edge: Door is bowing or frame has shifted. Fix: Section 4 (planing).
- Rubs at the bottom: House settling or swollen wood. Fix: Section 5 (plane or sand bottom).
- Rubs everywhere (sticky all around): Seasonal wood swelling. Fix: Section 6 (dehumidify or plane all edges).
Step 2: Tighten Loose Hinge Screws First
The Quickest Fix — Often All You Need
Loose hinge screws are the number-one cause of rubbing doors. A single loose screw lets the door drop up to ¼ inch, which is enough to scrape the frame.
- Open the door fully and inspect both hinges — usually two or three on a standard interior door.
- Try each screw by hand. If any spin freely without tightening, the hole has stripped.
- For stripped holes: Remove the screw. Dip a wooden toothpick in wood glue, push it into the hole, snap it flush, and let it dry 30 minutes. Reinsert the original screw — it will grip the wood filler.
- Alternatively, swap stripped screws for longer 3-inch screws that reach the structural framing behind the hinge mortise. This gives 10x the holding power.
- Tighten all screws firmly, then test the door. If it still rubs, move to Step 3.
Step 3: Adjust or Shim the Hinges
Fix a Door That Sags on the Hinge Side
If tightening screws didn’t help, the hinge leaf may need repositioning. This is common when the door rubs at the top corner opposite the hinges.
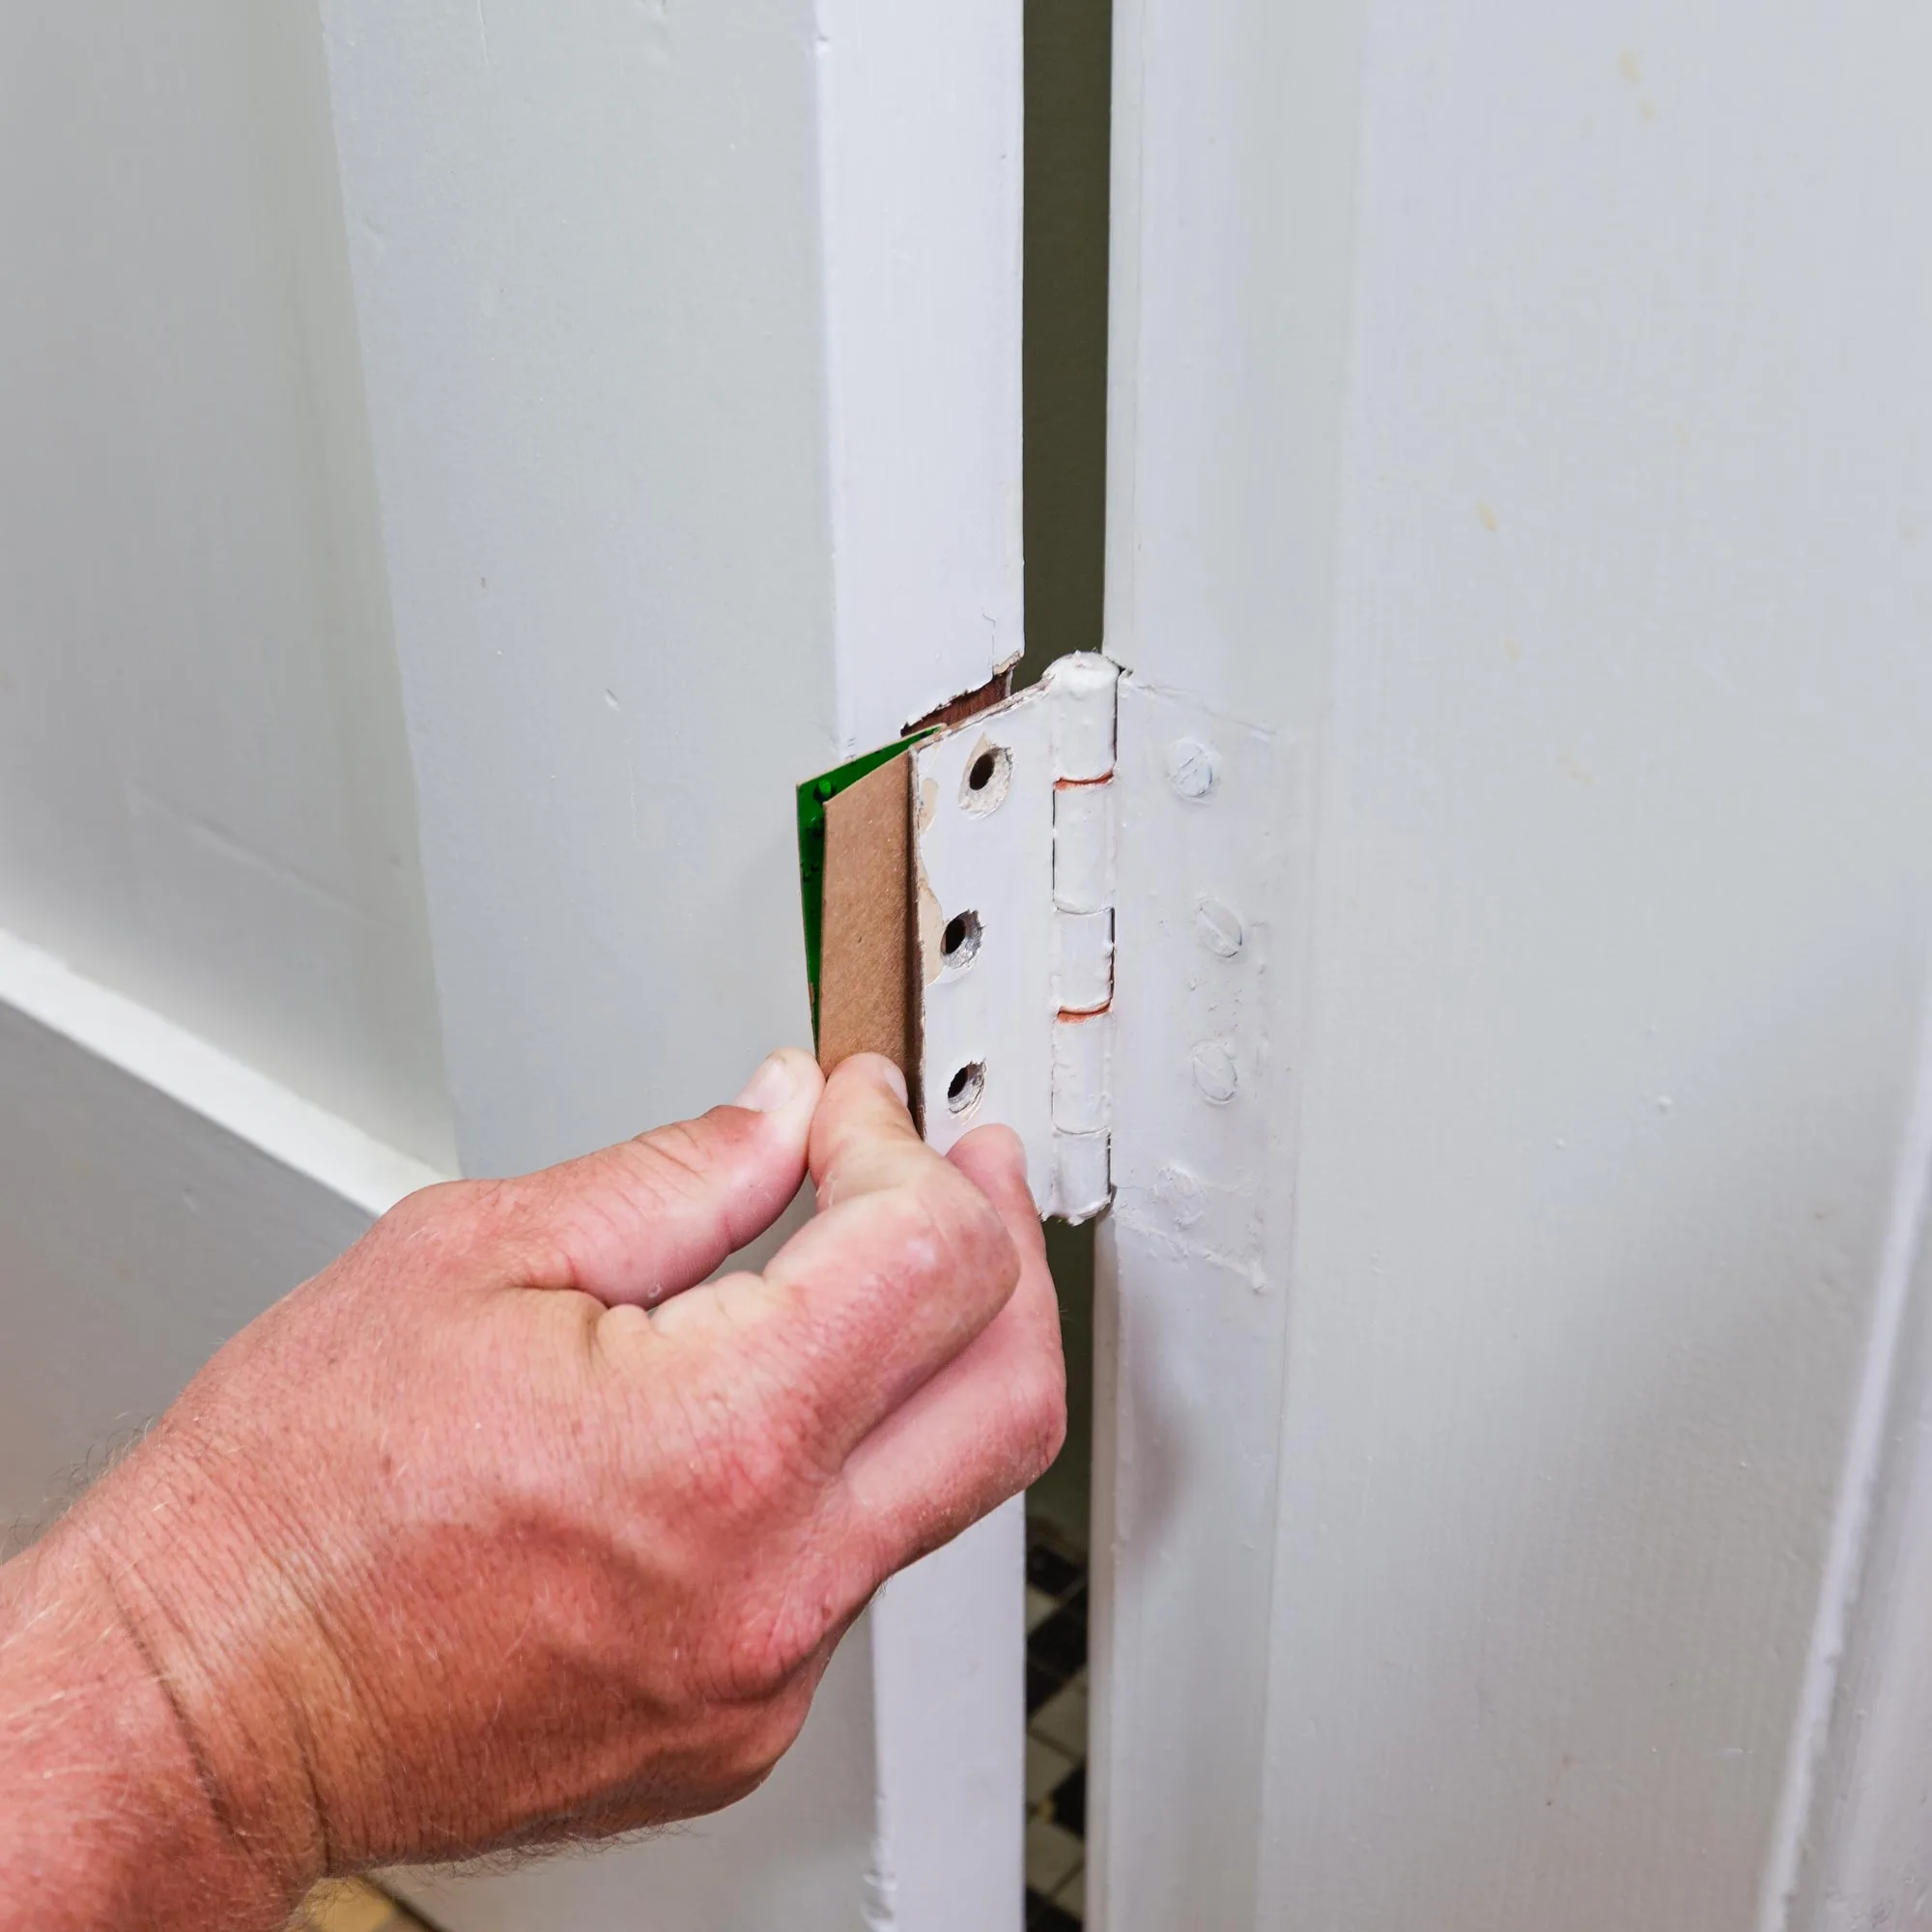
- Open the door and place a shim (or folded cardboard) under the door edge to take the weight off the hinges.
- Loosen — don’t remove — the screws on the lowest hinge.
- Slide a thin cardboard shim behind the lower hinge leaf, between the hinge and the mortise. This tilts the door slightly, lifting the latch-side top corner away from the frame.
- Retighten the screws and remove the shim from under the door.
- Test the door. Add a second shim layer if needed. If the door rubs on the hinge side instead, shim the top hinge.
- Alternatively, use a hinge-adjustment kit available at hardware stores — these allow micro-adjustment without shimming.
Step 4: Plane or Sand the Binding Edge
Remove Material Where the Door Contacts the Frame
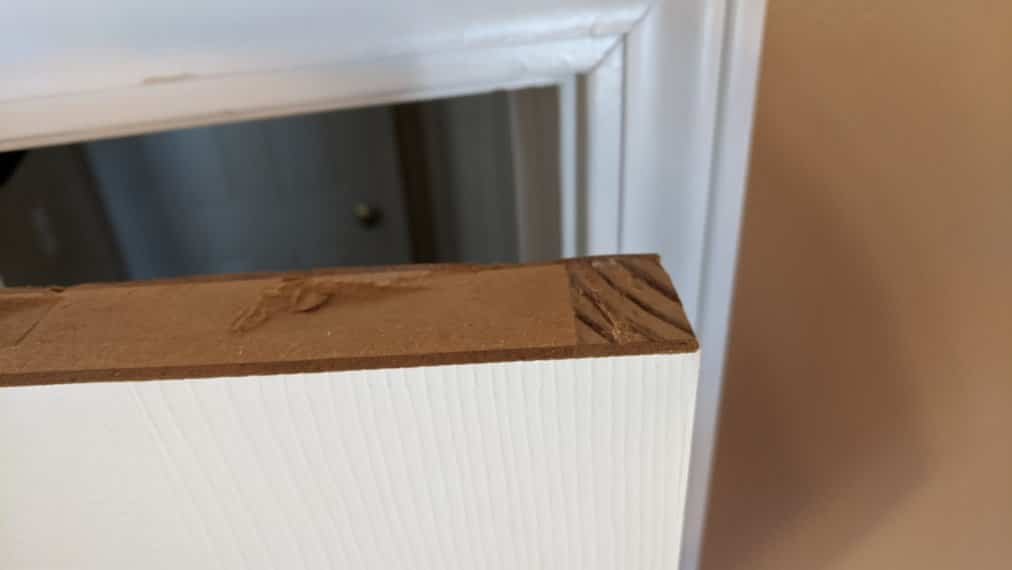
If hinge work doesn’t solve it, you need to remove a small amount of wood from the rubbing edge. A hand plane is fastest; a belt sander works for larger areas.
- Mark the rub zone clearly with a pencil line along the entire binding edge.
- Remove the door from its hinges: tap the hinge pins up with a flathead screwdriver and hammer, starting from the bottom hinge, then the top. Have a helper hold the door.
- Lay the door on sawhorses or across two chairs.
- Use a hand plane set to a fine depth (about 1/32 inch per pass). Work with the grain — heel to toe — using long, even strokes.
- Check frequently: hold a straightedge along the edge to avoid creating a bow.
- Stop removing material about 1/16 inch before you reach the pencil line. Sand with 80-grit, then 120-grit to smooth.
- Rehang the door and test. The goal is a 1/8-inch gap on all sides when closed.
- Prime and paint or seal any raw wood immediately to prevent future swelling.
Pro tip: Plane a little at a time. You can always remove more wood — you can’t put it back.
Step 5: Fix a Door That Rubs on the Bottom
Plane, Sand, or Reposition Hinges
Bottom rubbing is usually caused by seasonal swelling, house settling, or a dropped hinge. The approach depends on how much material needs to go.
- Check the gap at the bottom: standard clearance is 3/4 inch above a hard floor, 1.5 inches above carpet. Measure what you currently have.
- If the gap is almost zero (door drags), you’ll need to remove the door and plane or belt-sand the bottom edge.
- Mark the amount to remove with a chalk line. Use a circular saw with a guide for a clean, straight cut if removing more than 1/4 inch.
- For minor rubbing (under 1/8 inch), try raising the hinges instead: loosen the top hinge screws slightly and insert a 1/16-inch shim behind the top hinge. This lifts the bottom edge of the door.
- Sand the raw bottom edge and seal it with paint or polyurethane to prevent moisture absorption and future swelling.
Step 6: Seasonal Swelling — The Temporary Fix
When the Door Only Rubs in Summer or After Rain
If your door sticks seasonally — especially in humid months — wood expansion is the cause. This is extremely common in older homes without climate control in entryways.
- Run a dehumidifier in the area for several days. Reducing humidity to 40–50% often resolves light seasonal swelling without any planing.
- Rub petroleum jelly or a dry candle wax along the hinge pins and along all rubbing edges. This reduces friction while you wait for conditions to change.
- If the door swells every summer, the permanent fix is to plane it to summer dimensions — meaning remove material so it fits in the worst-case swollen state, with a proper gap all around.
- Seal ALL edges of the door (top, bottom, sides) with two coats of paint or polyurethane. Raw wood absorbs moisture; sealed wood resists it. Most doors are never painted on the top or bottom edge — fix this oversight.
Pro Tips and Common Mistakes
- Don’t plane on a humid day. Wood swells in humidity — plane when conditions are dry so you’re working with the door at close to its maximum size.
- Always shim the door before pulling hinge pins. Dropping a heavy door is a safety hazard and can split the wood at the hinge mortise.
- Don’t skip sealing the bare wood. Every unfinished wood surface is an invitation for moisture. Paint or polyurethane the planed area before rehanging.
- Check the door frame, not just the door. Sometimes the frame has shifted or has a high spot. Run a straightedge along the frame to detect bulges before you touch the door.
- Use 3-inch screws in the top hinge. The top hinge carries the most load. Long screws that bite into the structural stud dramatically reduce future sagging.
Troubleshooting
| Problem | Likely Cause | Fix |
|---|---|---|
| Door rubs again after a few months | Screws still stripped or house settling | Use longer screws; add hinge shim |
| Door rubs after rain only | Seasonal wood swelling | Seal all door edges; plane to wet-season size |
| Door rubs at top after planing | Planed too much at bottom edge | Shim bottom hinge to re-level |
| Hinge screws won’t stay tight | Mortise is oversized or frame is soft | Toothpick + wood glue method, or longer screws |
| Door still rubs after new hinges | Frame is warped | Shim the frame or plane the door edge |
Frequently Asked Questions
Why does my door only stick in summer?
Wood absorbs moisture from humid air and expands. Interior doors can swell noticeably between dry winter and humid summer months. The permanent fix is to seal all door edges and plane to fit the worst-case swollen size.
Can I fix a rubbing door without removing it?
Yes — for top-corner rubbing, hinge tightening and shimming can be done with the door in place. For planing the latch or bottom edge, you’ll need to remove the door for best results and a clean finish.
How much wood should I remove when planing?
Aim for a uniform 1/8-inch gap on all sides when the door is closed. Remove material in thin passes (1/32 inch) and test frequently. It’s easy to take off too much, so work slowly.
Why does my door rub at the top corner on the latch side?
This is the classic sign of hinge sag — the hinges have dropped, rotating the door so the top latch corner swings into the frame. Tighten hinge screws with long 3-inch screws and add a cardboard shim behind the lower hinge to correct the angle.
How do I stop a door from rubbing without a plane?
For minor rubbing (a thin layer of contact), 80-grit sandpaper wrapped around a sanding block works well. For areas with just a touch of friction, rubbing candle wax or petroleum jelly on the rubbing spot reduces drag significantly without removing wood.
Conclusion
A rubbing door is almost always fixable with basic tools and a good diagnosis. Start with the chalk test to pinpoint the contact zone, then work through the fixes in order — tighten screws first, shim hinges second, and only reach for the plane if those don’t solve it. Seal any bare wood before you rehang the door to prevent the problem from returning next humid season.
Once your door swings freely, you might also want to check the hardware — if the latch isn’t catching cleanly, read our guide on how to fix a door that won’t latch. Or if a hinge has become damaged in the process, see our tips on how to fix a cabinet door hinge for technique that translates directly to any door hinge repair.
