
Cleaning your furnace once a year — before heating season begins — keeps it running efficiently, prevents carbon monoxide risks from dirty burners, and extends the equipment’s lifespan. The job involves changing the air filter, vacuuming the blower and burner assembly, cleaning the flame sensor, and checking the exhaust flue. None of these tasks require HVAC certification; a homeowner with basic tools can complete the full annual cleaning in 1–2 hours. Here’s exactly what to do.
What You’ll Need
Tools
- Vacuum with hose and brush attachment
- Soft brush or paintbrush (for delicate components)
- Fine steel wool or emery cloth (for flame sensor only)
- Screwdrivers (Phillips and flathead)
- Flashlight or headlamp
- Replacement furnace filter (have correct size ready)
Materials
- Replacement air filter — correct size and MERV rating for your system
- Clean rags or microfiber cloths
Safety Precautions
- Turn off the furnace at the thermostat AND the power switch on the furnace itself before opening any panels. The power switch looks like a standard light switch and is usually mounted on or near the furnace.
- Turn off the gas supply valve before cleaning burners or the heat exchanger area — the valve is typically on the gas line leading to the furnace and turns perpendicular to the pipe when off.
- Allow the furnace to cool completely (at least 30 minutes after shutting off) before reaching inside — components stay hot well after the unit stops running.
- Never use water or liquid cleaners inside a furnace — moisture on electrical components, burners, or the heat exchanger is a safety and corrosion hazard.
- If you smell gas at any point, stop, leave the area, and call your gas company. Do not continue cleaning.
- Carbon monoxide detector check — make sure your CO detector is working before the first heating cycle after cleaning.
How to Clean a Furnace Step by Step
Step 1: Turn Off Power and Gas
Set the thermostat to OFF. Locate the furnace power switch (mounted on or near the unit) and turn it off. If your furnace has a gas shutoff valve on the supply line, turn it to the perpendicular position to shut off gas. Let the furnace cool for at least 30 minutes before opening any access panels.
Step 2: Replace the Air Filter
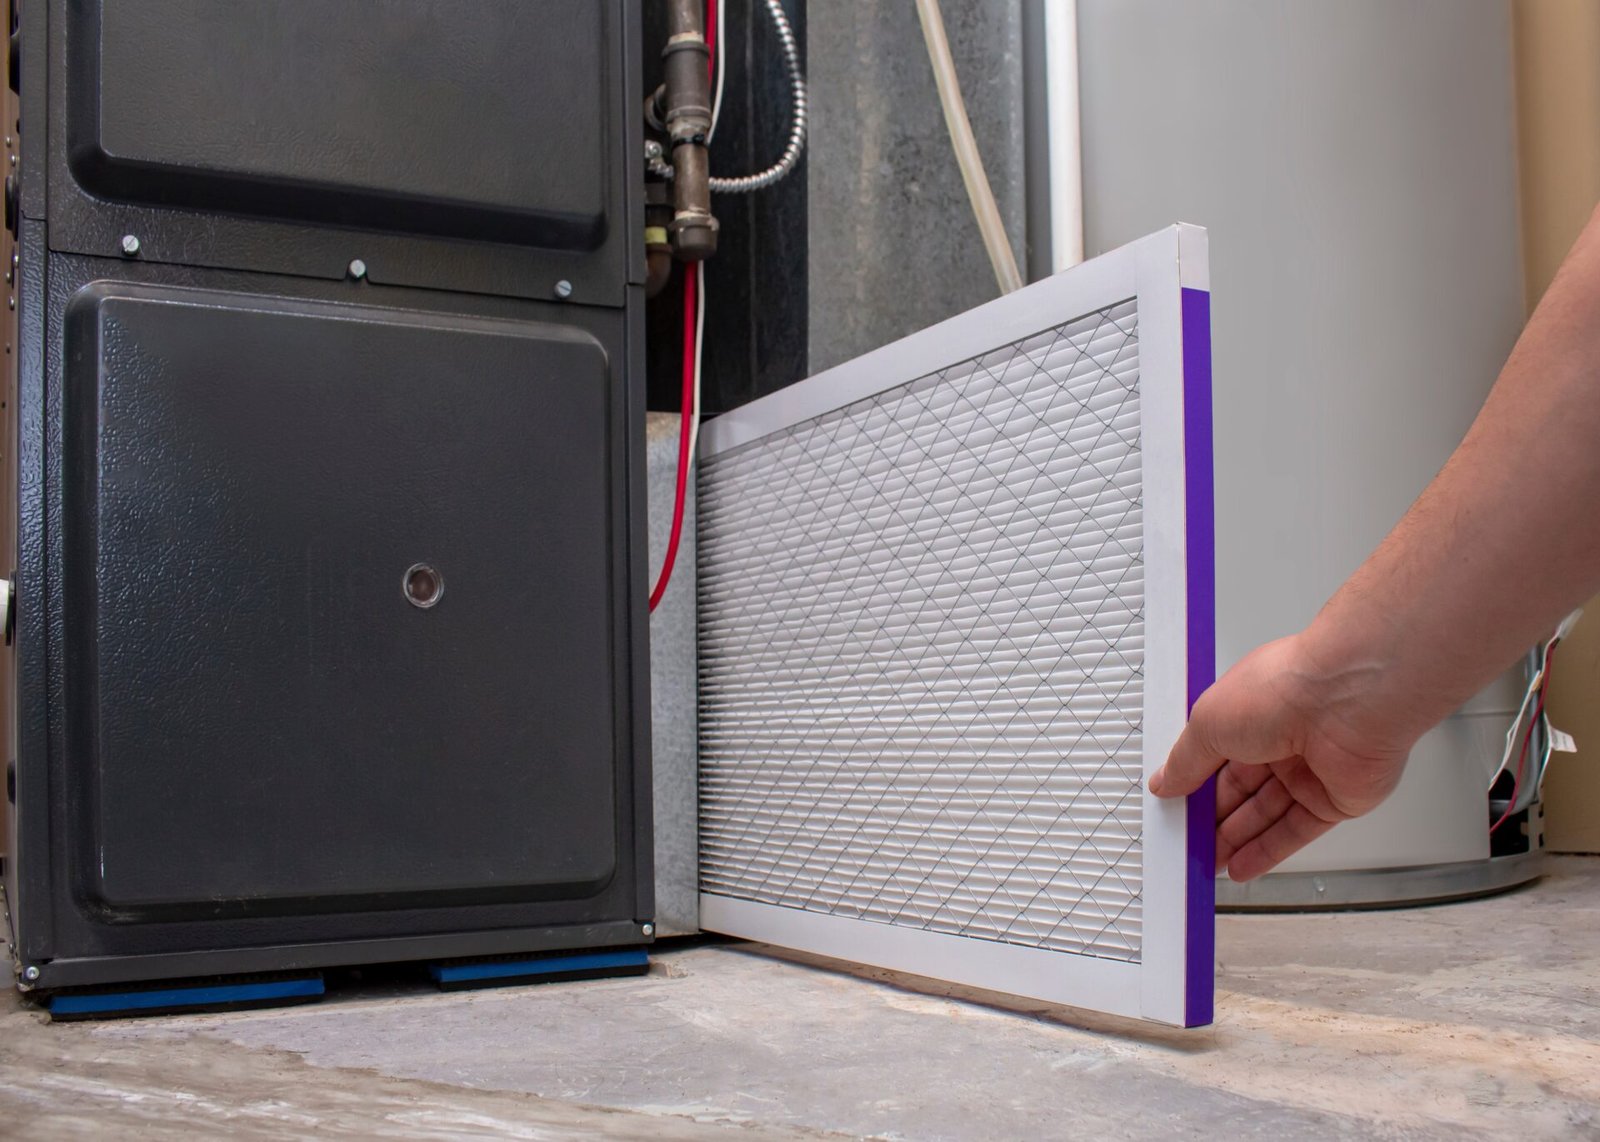
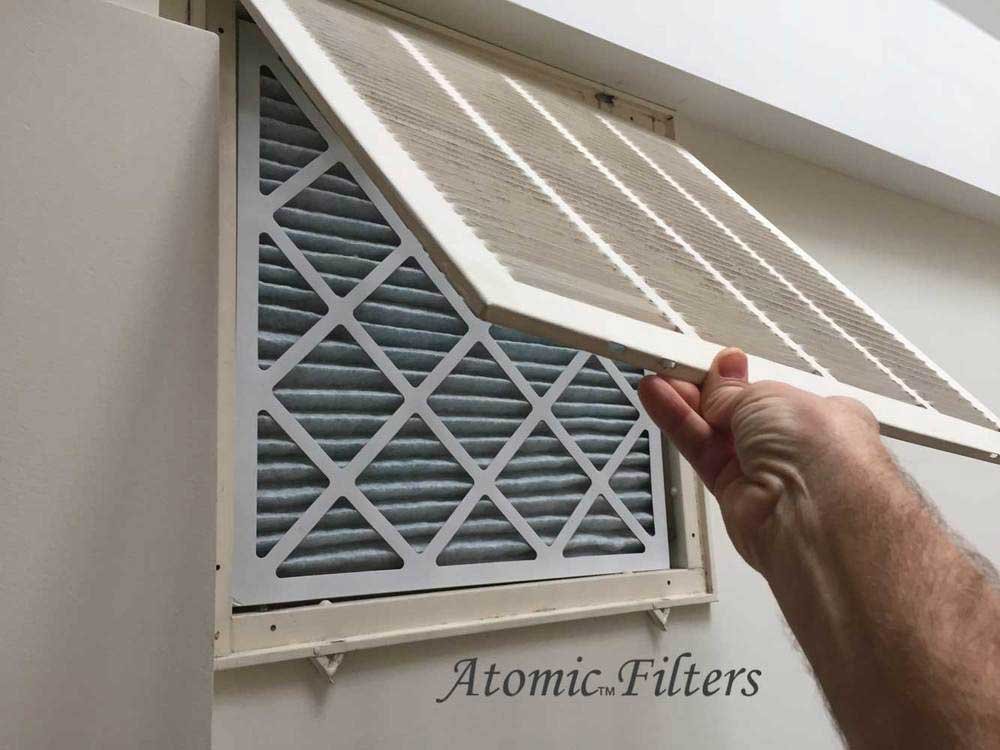
The air filter is the most important maintenance item on your furnace. A clogged filter forces the blower motor to work harder, reduces heat output, and can cause the heat exchanger to overheat and crack — an expensive and dangerous failure. Locate the filter compartment — it’s usually in the return air duct just before the furnace, or slides into a slot in the furnace cabinet. Note the size printed on the old filter’s cardboard frame (e.g., 16x20x1). Slide the old filter out and slide the new one in, matching the airflow direction arrow on the frame to the direction air flows toward the furnace. The arrow should point toward the blower/furnace, away from the return duct.
Filter replacement frequency: 1-inch standard filters should be replaced every 1–3 months. 4-inch high-efficiency media filters typically last 6–12 months. Check the filter monthly — if you can’t see light through it when held up to light, it needs changing.
Step 3: Vacuum the Blower Assembly
The blower assembly is the large fan inside the furnace cabinet that circulates air through the system. Open the lower furnace panel (usually held by clips or a couple of screws). Shine a flashlight inside. You’ll see the blower fan — a squirrel-cage style wheel. Dust accumulates heavily on the individual fan blades. Use the brush attachment on your vacuum to clean each blade of the blower wheel thoroughly. A heavily dust-coated blower loses significant efficiency — cleaning it can noticeably improve airflow. If the blower wheel slides out for better access, check your owner’s manual for whether your model allows this.
Step 4: Vacuum the Burner Area
With the lower and upper access panels open, locate the burner tubes (the row of metal tubes where the flame appears during heating). Use the vacuum brush attachment to gently remove dust and debris from around the burners. Don’t vacuum the burner ports directly with a hard attachment — use a soft brush to dislodge debris gently, then vacuum nearby. Check for rust deposits, corrosion, or cracks in the burner tubes. Minor surface rust is normal; deep pitting or cracking warrants a service call before the heating season begins.
Step 5: Clean the Flame Sensor
The flame sensor is a thin metal rod — typically 2–3 inches long — that detects whether the burner has ignited. Over time, a thin oxidation layer builds up on the rod, preventing it from accurately detecting the flame. This causes the furnace to light then immediately shut off (short-cycling). To clean it: locate the rod (usually held by a single screw near the burners), remove the mounting screw and pull the sensor out, then lightly rub the metal rod with fine steel wool or light-grit emery cloth until it’s bright. Don’t scrub aggressively — you’re removing the oxidation layer, not reshaping the rod. Reinsert and retighten the screw.
Step 6: Inspect and Clean the Exhaust Flue
The exhaust flue carries combustion gases out of your home. On a gas forced-air furnace, it’s a metal pipe running from the furnace to the chimney or through an exterior wall. Inspect it visually for rust, holes, disconnected sections, or debris-packed ends. Shine a flashlight into the flue openings at the furnace. Birds sometimes nest in exterior flue terminations, blocking the vent — this is a carbon monoxide risk. If the flue is clear and intact, use a dry cloth to wipe the accessible portions of the flue pipe of surface dust.
Step 7: Clean the Area Around the Furnace
Sweep and vacuum the floor around the furnace. Keep the area around the furnace clear of stored items — flammable materials like paint, cleaning products, and boxes should never be stored within 3 feet of the furnace. Ensure the combustion air vents are not blocked — these are the vents that supply fresh air to the burner chamber, often small round pipes entering the furnace from outside.
Step 8: Restore Power and Test
Turn the gas valve back on. Turn the furnace power switch back on. Set the thermostat above the current room temperature to trigger a heating cycle. Observe the first start cycle: the furnace should ignite within 30–60 seconds, run smoothly, and produce warm air from the vents within 2–3 minutes. Listen for any unusual sounds — rattling, banging, or repeated clicking without ignition. A single successful test cycle confirms the cleaning was completed correctly.
Annual Furnace Maintenance Checklist
| Task | Frequency | DIY or Professional |
|---|---|---|
| Replace air filter | Every 1–3 months | DIY |
| Clean blower fan blades | Annually | DIY |
| Vacuum burner area | Annually | DIY |
| Clean flame sensor | Annually | DIY |
| Inspect exhaust flue | Annually | DIY (basic check); Pro for repairs |
| Heat exchanger inspection | Annually | Professional only |
| Gas pressure check and combustion analysis | Every 2–3 years | Professional only |
Pro Tips
- Schedule furnace cleaning in September — before you need heat, giving you time to address any issues found during cleaning without urgency.
- Write the filter change date on the side of the new filter in marker — takes 5 seconds and makes the next check immediately useful.
- MERV 8–11 is the right range for most homes — MERV 13 filters capture more particles but restrict airflow significantly. High MERV ratings require more frequent changes and can strain the blower motor in older systems not designed for them.
- Consider an annual professional tune-up every 3 years — a certified HVAC technician checks combustion efficiency, gas pressure, heat exchanger integrity, and refrigerant levels (on combination heat pump systems) that are outside DIY scope.
Frequently Asked Questions
How do I know if my furnace filter needs changing?
Hold the filter up to a light source — natural light or a flashlight. If you can’t see light through it, it needs replacing. A grey or brown filter that was originally white is overdue. Also note if your home seems dustier than usual or if the furnace seems to run longer cycles — both indicate a restricted filter.
Can I clean a furnace filter instead of replacing it?
Disposable 1-inch fiberglass or pleated filters should always be replaced — attempting to vacuum or wash them damages the filter media and reduces effectiveness. Some reusable electrostatic filters are designed to be washed; check your filter’s label. Thick media filters (4-inch deep pleated) should always be replaced, not cleaned.
My furnace lights then immediately shuts off — what’s wrong?
This is almost always a dirty flame sensor. The sensor can’t detect the flame through its oxidation coating and tells the system to shut off the gas as a safety measure. Cleaning the flame sensor with fine steel wool (Step 5 above) resolves this in most cases. If cleaning doesn’t fix it, the flame sensor itself may need replacement — it’s a $10–$20 part and straightforward to swap.
Should I clean inside the heat exchanger?
No — the heat exchanger should only be inspected and serviced by a qualified HVAC technician. Cracks in the heat exchanger allow combustion gases (including carbon monoxide) to enter your home’s air supply — a serious safety issue. The technician uses specialized equipment to check for cracks. This is not a DIY task.
How much does professional furnace cleaning cost?
A professional furnace tune-up typically costs $80–$150 in most US markets (2025 pricing). This includes filter replacement, blower cleaning, combustion analysis, and heat exchanger inspection. For systems older than 15 years or after a period of non-use, a professional inspection alongside your DIY cleaning is a worthwhile investment.
Conclusion
Annual furnace cleaning is one of the highest-value home maintenance tasks you can do yourself. A clean filter alone improves efficiency measurably; a clean flame sensor prevents no-heat emergencies; and a visual flue inspection can prevent carbon monoxide issues. Do it every September before heating season and you’ll keep your furnace running efficiently for 20 years or more.
For related home air quality maintenance, see our guide on how to clean a HEPA filter. If you’re upgrading your home’s heating infrastructure, our guide on how to clean a dehumidifier covers the companion appliance that manages humidity alongside your heating system.
