
Whether it’s in a vacuum cleaner, air purifier, dehumidifier, or shop vac, a HEPA filter requires careful maintenance — and the method depends entirely on whether your specific filter is washable or non-washable. Washing a non-washable HEPA filter destroys it. Vacuuming any HEPA filter extends its life. This guide covers both methods, tells you how to identify which type you have, and explains when cleaning is no longer sufficient and replacement is necessary.
What You’ll Need
Tools
- Vacuum cleaner with a soft brush attachment
- Sink or outdoor hose (washable filters only)
- Clean dry towels
Materials
- Warm water (washable filters only)
- No soap required (or absolutely minimal if specified by manufacturer)
Critical First Step: Identify Your Filter Type
Before cleaning a HEPA filter, check whether it is washable or non-washable. Look for:
- “Washable” or “permanent” label on the filter itself or its packaging
- Your appliance manual — it will specify “washable HEPA” or “replace only”
- Filter material — washable HEPA filters are usually made of stiffer foam or rigid mesh; non-washable HEPA filters are made of fine paper-like pleated material
If you can’t confirm your filter is washable, treat it as non-washable and only vacuum it. Washing a non-washable HEPA filter permanently damages the micro-fiber filter media and it will no longer capture fine particles effectively — it looks clean but its filtration efficiency is destroyed.
Safety Precautions
- Remove the filter before cleaning — never try to vacuum or clean a HEPA filter while it’s installed in the appliance.
- Work outdoors or near an open window when vacuuming a dirty HEPA filter — the particles you dislodge will temporarily fill the air and should be dispersed outside, not recirculated inside.
- Let a washed filter dry completely before reinstalling — inserting a damp HEPA filter into an appliance promotes mold growth and can damage the motor.
- Wear a dust mask when handling a very dirty HEPA filter — especially in homes with pets, allergies, or respiratory conditions.
Method 1: Vacuuming a HEPA Filter (Works for Both Types)
Step 1: Remove the Filter
Turn off and unplug the appliance. Remove the HEPA filter according to your appliance’s instructions — most air purifiers and vacuums have a simple latch or twist mechanism to access the filter compartment. Note the orientation of the filter for reinstallation.
Step 2: Take It Outside
Carry the filter outside or to a garage before cleaning — you’ll dislodge significant amounts of captured dust, pet dander, and fine particles. Tap the filter gently against a hard surface (like the side of a trash can) to loosen large deposits. Don’t shake it vigorously — you want to dislodge surface deposits, not rupture the filter media.
Step 3: Vacuum Both Sides
Using the soft brush attachment on your vacuum, work across the filter in the same direction as the pleats — never perpendicular to them. Apply gentle, even pressure. Vacuum both the dirty side (the intake side, usually grey or black from captured particles) and the clean side. Work through all the pleats methodically. This removes surface-loaded particles that are reducing airflow through the filter.
Step 4: Reinstall When Done
For non-washable filters, this is the complete cleaning process. Reinstall the filter in the correct orientation. For washable filters that are heavily loaded, proceed to Method 2 after vacuuming.
Method 2: Washing a Washable HEPA Filter
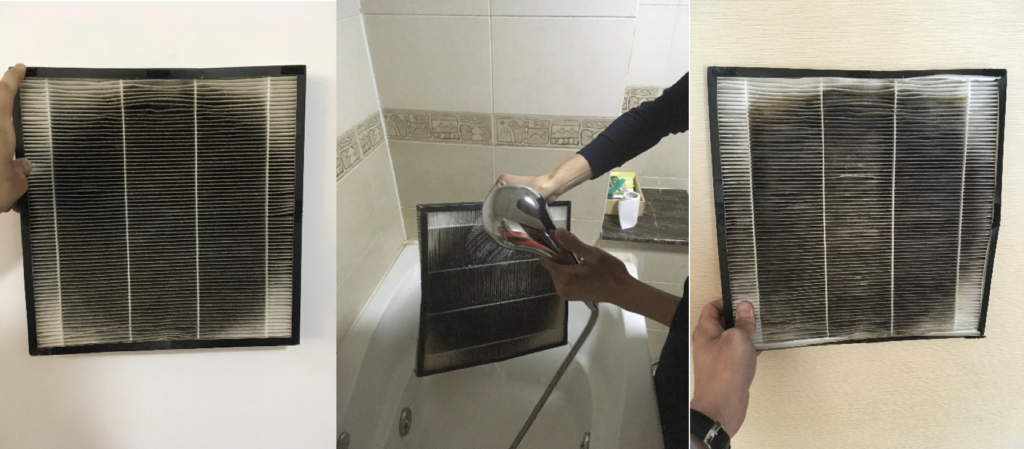
Step 1: Rinse Under Cold Water
Hold the filter under cold or lukewarm running water and rinse from the clean side through to the dirty side. This direction pushes trapped particles out through the side they entered, rather than deeper into the filter media. Continue rinsing until the water running off the filter runs completely clear. For outdoor faucets with higher flow, this can take 2–5 minutes. If there’s biological buildup (mold or mildew smell), you can add a very small amount of dish soap — lather gently with your fingers and rinse extremely thoroughly, multiple times, until zero soap residue remains. Soap residue left in HEPA filter media reduces filtration performance.
Step 2: Shake Excess Water Gently
Give the filter a few gentle shakes to remove the bulk of the water. Don’t wring, squeeze, or compress the filter — this damages the filter media and can cause structural deformation that reduces efficiency.
Step 3: Dry Completely Before Reinstalling
Place the filter on a clean dry towel in a well-ventilated area. Allow to air dry for a minimum of 24 hours — longer in humid environments. The filter must be completely dry throughout — test by checking that the filter feels room temperature, not cool (cool = still damp). Reinstalling a damp filter promotes mold growth inside the appliance and can burn out the motor by restricting airflow in a high-resistance wet state.
Cleaning Frequency and Replacement Timing
| Filter Type | Clean How Often | Replace When |
|---|---|---|
| Non-washable HEPA (vacuum cleaner) | Vacuum every 3 months | Every 6–12 months, or when discolored or damaged |
| Washable HEPA (air purifier) | Wash every 2–3 months | Every 2–3 years, or when efficiency drops noticeably |
| Non-washable HEPA (air purifier) | Vacuum lightly every 2–3 months | Every 12–18 months, per manufacturer |
| HEPA filter in shop vac | Vacuum or tap out after every heavy use | When pleats tear or filter looks permanently grey after cleaning |
| Dehumidifier HEPA filter | Vacuum every 4–6 weeks in active use | Annually or when airflow visibly reduced |
Signs Your HEPA Filter Needs Replacing, Not Just Cleaning
- Still grey or discolored after washing (permanently loaded)
- Visible tears, holes, or deformation in the filter media
- Persistent musty or moldy odor even after cleaning
- Appliance airflow hasn’t improved after cleaning
- Filter has exceeded manufacturer’s replacement interval
- Filter was washed when it was a non-washable type (replace immediately)
Pro Tips
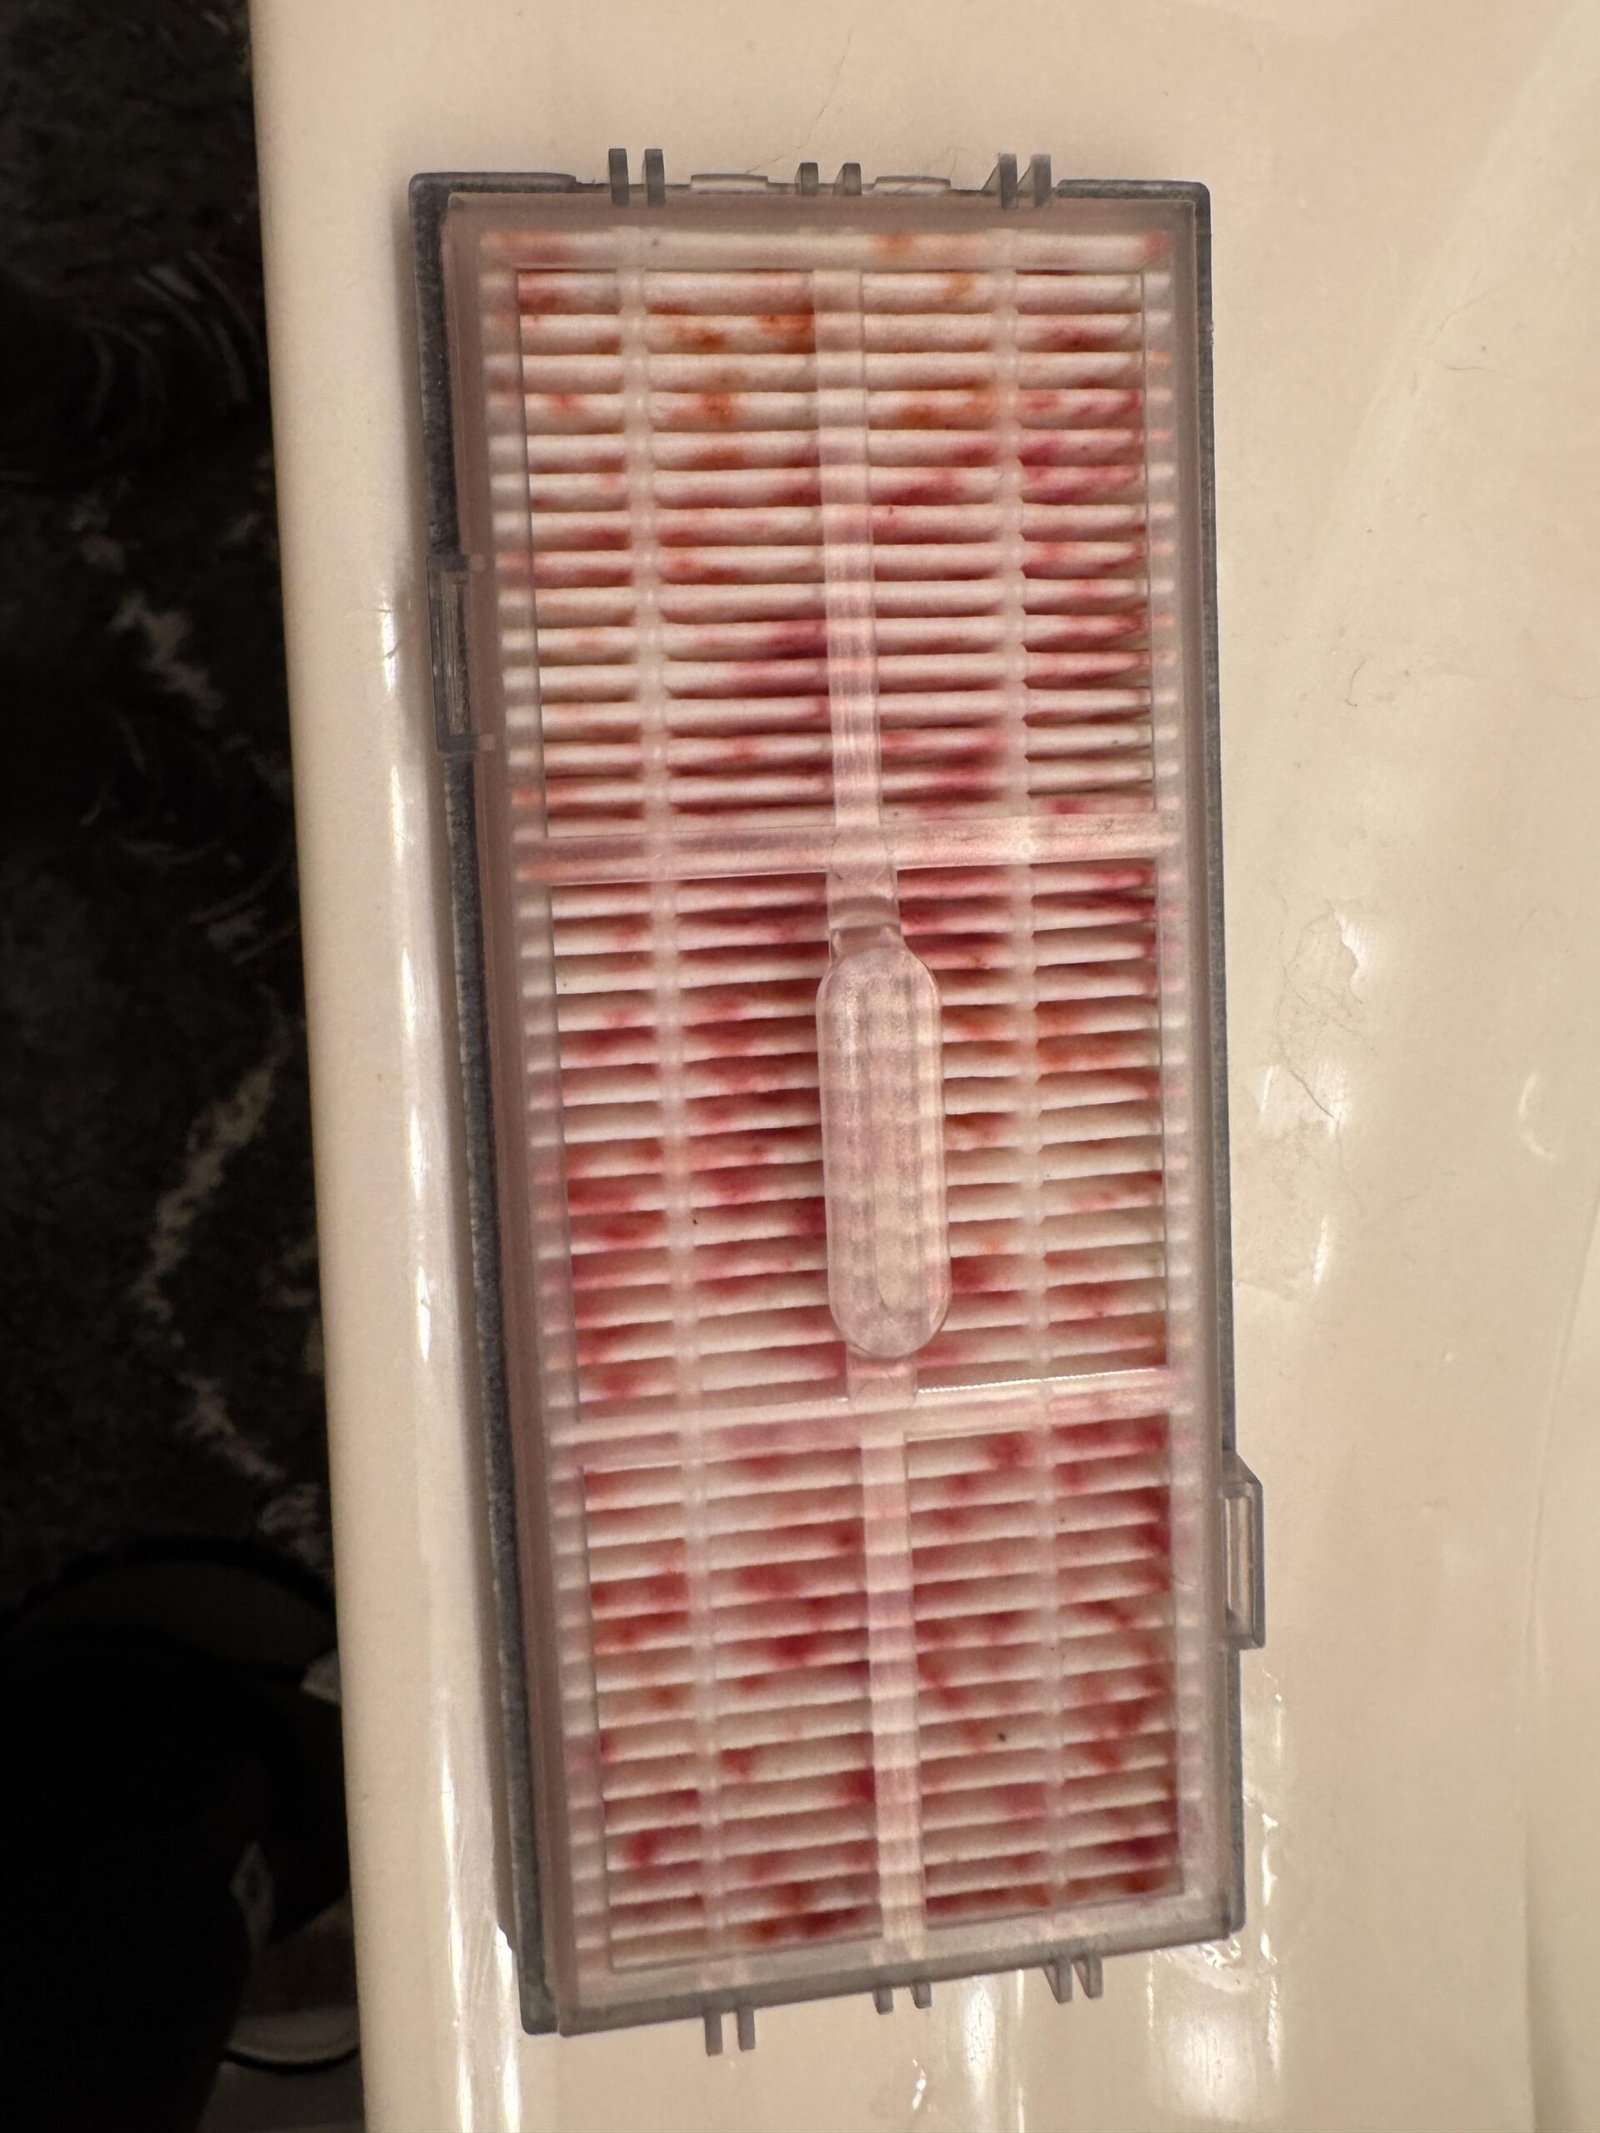
- Write the install date on the filter with a permanent marker when you install a new one — makes replacement interval tracking easy.
- Buy the correct replacement before you need it — HEPA filters are appliance-specific. Have a replacement on hand so you’re not running the appliance without a filter while waiting for a delivery.
- Check the pre-filter first — many HEPA appliances have a foam or mesh pre-filter in front of the HEPA element. Keeping this clean extends HEPA filter life dramatically because it captures the larger particles before they reach the HEPA media.
- True HEPA vs. “HEPA-type” — if your filter is labeled “HEPA-type” or “HEPA-style,” it isn’t a true HEPA filter (which must capture 99.97% of particles 0.3 microns or larger). HEPA-type filters are lower efficiency. Cleaning and replacement intervals for these are more frequent.
Frequently Asked Questions
Can I put a HEPA filter in the washing machine or dishwasher?
No — even washable HEPA filters should only be rinsed by hand under running water. Washing machines create agitation that deforms and tears the filter media. Dishwashers use high heat that melts or warps both the filter media and the plastic frame. Hand rinsing under running water is the only safe washing method.
How do I clean a HEPA filter in a Dyson vacuum?
Dyson HEPA filters are washable. Remove the filter, tap out loose dust outdoors, then rinse under cold water from the clean side toward the dirty side until the water runs clear. Do not use soap. Shake gently to remove excess water and air dry for at least 24 hours — Dyson specifies this drying time in their manuals. Dyson recommends washing once a month with regular use.
What happens if I reinstall a damp HEPA filter?
A damp HEPA filter in an air purifier or vacuum restricts airflow far more than a dry filter, causing the motor to work harder and potentially overheat. The persistent moisture promotes mold and mildew growth inside the appliance, which then gets circulated into your home’s air — the opposite of the filter’s purpose. Always dry for the full 24 hours before reinstalling.
Can I use compressed air to clean a HEPA filter?
Compressed air can be used to blow dust off the surface of a HEPA filter from the clean side out toward the dirty side — this is similar to vacuuming. Do this outdoors and stand upwind. Avoid very high pressure concentrated in one spot as it can rupture filter pleats. Compressed air is effective for a quick maintenance clean but doesn’t replace periodic washing for washable filters.
Are HEPA filters worth the investment for air purifiers?
Yes — a true HEPA filter captures 99.97% of airborne particles 0.3 microns or larger, including dust, pollen, pet dander, mold spores, and some bacteria. For households with allergies, asthma, or pets, this level of filtration measurably improves air quality. The ongoing cost is filter replacements every 12–18 months — follow manufacturer guidelines rather than stretching replacement intervals, as a clogged HEPA filter provides no benefit.
Conclusion
HEPA filter maintenance is simple when you know the rules: identify whether your filter is washable, vacuum all HEPA filters regularly, only wash those labeled washable, and dry completely for 24 hours before reinstalling. Replace on schedule — a HEPA filter past its service life is just a barrier to airflow with no filtration benefit. Regular maintenance maximizes the investment in your air quality appliances.
For related home air quality maintenance, see our guide on how to clean a dehumidifier which also contains a HEPA-style filter. For furnace filter maintenance, see our guide on how to clean a furnace and replace the filter.
