
A grease trap separates fats, oils, and grease (FOG) from kitchen sink wastewater before it reaches the sewer, preventing blockages and compliance violations. When it fills up, grease overflows into the drain line and causes severe clogs — and the smell becomes unmistakable. Cleaning a grease trap involves manually removing the accumulated grease and solids, scrubbing all components, and properly disposing of the material. This guide covers both under-sink grease interceptors common in homes and small food service kitchens.
What You’ll Need
Tools
- Rubber gloves (heavy-duty)
- Safety glasses and a mask or respirator
- Small shovel or large spoon for grease removal
- Shop vacuum (wet/dry vac) for liquid removal
- Stiff scrub brush
- Bucket and lid (for grease disposal)
- Wrench or pliers for trap lid removal
Materials
- Dish soap and warm water
- White vinegar (for deodorizing)
- Enzyme-based grease digester (optional — for biological grease breakdown)
- Sealable container or grease disposal bag for waste
Safety Precautions
- Wear heavy rubber gloves, eye protection, and a respirator or N95 mask — grease trap contents produce hydrogen sulfide gas, which has a strong rotten egg odor and is toxic in high concentrations. Work in a well-ventilated area.
- Never pour grease down any drain — it will re-clog the system. All removed grease must be disposed of in sealed containers in the trash, or dropped off at a grease recycling facility.
- Do not use hot water during cleaning — hot water liquefies grease and sends it further into the drain system. Use warm water only.
- Check local regulations — in most US municipalities, commercial grease trap waste is classified as special waste and must be disposed of by a licensed hauler. Home under-sink grease interceptors typically allow trash disposal of small quantities.
How a Grease Trap Works
A grease trap works on simple physics: grease and oils are lighter than water, so they float to the top of the trap chamber. Wastewater enters the inlet, separates as grease rises and solids sink, and the clarified water exits through the outlet at the bottom. Over time, the floating grease layer thickens and the solid layer grows upward — when these meet, the trap is full and grease begins escaping into the drain line.
The “25% rule” is the industry standard: when the combined depth of the floating grease layer and the settled solids reaches 25% of the trap’s total liquid depth, it’s time to clean. For a home under-sink interceptor, this typically means monthly or quarterly cleaning depending on cooking volume.
How to Clean a Grease Trap Step by Step
Step 1: Prepare the Work Area
Turn off all kitchen sinks and any equipment draining to the grease trap. Lay down protective coverings (old towels, newspaper, or plastic sheeting) around the trap. Have your disposal container ready — a sealable 5-gallon bucket with a lid works well for this. Put on all protective gear before opening the trap.
Step 2: Remove the Trap Lid
Grease traps are typically accessed by lifting or unbolting a lid. Under-sink interceptors usually have a hand-tightened or screw-down lid. For larger in-floor traps, the lid may require a wrench. Place the lid carefully to one side — don’t scrape the gasket. Let the trap vent for a minute or two before putting your face near the opening. The gas buildup (hydrogen sulfide) dissipates quickly with ventilation.
Step 3: Measure the Grease and Solids Depth
Insert a straight ruler or stick into the trap and measure the depths of: (1) the floating grease layer at the top, (2) the middle clear water layer, and (3) the settled solid layer at the bottom. Record these measurements — if you’re a home cook doing this for the first time, this tells you how overdue the cleaning was and helps you establish the right cleaning interval going forward.
Step 4: Remove the Floating Grease Layer
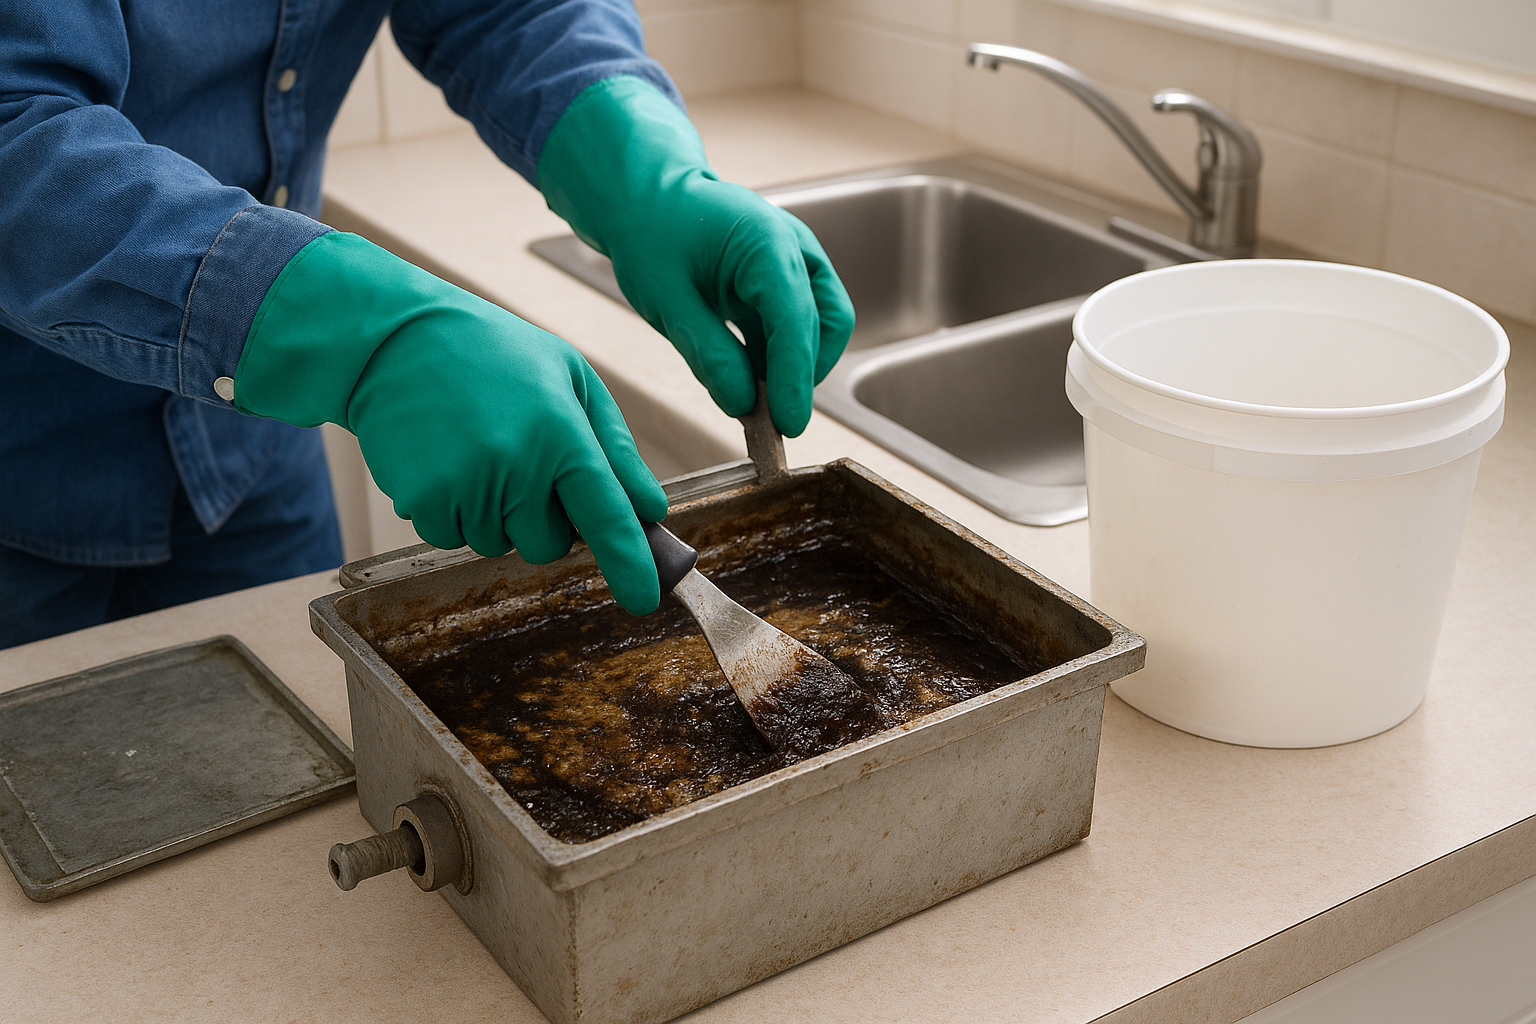
Using a ladle, small shovel, or large spoon, carefully skim and scoop the floating grease layer into your disposal bucket. Work slowly — grease has the consistency of cold margarine and can splatter. Fill the bucket no more than 3/4 full for manageable handling. For liquid grease in warmer kitchens, use a shop vacuum to suction it out more cleanly. Remove as much of the floating layer as possible before proceeding.
Step 5: Remove the Wastewater and Solid Layer
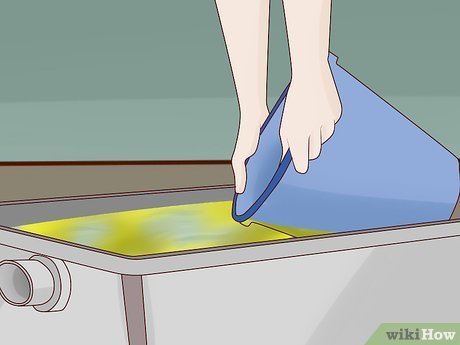
After removing the grease layer, use the shop vacuum to remove the remaining wastewater from the trap. Then scoop out the solid sludge from the bottom — this settles into a darker, denser layer than the grease and has a particularly strong odor. Get as much solid material out as possible and add it to your sealed disposal container.
Step 6: Clean All Trap Components
Remove any internal baffles, inlet/outlet pipes, or screens and clean them separately. Scrub the interior walls and bottom of the trap with a stiff brush and warm dish soap solution. Scrub the lid, gasket, and all removable components. Rinse with warm (not hot) water. For odor control, wipe all surfaces with undiluted white vinegar and allow to sit for 5 minutes before rinsing.
Step 7: Reassemble and Restore Flow
Reinstall the baffles and internal components in the correct orientation (inlet baffle before the grease compartment, outlet baffle after). Replace the gasket if it shows any cracking or deformation — a failed gasket allows grease vapors into the kitchen and reduces trap efficiency. Seal the lid. Turn on a sink and run warm water for 30 seconds to verify normal flow and confirm no leaks at the lid seal.
Step 8: Dispose of Grease Waste Properly
For home use: allow the removed grease to cool and solidify, seal the container lid tightly, and place in the trash. Do not pour liquid grease down any drain, into compost, or onto the ground. Many cities have grease recycling drop-off programs — check local resources. For commercial operations, use a licensed grease waste hauler for disposal — most municipalities require this and inspect compliance.
Cleaning Frequency by Use Level
| Kitchen Type | Recommended Cleaning Frequency |
|---|---|
| Home kitchen (light cooking) | Every 3–6 months |
| Home kitchen (heavy cooking, frying) | Monthly |
| Small food service / bakery | Every 2–4 weeks |
| Full-service restaurant | Weekly to every 2 weeks (or per local health code) |
Pro Tips
- Add enzyme grease digesters monthly — products like Green Gobbler Grease Grabber or Bio-Ben contain bacteria that consume FOG between cleanings, extending the interval. Pour into the drain per product instructions.
- Keep a cleaning log — record the grease layer depth and cleaning date each time. This lets you identify if cooking patterns have changed enough to warrant more frequent cleaning.
- Never use hot water to “flush” a grease trap — this is a common misconception. Hot water liquefies grease and sends it past the trap into the drain line, defeating the purpose entirely.
- Commercial operations: check local health codes — in many jurisdictions, under-sink grease interceptors must be cleaned on a specific schedule and documentation must be maintained for inspection.
Frequently Asked Questions
How do I know when my grease trap needs cleaning?
Signs include: slow drainage at the kitchen sink, an increasing sulfur/rotten egg odor near the sink area, visible grease residue in the drain line, or a visible grease layer that has grown thick when you open the trap for inspection. For home under-sink interceptors, a monthly quick inspection (open the lid and check) takes 30 seconds and prevents overflow situations.
Can I use chemical drain cleaners to clean a grease trap?
No — chemical drain cleaners (especially lye-based ones like Drano) can temporarily liquefy grease and push it past the trap, causing it to solidify further in the drain line. They also kill the beneficial bacteria that digest grease biologically and can corrode trap components. Use only mechanical cleaning (manual removal) with enzyme digesters for biological maintenance.
What happens if I don’t clean my grease trap?
When the grease layer and solid layer together reach 25% of the trap volume, overflow begins. Grease flows past the trap into the drain lines and sewer system, where it cools, solidifies, and builds FOG blockages. In municipal systems, these blockages can cause sewage backups into homes — a serious health hazard. For commercial operations, a failed grease trap is a health code violation that can result in fines and closure.
Can I put grease trap waste in my compost?
No — grease trap waste contains a mixture of animal fats, food solids, and bacteria that are not appropriate for home composting. The high fat content suffocates composting microorganisms and creates anaerobic zones that generate methane and foul odors. Dispose of grease trap waste in sealed containers in the trash or through a municipal grease recycling program.
Do enzyme products eliminate the need to manually clean a grease trap?
No — enzyme and bacteria-based grease digester products help between cleanings by breaking down FOG biologically, but they cannot replace manual cleaning. The solid food particles and non-biological material (called FOG “sludge”) must still be physically removed. Think of enzyme products as a way to extend the cleaning interval, not eliminate manual cleaning entirely.
Conclusion
Cleaning a grease trap is unpleasant but essential — a neglected trap causes drain backups that are far more disruptive than a scheduled cleaning. For home kitchens, a quarterly check and clean keeps the system running without issue. Protect yourself with gloves and ventilation, dispose of grease waste properly, and add enzyme digesters between cleanings to reduce frequency. Your kitchen drains will stay clear and the municipal sewer system stays protected.
For related kitchen plumbing maintenance, see our guide on how to clean a sink drain for ongoing drain maintenance that works alongside a grease trap. For range hood maintenance, see our guide on how to clean a range hood filter for capturing grease at the source before it reaches the drain.
