
Cleaning a gravestone correctly requires understanding what the stone is made of — the wrong cleaner can permanently damage a century-old marble marker in minutes. The safe rule for all gravestones: use plain water and a soft brush for routine cleaning. For biological growth (lichen, algae, moss), a solution of D/2 Biological Solution is the most widely recommended product by preservation professionals. Bleach, vinegar, and pressure washing are never appropriate for memorial stones. Here’s how to clean every stone type safely.
What You’ll Need
Tools
- Soft-bristle brushes (natural or nylon — no metal wire brushes)
- Plastic or wooden scraper (for heavy biological crust — never metal)
- Multiple buckets of clean water
- Spray bottle
- Camera or phone (to photograph the stone before and after)
Materials
- D/2 Biological Solution — the industry-standard professional cleaner for memorial stones
- Plain water (distilled or clean tap water)
- Non-ionic soap — Orvus WA Paste or similar (for organic staining on granite)
Safety Precautions
- Never use bleach, chlorine, or ammonia-based cleaners on gravestones — they accelerate deterioration, especially on marble and limestone, and leave harmful residue.
- Never use vinegar or any acidic cleaner on marble, limestone, or sandstone — acid dissolves calcium carbonate, the primary mineral in these stones, permanently etching the surface and erasing inscriptions.
- Never use a pressure washer — even at low settings, pressure washing forces water into micro-cracks, expands them with freeze-thaw cycles, and can erode inscriptions on soft stones.
- Assess structural stability first — do not clean or lean on a gravestone that is leaning, cracked, or seems unstable. Moving or touching unstable stones can cause them to fall. Contact the cemetery for stabilization assistance.
- Obtain permission if required — some cemeteries require permission before cleaning headstones, especially older, historic grave markers. Check with the cemetery administration.
- Work during overcast days or in the shade — cleaners dry too fast in direct sunlight and are less effective.
Identify Your Stone Type First
| Stone Type | Common Era | Special Care |
|---|---|---|
| Marble | 1700s–mid 1900s | Very acid-sensitive — never use vinegar, bleach, or acidic cleaners. Water and D/2 only. |
| Granite | Late 1800s–present | Most durable; tolerates D/2 and non-ionic soap. Still no pressure washing. |
| Limestone / Sandstone | 1600s–1800s | Extremely soft and acid-sensitive — water only or extreme caution with D/2. Do not scrub hard. |
| Concrete / Cast Stone | Early 1900s–present | Porous — D/2 or dilute non-ionic soap. Avoid acidic cleaners that degrade cement binders. |
| Bronze (plaques) | 1900s–present | Non-ionic soap and water. Remove with a soft cloth. Bronze wax (Trewax or similar) for protection. |
How to Clean a Gravestone Step by Step
Step 1: Photograph and Assess the Stone
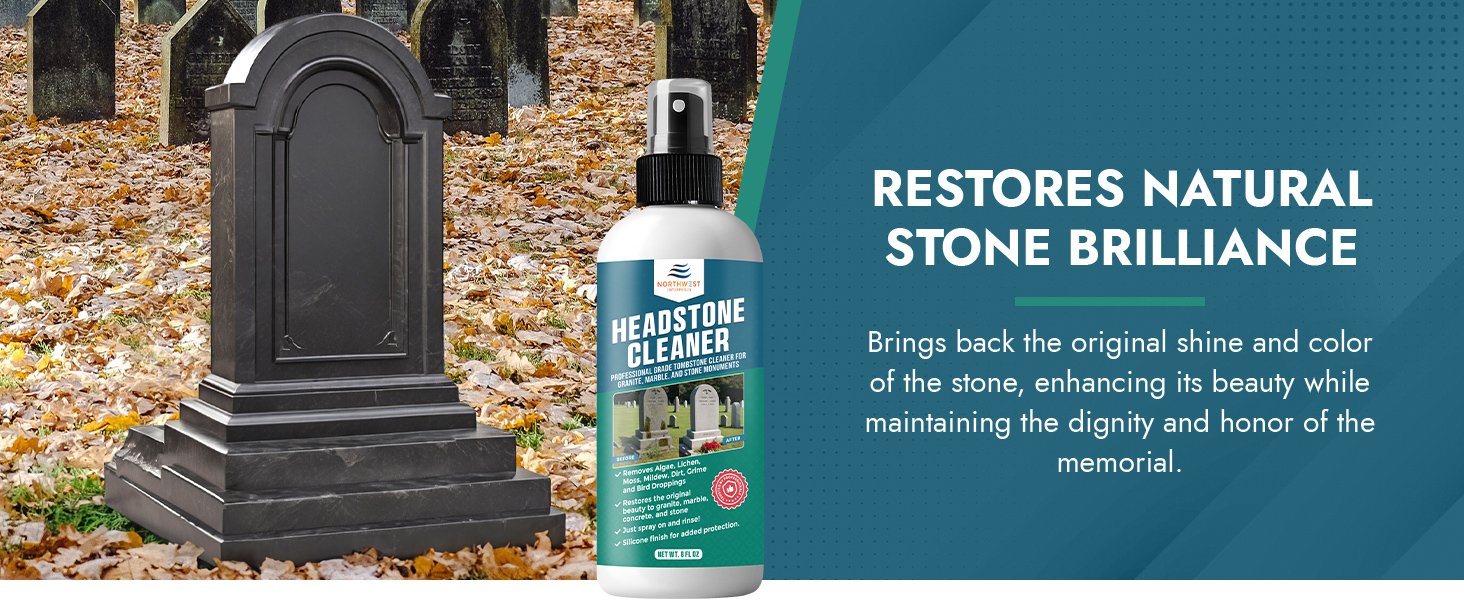
Before touching the stone, take photos from multiple angles in raking light (light from the side that highlights engraving). This documents the stone’s condition before cleaning and helps you see all inscriptions you want to preserve. Check for cracks, chips, spalling (surface flaking), or areas where the stone feels hollow when gently tapped. Don’t proceed with cleaning if the stone is structurally compromised — contact the cemetery.
Step 2: Wet the Stone Thoroughly
Soak the entire stone surface with clean water before applying any cleaner. Pour water slowly over the stone or use a spray bottle. Wetting prevents cleaning products from soaking into dry stone too quickly and causing uneven results. Keep the stone wet throughout the cleaning process.
Step 3: Mechanical Removal of Biological Growth
For lichen, moss, or heavy algae crust, begin with gentle physical removal before applying chemicals. Using your plastic scraper or fingers, gently lift any thick biological growth that comes away easily without force. Use a soft brush to scrub the surface with plain water first — this removes loose material and light biological growth without any chemicals at all. For light biological staining that doesn’t brush away, proceed to Step 4.
Step 4: Apply D/2 Biological Solution
D/2 Biological Solution is the product specifically recommended by the Association for Gravestone Studies and widely used by preservation professionals. It’s non-ionic, biodegradable, and effective against algae, lichen, mold, mildew, and bacteria without damaging stone. Mix according to label instructions — typically applied full strength or diluted depending on growth severity. Spray or brush onto the wet stone, then scrub gently with a soft-bristle brush. Work in small sections. Allow D/2 to remain on the stone for the time specified on the label — don’t rinse immediately. Biological matter continues to break down over days and weeks after application, even after the stone dries.
Rinse with plenty of clean water after the dwell time. Use multiple bucket pours rather than a hose at high pressure — a gentle pour or low-flow hose is fine.
Step 5: Address Specific Staining
For iron or rust staining on granite (orange-brown marks, often from metal fixtures or adjacent metal fencing), a commercial iron stain remover designed for natural stone (Iron Out for Stone, or similar) can be carefully applied per label directions. These products aren’t appropriate for marble or limestone. For organic staining on granite (brown or grey leaf tannin staining), a paste of non-ionic soap and water worked in with a soft brush, followed by thorough rinsing, removes most of it.
Step 6: Final Rinse
Rinse the stone thoroughly from top to bottom with multiple bucket pours or a gentle hose trickle. Remove all cleaner residue. The stone will continue to lighten over the next several weeks as D/2 continues to work on remaining biological matter even after rinsing — this is normal. Final results are often not visible until 2–4 weeks after cleaning.
Step 7: Bronze Plaques
For flat bronze plaques, clean with a solution of non-ionic soap and warm water using a soft cloth. Rinse thoroughly. Allow to dry, then apply a thin coat of museum-grade or automotive-grade paste wax (Trewax or Johnson’s Paste Wax) to the dry surface and buff with a soft cloth. This protective wax coat prevents oxidation and makes future cleaning easier.
Pro Tips
- Never use shaving cream to make inscriptions visible — an old cemetery cleaning tip, this method stains the stone and can cause permanent damage. Photography in raking light is the correct technique for reading worn inscriptions.
- D/2 is available on Amazon and at many hardware stores — a single quart handles many headstones. It’s the gold standard and worth the investment over household substitutes.
- Visit 2–4 weeks after cleaning — biological matter continues breaking down after D/2 application. A follow-up visit reveals the final result and allows a second treatment for any persistent growth.
- Older markers are more fragile than they look — a marble stone from 1800 has been weathering for over 200 years. Its surface may be extremely soft and erode with surprisingly little scrubbing pressure. Use a feather-light touch on very old soft stone.
Frequently Asked Questions
Can I use bleach to clean a gravestone?
No — bleach (sodium hypochlorite) damages stone by leaving chlorine residue that continues reacting with the stone after cleaning, accelerating deterioration. It’s also ineffective against lichen, which has penetrating root-like structures called hyphae that bleach doesn’t kill. D/2 Biological Solution kills biological growth at the root level and is far superior and safer for the stone.
Is it okay to use a wire brush on a gravestone?
Never use a wire or metal brush on any gravestone — it scratches stone surfaces permanently, removes inscription detail from soft stones, and leaves metal particles embedded in the stone that cause rust staining over time. Use only natural or nylon soft-bristle brushes.
How do I clean very old fragile gravestones?
For stones showing spalling, pitting, or significant soft spots, limit cleaning to plain water and the softest brush possible. If the stone is very soft (your finger leaves a mark), consider not scrubbing at all — water spray and rinse only. In some cases, the best preservation approach for severely deteriorated historic stones is professional conservation rather than DIY cleaning. Contact the Association for Gravestone Studies for resources on professional conservators in your area.
Why does the stone look worse after cleaning — why are there new white areas?
White areas appearing after cleaning on marble or limestone indicate the water reactivated areas where previous cleaning attempts (particularly bleach or acid) had already damaged the stone. These white patches are areas where the stone’s surface has been etched or chemically altered previously. Once the stone dries and D/2 finishes working over the following weeks, the appearance often improves, but pre-existing damage cannot be reversed by cleaning alone.
Can I use a garden hose to clean a gravestone?
A garden hose at low pressure (no spray nozzle, just a trickle from the end of the hose) is acceptable for rinsing. Using a high-pressure garden hose nozzle is not recommended — the pressure is enough to damage soft stones like limestone and sandstone over time. For rinsing, multiple pours from a bucket is the gentlest approach.
Conclusion
Cleaning a gravestone is an act of preservation — done correctly, it restores the marker’s legibility and dignity for another generation. The rules are simple: identify the stone, use water and D/2 Biological Solution, scrub gently with a soft brush, and never use acid, bleach, or pressure. Give the stone 2–4 weeks after cleaning to reveal the final result as the biological material continues breaking down.
For other outdoor stone and surface cleaning projects, see our guide on how to clean a slate hearth for indoor stone care. If you’re maintaining outdoor hardscaping, our guide on how to clean a concrete balcony covers similar exterior surface cleaning techniques.
