
Cleaning a crystal chandelier restores the brilliant sparkle that grime, dust, and grease slowly dim over time. You have two main approaches: a spray-and-drip method that cleans the chandelier in place without touching each piece, and a hands-on crystal-by-crystal method that gives the deepest clean. Either way, you’ll need the right solution — not Windex — and a safe ladder setup. Here’s exactly how to do it without damaging the crystals or the hardware.
What You’ll Need
Tools
- Sturdy step ladder or extension ladder (tall enough to reach the fixture comfortably)
- Ladder stabilizer or spotter for safety on high fixtures
- Spray bottle (for spray method)
- Two clean microfiber cloths or cotton gloves
- Small bowl or bucket for hand-cleaning method
- Lint-free polishing cloth or chamois
- Drop cloth or plastic sheeting (to protect the floor or furniture below)
- Soft-bristle paint brush or compressed air can (for dusting frame)
Materials
- Distilled water (hard water leaves spots — use distilled)
- Isopropyl alcohol (70% for spray method, or mix your own cleaning solution)
- Dish soap — a few drops of mild formula (for hand-cleaning method)
- White vinegar (optional, for stubborn grease film)
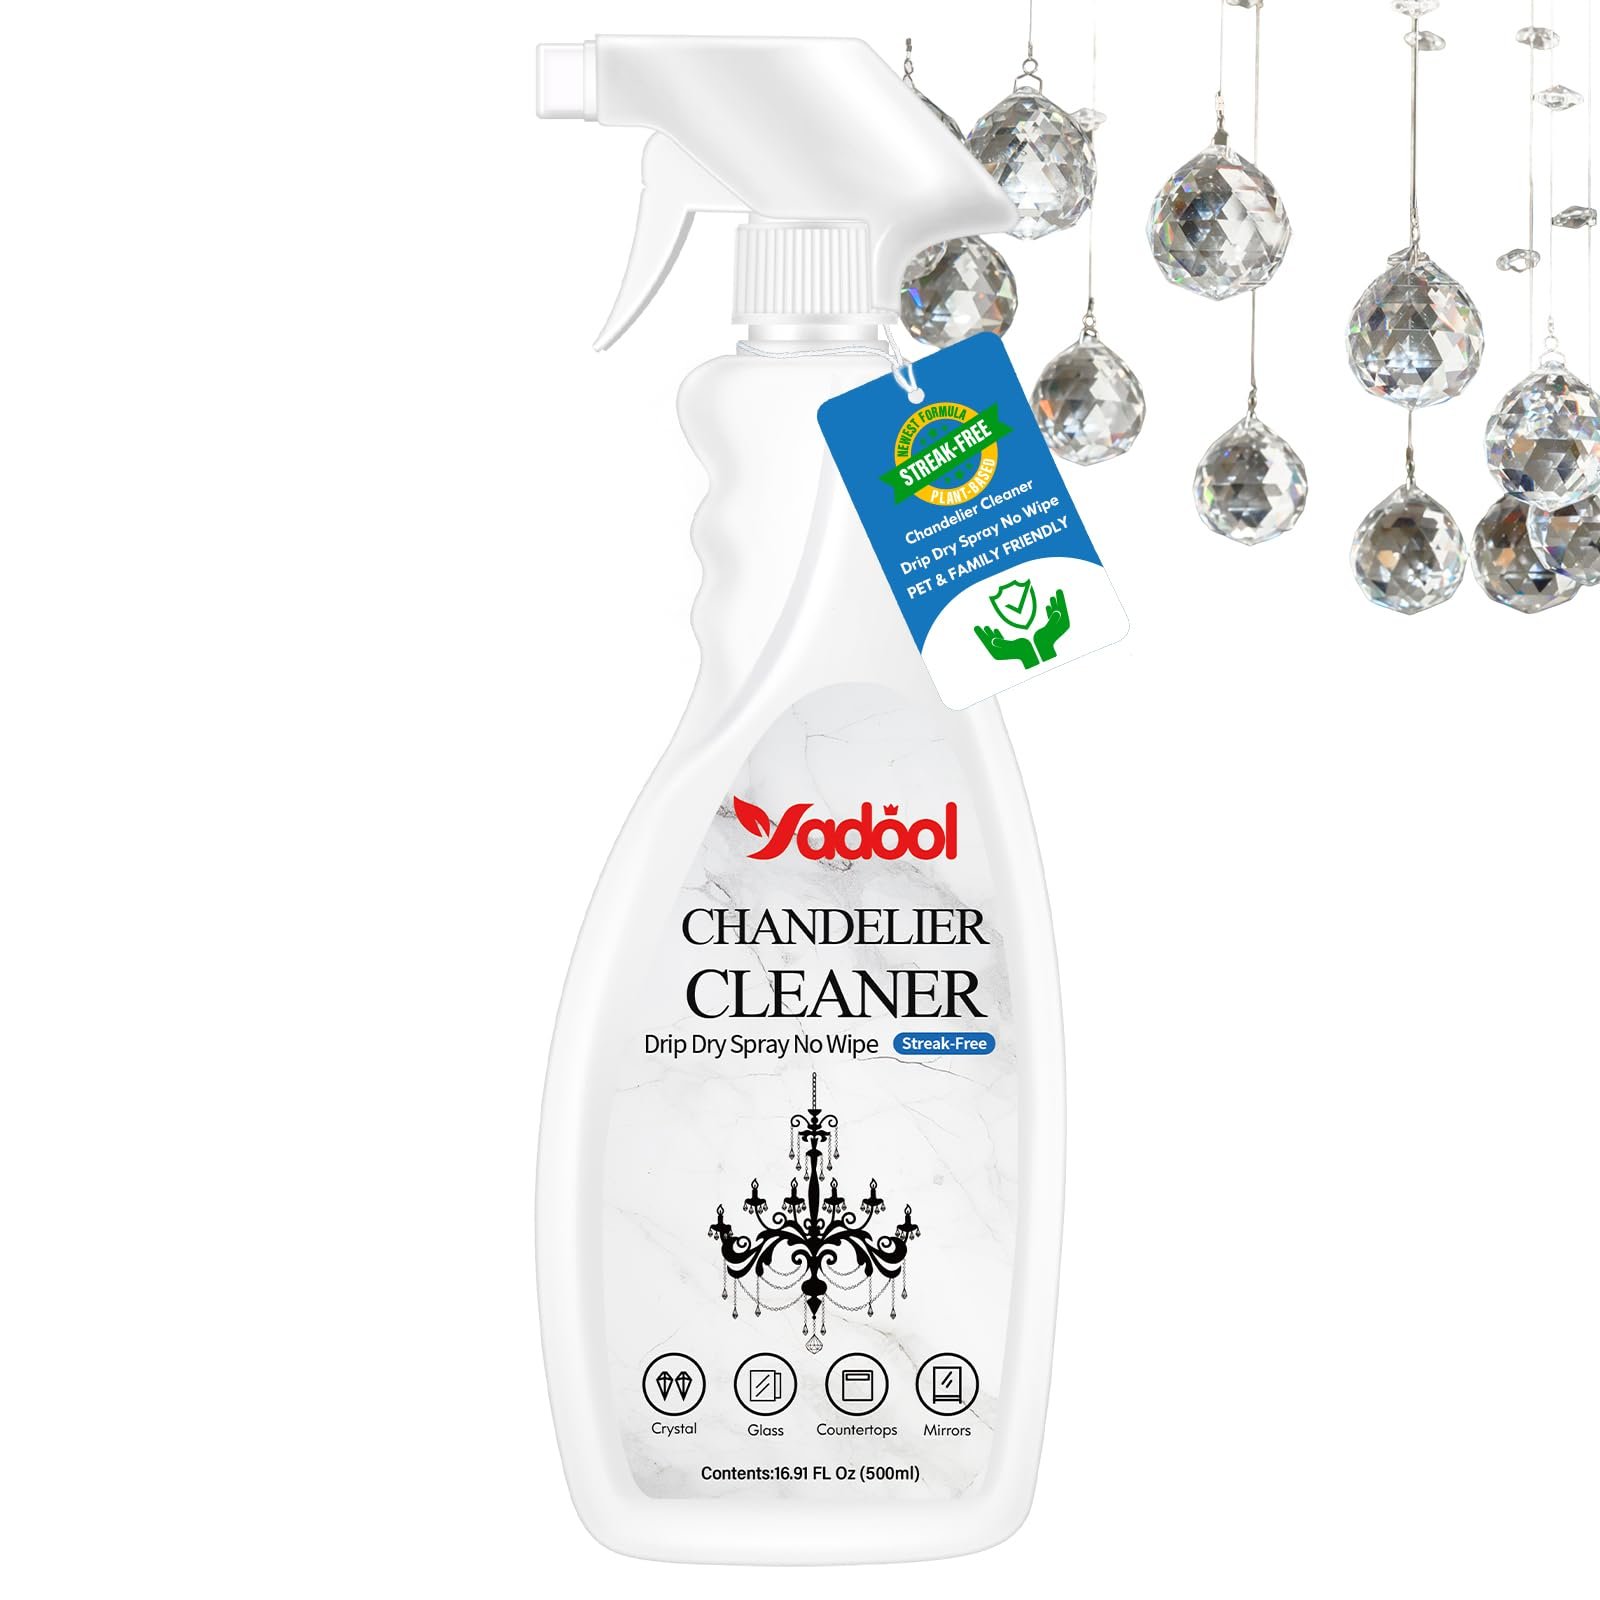
- Crystal-safe chandelier spray cleaner (commercial option — Hagerty or similar)
What NOT to Use
- Windex or ammonia-based cleaners — they strip the metallic coatings on gold and silver-finish hardware and can cloud acrylic crystal
- Abrasive scrubbers — scratch crystal surfaces permanently
- Hot water — thermal shock can crack genuine leaded crystal
- Paper towels — leave lint and micro-scratches on crystal
Safety Precautions
- Turn off the chandelier at the switch AND at the circuit breaker before cleaning. Even when off at the switch, bulb sockets can carry voltage. Let bulbs cool completely — at least 30 minutes — before starting.
- Use a stable ladder, never a chair or stool for elevated chandeliers. Have a spotter hold the ladder if your ceiling is over 10 feet.
- Do not spray liquid directly at the light sockets or wiring. Direct spray at crystals only, not the canopy, ceiling medallion, or socket cups.
- Photograph the chandelier before disassembling anything for hand-cleaning — crystals are hung in specific patterns and reassembly without a reference photo is frustrating.
- Remove bulbs before cleaning if using the spray method — moisture in sockets is a hazard.
- Work with a partner for large statement chandeliers — one person to handle crystals, one to manage tools and the ladder.
Understanding Your Crystal Type Before You Start
Not all chandelier crystals are the same, and the cleaning approach matters.
| Crystal Type | What It Is | Special Care |
|---|---|---|
| Glass crystal | Standard soda-lime glass cut and faceted | Most durable; handles mild soap and vinegar well |
| Acrylic / plastic crystal | Lightweight plastic used in budget fixtures | Avoid alcohol above 30%, avoid ammonia — both cloud acrylic |
| Leaded crystal (K9 or Swarovski-style) | High lead-oxide glass with superior clarity and refraction | Most delicate — use only cool distilled water + drop of dish soap; no alcohol, no vinegar |
| Bohemian / hand-cut crystal | Traditional European lead crystal | Handle with clean cotton gloves; no harsh chemicals; dry immediately after washing |
Method 1: Spray-and-Drip Cleaning (In-Place, No Disassembly)
This is the easiest method and works well for routine cleaning every 6–12 months when the chandelier isn’t heavily soiled. It cleans without removing individual crystals — the solution drips off, carrying dust and light grease with it.
Step 1: Prepare the Work Area
Lay a large drop cloth, plastic sheeting, or old towels on the floor and any furniture directly beneath the chandelier. The cleaning solution will drip down — you want everything below protected. Remove any area rugs that can’t get wet. Turn off the light at the switch and at the circuit breaker. Remove all bulbs and set them aside.
Step 2: Mix Your Spray Solution
Combine 1 part isopropyl alcohol (70%) with 3 parts distilled water in a clean spray bottle. This ratio cleans effectively without leaving residue and evaporates quickly. For a commercial alternative, Hagerty Chandelier Cleaner or a similar no-rinse crystal spray works well and is formulated specifically for this use. Do not use tap water — the minerals in hard tap water leave white spots on crystals as it dries.
Step 3: Dust the Frame First
Before applying any liquid, use a soft-bristle brush or a can of compressed air to remove loose dust from the frame, arms, and canopy. Start at the top of the fixture and work downward. This prevents wet dust from smearing across crystal surfaces when you spray. If the chandelier has ornate metalwork, a soft artist’s brush gets into tight spots without scratching the finish.
Step 4: Spray the Crystals
Position your ladder so you can comfortably reach the top of the chandelier. Starting at the top and working your way down, spray each cluster of crystals generously. Let the solution drip — that’s intentional. The liquid dissolves grease and dust, and as it runs off the crystal, it takes the grime with it. Don’t spray the metal frame or socket areas. Work in sections — top tier first, then middle, then lower strands.
Step 5: Let It Dry Completely
Do not wipe or touch the crystals after spraying. Let the solution evaporate naturally — this takes 20–30 minutes in a room-temperature space. The alcohol content in the solution helps it dry without spotting. Once fully dry, reinstall the bulbs, restore circuit breaker power, and turn on the light to check the sparkle.
Method 2: Hand-Cleaning Crystal by Crystal (Deep Clean)
This method takes more time but gives far better results on grimy, heavily soiled chandeliers or when you want a complete restoration. Plan for 2–4 hours on a medium-sized chandelier.
Step 1: Photograph the Chandelier Before Touching It
Take multiple photos from different angles — straight on, from below, and close-up of any tiered or layered sections. Crystals hang in specific patterns (teardrop, rosette, pendalogue) and at specific positions. Your photos are your reassembly guide. Without them, you’ll spend as long putting things back as you spent cleaning.
Step 2: Set Up Your Cleaning Station
Fill one bowl with warm (not hot) distilled water and a few drops of mild dish soap. Fill a second bowl with plain distilled water for rinsing. Lay several clean, lint-free towels on a flat surface nearby — this is where cleaned crystals dry. Put on a clean pair of cotton gloves. The oils from bare hands leave fingerprint smudges that are hard to remove once dry.
Step 3: Remove Crystals Systematically
Work from the bottom of the chandelier upward. Unhook or unclip each crystal at its wire pin or clip attachment. As you remove them, group them by type and tier on your work surface. Don’t mix different crystal shapes in the same cleaning bowl — strands and pendants can scratch each other if they clink together.
Step 4: Wash Each Crystal
Dip each crystal into the soapy water bowl and gently agitate. For stubborn grease spots, use your fingertips (through gloves) to rub the surface. Do not use brushes on the crystal face — only on metal pins or clips if needed. Move the crystal to the rinse bowl and swish to remove all soap. Lift it out and hold it up — it should look clear and clean. If you see film remaining, repeat the wash step.
Step 5: Dry Immediately — No Air Drying
Air drying leaves water spots, especially on leaded crystal. Immediately after rinsing, hold the crystal with one cloth and use a second clean microfiber cloth to gently pat and then polish the crystal dry. Work from the top of the piece down to the bottom point. The crystal should sparkle as you dry it — if it looks cloudy, rinse again and re-dry.
Step 6: Clean the Frame While Crystals Are Off
With the crystals removed, this is the best opportunity to clean the chandelier frame itself. Wipe metal arms and the central body with a lightly damp cloth (distilled water only on gold/silver finishes). For chrome or nickel finishes, a small amount of rubbing alcohol on a cloth removes fingerprints and grease. Dry immediately with a clean cloth — water left on metal hardware causes tarnishing.
Step 7: Reinstall Crystals in Order
Using your photos as reference, rehang each crystal starting from the top tier and working downward. Each pin or clip should snap or hook securely — a loose crystal will fall. Take your time matching the original pattern. Once complete, step back and look at the full fixture from a distance before turning the power back on — you’ll spot any missing or misplaced pieces more easily from across the room.
How to Clean the Chandelier Frame and Hardware
Crystal gets the attention, but the metal frame accumulates dust and can tarnish. The cleaning approach depends on the finish.
- Gold or brass finish: Wipe with a dry microfiber cloth for dust. For tarnish or spots, use a damp cloth with distilled water only. Avoid polishes — they can remove thin plating from budget fixtures.
- Chrome or nickel finish: Wipe with a cloth dampened with a small amount of isopropyl alcohol. Dry immediately. Chrome resists tarnish better than brass and tolerates slightly more moisture.
- Wrought iron or matte black: Dust with a dry brush. A slightly damp cloth for stuck-on dirt. Avoid any acidic cleaners — they can cause surface oxidation on raw iron finishes.
- Canopy and ceiling mounting: Wipe gently with a dry cloth only — do not apply liquid near the ceiling junction box.
Pro Tips for a Streak-Free Shine
- Always use distilled water — even in cities with soft water, trace minerals leave micro-deposits on crystal over time. Distilled water eliminates this entirely.
- Wear cotton gloves throughout — even when you think your hands are clean, oils transfer to crystal and create smudges that are invisible until the light hits them at the right angle.
- Clean in cooler conditions — high heat causes cleaning solutions to evaporate before they run off the crystal, leaving residue. Early morning or air-conditioned rooms work best.
- Don’t neglect the wiring and hooks — crystal pins and hooks corrode over time. If you notice green oxidation on the small metal hooks, replace them — oxidized hooks eventually fail and crystals fall.
- Add chandelier cleaning to your annual schedule — kitchens and dining areas accumulate grease in the air year-round. A chandelier above the dining table needs cleaning more often (every 6 months) than one in a formal living room (annually).
How Often to Clean a Crystal Chandelier
| Location | Recommended Cleaning Frequency |
|---|---|
| Formal living room or bedroom | Once a year (deep clean) + light dusting every 3 months |
| Dining room above table | Every 6 months (cooking grease accumulates faster) |
| Kitchen chandelier or pendant lights | Every 3–4 months — heavy grease environment |
| Entryway / foyer (high ceiling) | Once a year; twice if the door opens to a dusty outdoor environment |
| Restaurant or commercial space | Monthly or quarterly depending on cooking environment |
Frequently Asked Questions
Can I use Windex to clean a crystal chandelier?
No — Windex contains ammonia, which damages the metallic coatings on gold and silver-finish hardware and will cloud acrylic crystal permanently. Use an alcohol-and-distilled-water solution (1:3 ratio) or a dedicated chandelier spray. For genuine leaded crystal, stick to plain mild dish soap and distilled water — no alcohol or vinegar.
Do I have to take down the chandelier to clean it?
No. The spray-and-drip method cleans the chandelier in place without removing a single crystal. It works well for routine maintenance. The hand-cleaning method produces a more thorough result but requires removing individual crystals — you don’t need to take the entire fixture down from the ceiling for either approach.
How do I clean a crystal chandelier without getting it wet at all?
For a completely dry approach, use clean cotton gloves and very lightly dampened (near-dry) microfiber cloths to wipe each crystal individually. This works well for dusting between deep cleans but won’t remove grease. Alternatively, a soft makeup brush or compressed air can dislodge surface dust without any liquid contact.
Why does my chandelier look cloudy even after cleaning?
Cloudiness after cleaning almost always comes from one of three causes: using tap water (mineral deposits), using an ammonia-based cleaner on acrylic crystal, or not drying quickly enough and allowing water to dry in place. Re-clean with distilled water, dry immediately with a lint-free cloth, and buff to a shine. If cloudiness persists on acrylic pieces, it may be etched into the surface and cannot be reversed.
How do I clean a chandelier that’s very high up — 20 feet or more?
For very high fixtures, use an extension pole with a chandelier spray system attached — some commercial systems let you spray and drip-clean from the floor using a long wand. If you need hands-on access, hire a professional chandelier cleaning service for safety — working on an extension ladder at 20 feet without a platform is a real fall risk. For regular in-place cleaning between professional services, the drip spray method from a stable ladder set at a safe height is still an option.
Conclusion
A clean crystal chandelier isn’t just a sparkling light fixture — it’s a room centerpiece that commands attention. Whether you use the quick spray method for routine upkeep or take the time to hand-clean each crystal for a full restoration, the difference is immediately visible when the light hits it. Use distilled water, avoid ammonia, dry immediately, and you’ll avoid the most common mistakes that leave crystal looking dull instead of brilliant.
For other home cleaning projects, check our guide on how to clean a cloudy mirror for streak-free glass results throughout your home. If you’re tackling a complete room refresh, our guide on how to clean a concrete balcony covers exterior surfaces that pair with interior renovation work.
