
Cleaning a deep freezer means defrosting completely, wiping down all interior surfaces, removing odors, and cleaning the exterior and door gasket. Plan for 4–6 hours total — most of that is passive defrost time. Doing this once or twice a year keeps your freezer running efficiently, prevents odor buildup, and extends the appliance’s life. Here’s the full process from start to finish.
What You’ll Need
Tools
- Coolers with ice (to store frozen food during cleaning)
- Large towels or absorbent mats (for meltwater)
- Plastic scraper or spatula (never metal — scratches lining)
- Soft sponge or microfiber cloths
- Small toothbrush (for gasket grooves)
- Bucket
- Fan or hair dryer on low setting (optional, to speed defrost)
Materials
- Warm water
- Dish soap (mild)
- White vinegar
- Baking soda
- Activated charcoal or baking soda box (for ongoing odor control)
Safety Precautions
- Unplug the freezer before cleaning — never clean around live electrical components with wet cloths.
- Never use sharp metal tools to chip ice — they can puncture the refrigerant lines embedded in the walls, destroying the freezer permanently.
- Keep food cold — transfer all frozen items to a cooler with ice before starting. Don’t leave food at room temperature for more than 2 hours.
- Dry completely before plugging back in — moisture inside an operating freezer creates ice immediately and can short electrical components.
How to Clean a Deep Freezer Step by Step
Step 1: Empty the Freezer and Unplug It
Transfer all frozen food to coolers packed with ice. Group items by category so they’re easier to reload. Once empty, unplug the freezer from the wall outlet. If the unit has a drain plug at the bottom interior, place a shallow pan or tray underneath it on the floor before opening — meltwater will flow there. Leave the lid or door open to begin defrosting.
Step 2: Defrost the Interior
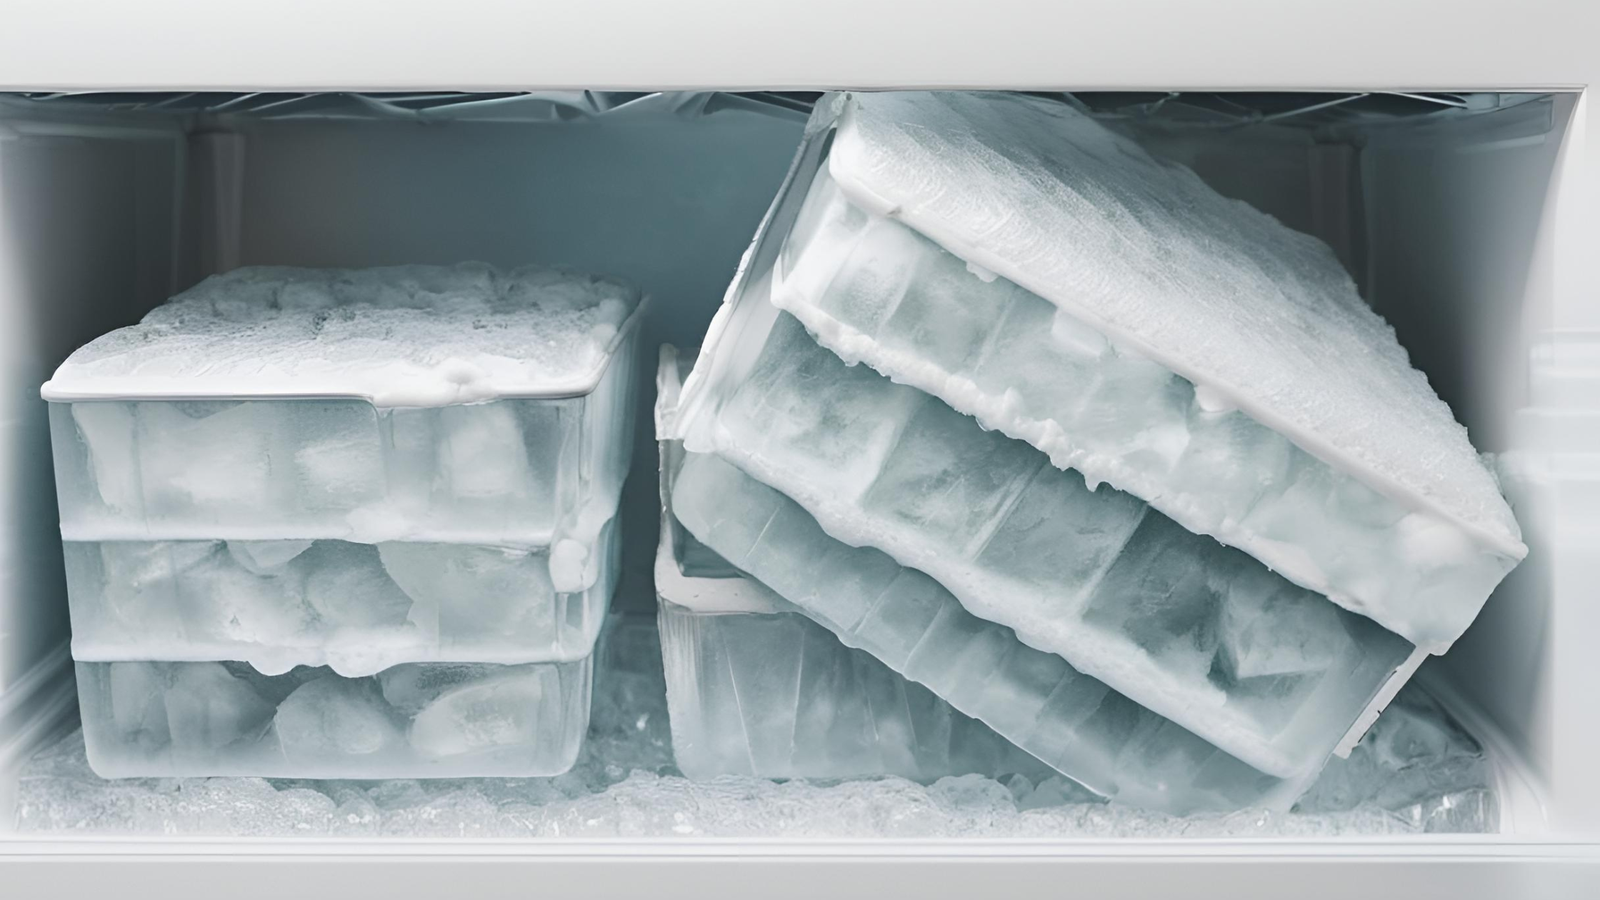
If your deep freezer has significant frost buildup (more than 1/4 inch), allow it to defrost passively with the lid open. This takes 1–3 hours at room temperature. To speed it up, place a bowl of hot water inside and close the lid for 20 minutes — the steam accelerates melting. You can also use a hair dryer on the lowest heat setting aimed at frost deposits, keeping it at least 6 inches from the walls. As large ice chunks loosen, remove them with a plastic scraper. Never chip aggressively — slow, gentle loosening only.
Step 3: Remove Meltwater
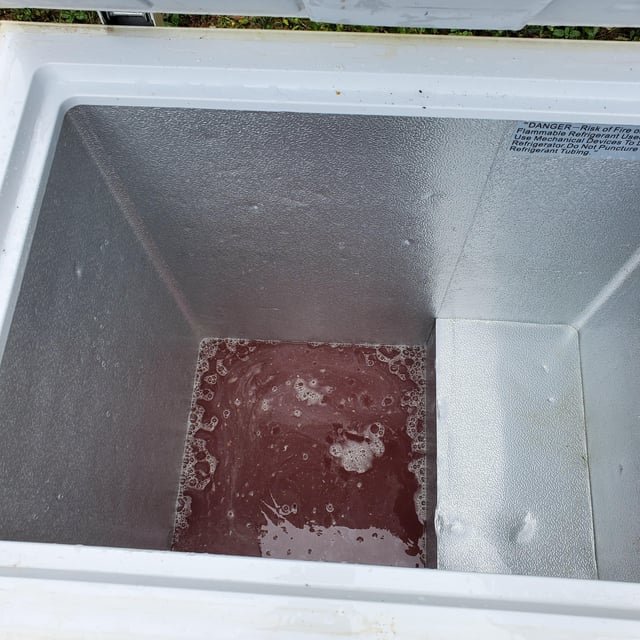
As ice melts, soak up water with towels placed inside the freezer. If your model has a drain at the bottom, open it and direct the water into a bucket. Wring out towels frequently. Once the bulk of ice is gone, use a sponge to absorb remaining puddles in corners and beneath any removable baskets or dividers.
Step 4: Remove and Clean Interior Baskets and Dividers
Take out any wire baskets, plastic dividers, or trays. Wash them in the sink with warm water and dish soap. Rinse thoroughly and set aside to dry while you clean the interior.
Step 5: Wash the Interior Surfaces
Mix a solution of 1 tablespoon of dish soap per quart of warm water. Wipe down all interior walls, the bottom, and the underside of the lid or door using a soft sponge or microfiber cloth. Work from top to bottom. For stubborn stains or food residue, apply undiluted white vinegar, let it sit for 5 minutes, then wipe off. Rinse the surfaces by wiping again with a clean cloth dampened with plain water to remove all soap residue. Soap residue left inside a freezer can absorb odors and affect food.
Step 6: Deodorize the Interior
If the freezer has a persistent odor (from a power outage, spoiled food, or long-term buildup), make a paste of baking soda and water and apply it to the affected areas. Let it sit for 15–20 minutes, then wipe clean. Alternatively, wipe all surfaces with undiluted white vinegar, which neutralizes odors without leaving residue. Rinse after. For severe odors, leave an open box of baking soda or a small cup of activated charcoal inside the closed freezer for 24 hours before reloading — without the unit running.
Step 7: Clean the Door Gasket
The rubber door or lid gasket traps grime in its folds and is a common source of freezer odors and inefficiency. Use a toothbrush dipped in a solution of 1 part white vinegar to 1 part water to scrub all the grooves and folds of the gasket. Wipe clean with a damp cloth. Check the gasket for tears or sections that have pulled away from the seal — a damaged gasket lets warm air in, causing frost buildup and higher energy use. Replace damaged gaskets; they’re available from the manufacturer or appliance parts stores.
Step 8: Clean the Exterior
Wipe the exterior with a damp cloth and mild dish soap solution. For stainless steel exteriors, wipe with the grain using a microfiber cloth dampened with a small amount of white vinegar, then buff dry. Clean the condenser coils if accessible (typically on the back of the unit) — use a vacuum brush attachment to remove dust from coils. Dusty coils reduce cooling efficiency.
Step 9: Dry Completely, Then Reload
Leave the freezer open and allow all surfaces to air dry completely — at least 30 minutes. Use a dry towel to wipe any remaining moisture from corners and the gasket area. Once fully dry, plug the unit back in, close the lid, and allow it to reach operating temperature (typically 0°F / -18°C) before reloading food. This takes about 30–45 minutes for most chest freezers. Place an open box of baking soda inside to maintain freshness going forward.
Pro Tips
- Clean twice a year — schedule a deep freezer cleaning each spring and fall when you rotate seasonal food stock.
- Label everything before you empty it — use masking tape and a marker to label containers before the big clean so reloading is organized.
- Keep an inventory list — tape a simple list to the outside of the freezer showing what’s inside and when it was frozen. This prevents mystery items from sitting for years.
- Defrost before ice exceeds 1/4 inch — heavy frost acts as insulation between the food and the cooling coils, making the motor work harder and increasing electricity costs.
- Level your freezer — a chest freezer that’s not level will collect moisture unevenly and may not seal properly. Check with a bubble level and adjust the feet if needed.
Troubleshooting: Common Deep Freezer Problems
| Problem | Likely Cause | Fix |
|---|---|---|
| Excessive frost buildup between cleanings | Damaged or improperly seated gasket letting in humid air | Inspect and replace gasket; check lid seal with a dollar bill test |
| Persistent odor after cleaning | Deep contamination in liner or gasket | Repeat baking soda treatment; check for hidden food residue under baskets |
| Freezer not reaching 0°F after cleaning | Warm food reloaded too quickly, or dirty condenser coils | Allow freezer to pre-cool 45 min before loading; clean condenser coils |
| Water pooling outside freezer during defrost | No drip tray or drain wasn’t directed properly | Use towels and a shallow pan; open drain plug next time |
Frequently Asked Questions
How often should I clean my deep freezer?
Clean and defrost a deep freezer at least once a year, ideally twice. If you notice more than 1/4 inch of frost buildup, odors, or difficulty closing the lid, clean it sooner regardless of schedule. Freezers that are opened frequently or used in humid environments may need more frequent attention.
Can I use bleach to clean inside a freezer?
Avoid bleach inside a freezer that stores food — residual chlorine odors can transfer to food even after rinsing. Use a baking soda solution or white vinegar instead. Both sanitize effectively and leave no harmful residue. If you’re cleaning a non-food chest freezer (for example, a garage unit used for ice packs), dilute bleach (1 tablespoon per gallon of water) is safe if thoroughly rinsed and fully dried before closing.
How do I get rid of a bad smell in my deep freezer?
The most effective method is to empty the freezer completely, clean all surfaces with white vinegar, leave an open box of baking soda inside the closed (unplugged) unit for 24–48 hours, then wipe again before use. For extreme odors from a power-outage spoilage event, you may need to repeat this process 2–3 times. Coffee grounds placed inside can also absorb odors quickly.
Do I need to defrost a frost-free chest freezer before cleaning?
Most chest freezers are manual defrost, not frost-free. If your chest freezer has significant ice buildup, yes — defrost completely before cleaning. Upright freezers are more commonly frost-free. Check your appliance manual. Even frost-free models benefit from an annual wipe-down cleaning, even without a full defrost.
What temperature should my deep freezer be set to?
USDA guidelines recommend 0°F (-18°C) for home freezers. At this temperature, food stays safe indefinitely (quality degrades over time, but safety is maintained). After a cleaning and restart, confirm the temperature with a dedicated freezer thermometer before reloading perishables.
Conclusion
A clean deep freezer is a more efficient freezer — less frost means less energy use and better food preservation. The process is simple once the food is out: defrost, scrub, deodorize, dry, reload. Do this twice a year and your freezer will run better and smell fresher year-round.
If you’re organizing your home appliances as part of a bigger cleaning project, see our guide on how to deep clean an entire house. For kitchen surface care, our guide on how to clean a stainless steel sink covers the surfaces that see the most daily use.
