
A clean kitchen isn’t just about appearances — it’s about food safety. The same surfaces where you prep raw chicken, crack eggs, and handle unwashed produce need consistent cleaning and proper sanitizing, not just a wipe-down. This complete kitchen cleaning guide covers every surface in the right order, with the right product for each, daily habits that prevent buildup, and a weekly and monthly schedule that keeps the kitchen genuinely clean rather than just looking clean.
What You’ll Need
| Surface | Recommended Cleaner | Tools |
|---|---|---|
| Countertops | All-purpose disinfectant spray (food-safe) | Microfiber cloths, soft sponge |
| Stovetop (gas/electric) | Degreaser or baking soda paste | Non-scratch scrub pad, old toothbrush |
| Oven interior | Commercial oven cleaner or baking soda + vinegar | Rubber gloves, plastic scraper |
| Refrigerator interior | Baking soda solution (2 tbsp per quart warm water) | Clean cloths, soft brush |
| Microwave interior | Lemon water steam method | Microwave-safe bowl, microfiber cloth |
| Sink | Baking soda plus dish soap scrub | Scrub brush, old toothbrush for drain area |
| Cabinet exteriors | Diluted dish soap or degreaser | Microfiber cloth, toothbrush for handles |
| Floors | pH-neutral floor cleaner | Vacuum or broom, mop |
Safety Precautions — Especially Important in the Kitchen
The kitchen requires extra safety awareness because cleaning products come into direct contact with food preparation surfaces. Use only food-safe disinfectants on countertops — check labels for “food-safe” or “NSF registered” designations, or use a diluted bleach solution (1 tablespoon bleach per gallon of water) which is food-safe when fully air-dried. Never mix bleach with ammonia or any acid-based cleaners. Always ventilate the kitchen when using oven cleaner, which contains lye and releases harsh fumes. Wear rubber gloves and eye protection for oven cleaning. Wash your hands thoroughly after cleaning and before any food preparation.
Use separate sponges and cloths for different zones: one for the sink, one for countertops, and never use either for the floor. Replace kitchen sponges every 1 to 2 weeks — they harbor more bacteria per square centimeter than almost any other household object.
Kitchen Cleaning Tips — Surface by Surface
Step 1: Clear and Declutter Before You Clean Anything
Every effective kitchen clean starts with removing items from surfaces — countertop appliances, items from the dish rack, anything sitting out. Cleaning around objects wastes time and leaves grime under them. As you clear surfaces, wipe down countertop appliances (toaster, coffee maker, blender) before putting them back. This pre-cleaning step takes under 5 minutes but makes the actual cleaning 30% faster and more thorough.
Step 2: Clean and Sanitize Countertops — The Food-Safe Way
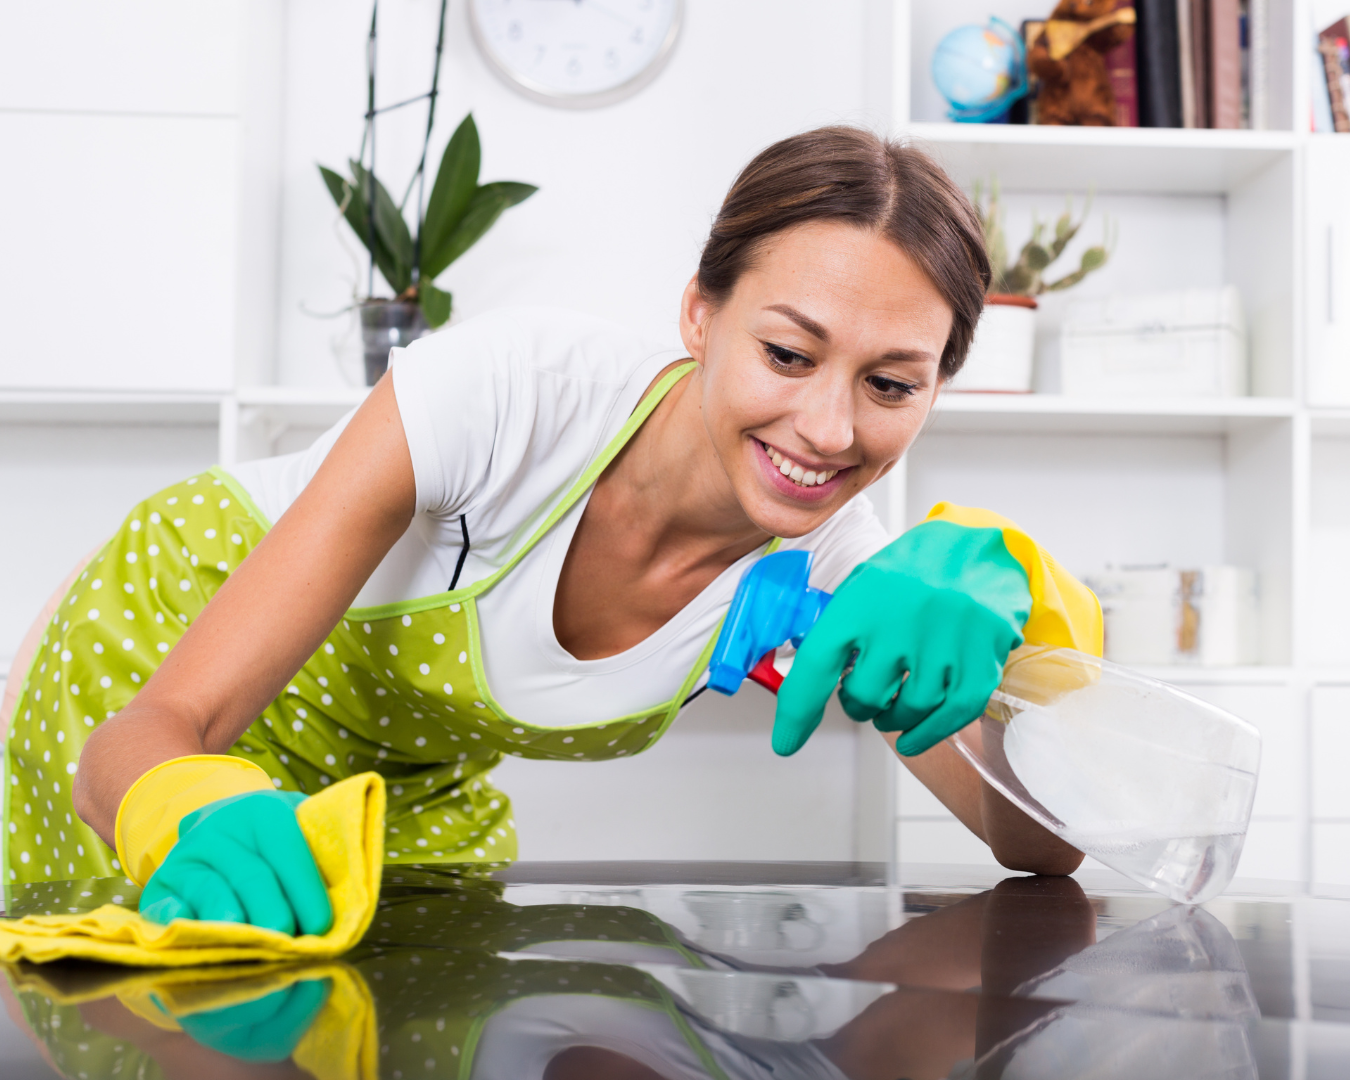
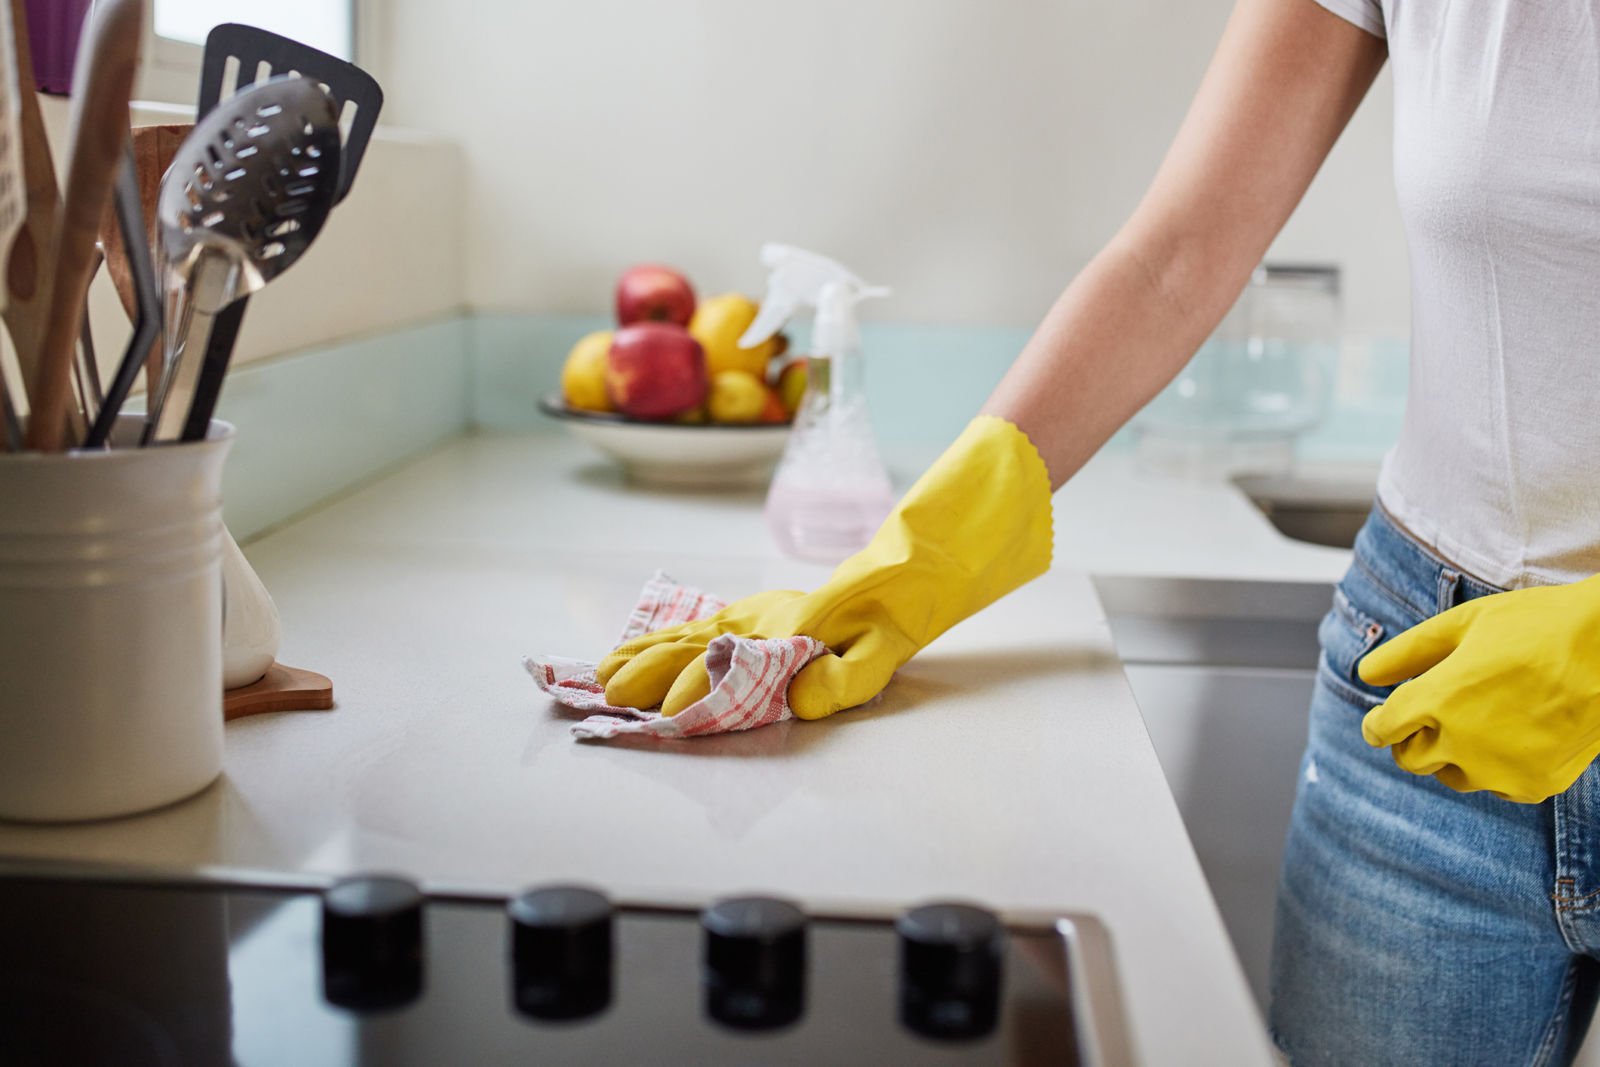
Countertops need both cleaning (removing visible debris) and sanitizing (killing bacteria). Wipe first with a damp cloth to remove crumbs and loose debris. Then spray with a food-safe disinfectant and let it dwell for 30 to 60 seconds — this contact time is what actually kills bacteria like E. coli and Salmonella that can persist on kitchen surfaces after raw meat handling. Wipe dry with a clean microfiber cloth. Pay special attention to the area around the sink faucet, the stovetop edge, and anywhere produce is typically placed — these spots accumulate the highest bacterial load. For natural stone countertops, use only a pH-neutral cleaner — vinegar and citrus-based cleaners etch stone permanently.
Step 3: Stovetop — Match Your Method to Your Stovetop Type
Gas stovetops: Remove grates and burner caps and soak in hot soapy water for 15 to 20 minutes while you clean the rest of the kitchen. The soak loosens baked-on grease far more effectively than dry scrubbing. Wipe the stovetop surface, then apply a baking soda paste to greasy areas, let sit 5 minutes, and scrub with a non-scratch pad. Clean around gas burner ports with an old toothbrush — clogged ports cause uneven flames. Rinse grates and dry thoroughly before replacing.
Electric coil stovetops: Remove coil burners (unplug first) and soak the reflective drip pans. Wipe the coils with a barely damp cloth — never submerge them or allow water into the electrical connector. Clean drip pans with baking soda and dish soap, rinse, and dry completely before replacing. Smooth ceramic or induction cooktops: use a ceramic cooktop cleaner and a cooktop scraper for burned-on residue. Never use abrasive pads — they permanently scratch the glass surface. Clean while the cooktop is completely cool.
Step 4: Kitchen Sink — The Most Bacteria-Dense Spot
The kitchen sink contains more bacteria than the toilet in most homes, because raw meat juices, food debris, and moisture create a perfect bacterial environment. Clean the sink daily. Sprinkle baking soda generously over the basin, scrub with a soft brush, paying attention to the drain ring and faucet base. Rinse thoroughly. For a weekly deep clean, fill the sink with hot water and 1 tablespoon of bleach per gallon, let sit 5 minutes, then drain and rinse. This kills bacteria in the drain pipes as well as the basin. Clean faucet handles with a disinfectant wipe daily — these are handled right before food preparation. For persistent sink drain odors, our drain odor guide covers the same method applied to kitchen drains.
Step 5: Refrigerator — Inside, Outside, and the Coils
The refrigerator exterior and especially the handle is the highest-touch surface in the kitchen — wipe with disinfectant weekly. For the interior, remove all items and shelves monthly, and wipe with a solution of 2 tablespoons baking soda per quart of warm water. Baking soda deodorizes while cleaning and is entirely food-safe on refrigerator surfaces. Check expiration dates while the fridge is empty. Refrigerator coils collect dust over time, forcing the compressor to work harder and increasing energy use. Vacuum the coils every 6 to 12 months using a brush or vacuum crevice tool — this can reduce refrigerator energy consumption by up to 30% according to appliance efficiency data.
Step 6: Microwave — The Lemon Steam Method
Fill a microwave-safe bowl with 1 cup of water and the juice of half a lemon (or 3 tablespoons lemon juice). Microwave on high for 3 minutes, then leave the door closed for 5 additional minutes. The steam loosens all interior splatter, and the lemon neutralizes food odors. Wipe the interior with a microfiber cloth — no scrubbing needed. Remove the turntable plate and wash it in the sink with dish soap. Wipe the exterior including the keypad with a lightly dampened cloth and dry immediately.
Step 7: Cabinets — Inside and Out
Cabinet exteriors near the stovetop accumulate invisible grease from cooking vapors. Wipe monthly with a diluted dish soap solution on a barely damp cloth. Excess moisture warps wood cabinet finishes. Pay special attention to around and under handles. For cabinet interiors, quarterly: empty each cabinet, wipe shelves, discard expired items, and organize by frequency of use — most-used items in front, less-used items toward the back.
Step 8: Kitchen Floor — Always the Final Step
The kitchen floor is always last. Vacuum or sweep first, then mop — never the reverse. Mopping over dry debris pushes it into wet smears that are harder to remove. Pay attention to corners, under the oven kick plate, and alongside cabinets where crumbs collect and attract pests. Under appliances (refrigerator, stove) should be cleaned quarterly when you pull them out. Use a pH-neutral floor cleaner — avoid vinegar on hardwood and natural stone floors. For detailed floor-specific guidance, see our laminate floor cleaning guide or our hardwood floor cleaning guide.
Kitchen Cleaning Schedule
| Frequency | Tasks |
|---|---|
| Daily | Wipe countertops, clean sink, wipe stovetop after cooking, sweep floor |
| Weekly | Deep clean sink with bleach, wipe refrigerator exterior, clean microwave, mop floor, wipe stovetop grates |
| Monthly | Clean refrigerator interior, degrease cabinet exteriors, deep clean stovetop burners and grates, clean oven if needed |
| Quarterly | Empty and organize cabinets, clean under appliances, vacuum refrigerator coils, deep clean oven racks |
Pro Tips and Common Kitchen Cleaning Mistakes
- Clean the stovetop while still warm: A warm stovetop is much easier to clean than a cold one because residual heat keeps grease soft. The ideal window is 5 to 10 minutes after cooking — never while hot.
- Never use the same sponge for dishes and surfaces: Dish sponges contaminate countertops with food particles and bacteria. Dedicated cloths for each zone is a non-negotiable kitchen hygiene practice.
- Dry surfaces after sanitizing: Bacteria survive on wet surfaces. Wipe countertops and the sink dry after cleaning, especially if the area will be used for food prep within the hour.
- Clean your can opener monthly: Manual can openers touch every food can but are almost never cleaned. Remove the cutting wheel and wash with a dish brush in hot soapy water — rust and bacteria accumulate in the blade crevices.
- Check range hood filters monthly: A grease-saturated filter recirculates cooking vapors instead of removing them. Most aluminum mesh filters are dishwasher safe — clean or replace every 1 to 3 months depending on how often you cook.
Troubleshooting Persistent Kitchen Problems
Kitchen Smells Bad Even After Cleaning
Persistent kitchen odors usually come from four sources: (1) a dirty garbage disposal — pour half a cup of baking soda followed by half a cup of white vinegar, let fizz, flush with hot water, then grind ice cubes with salt for blade cleaning; (2) the drain p-trap drying out in a rarely used sink — run hot water for 30 seconds; (3) a grease-saturated range hood filter; or (4) food debris trapped in the rubber refrigerator door gasket. Wipe the entire gasket monthly with a damp cloth. For drain odors specifically, our drain smell guide covers the full process.
Countertops Look Streaky After Wiping
Streaks mean either too much product was used or the wiping cloth was dirty. Use 2 to 3 sprays maximum for a standard countertop area. Always finish by wiping with a clean, dry microfiber cloth. For granite and natural stone, a specialty stone spray followed by a dry buff produces a streak-free, non-damaging finish.
Stovetop Grates Still Greasy After Washing
If soaking in soapy water does not fully remove baked-on grease, seal grates in a plastic bag with half a cup of ammonia overnight. The ammonia fumes penetrate and dissolve baked-on carbon deposits. Wear gloves and work in a ventilated area when removing. Rinse thoroughly with hot water. Never use this method on painted or coated grates.
Frequently Asked Questions
What is the correct order to clean a kitchen?
Always clean top to bottom, back to front: range hood exterior, upper cabinet exteriors, microwave exterior, countertops, stovetop, sink, lower cabinet exteriors, refrigerator exterior, then sweep and mop the floor last. This order ensures that anything dripped or knocked from upper surfaces gets collected by the final floor cleaning.
How do I clean a kitchen quickly when time is short?
For a 15-minute kitchen reset, focus on the five highest-impact tasks: clear and load the dishwasher, wipe countertops with disinfectant, wipe the stovetop, clean the sink, and sweep the floor. The stovetop and sink are the most important — grease hardens overnight and the sink is the primary bacteria source in most kitchens.
Is vinegar safe to use on all kitchen surfaces?
Vinegar is safe on glass, ceramic tile, porcelain sinks, and stainless steel appliances. Do not use vinegar on natural stone countertops (marble, granite, travertine) — the acid permanently etches the surface. Do not use vinegar on cast iron cookware, waxed wood surfaces, or stainless steel left long enough to cause pitting. Apply, wipe within minutes, then rinse and dry.
How often should I deep clean the refrigerator?
Empty and wipe the refrigerator interior monthly. Clean the door handle and exterior weekly. Vacuum refrigerator coils every 6 to 12 months. Inspect and wipe the rubber door gasket monthly — a dirty or damaged gasket allows warm air infiltration that shortens compressor life.
What is the difference between cleaning and sanitizing a kitchen surface?
Cleaning removes visible dirt and food debris but does not eliminate bacteria. Sanitizing reduces bacteria to a safe level on a previously cleaned surface. In the kitchen, countertops and the sink require both cleaning and sanitizing after raw meat contact. Use an EPA-registered food-contact sanitizer or a bleach solution — spray on the cleaned, dry surface, allow to air dry, and do not rinse.
Conclusion
A genuinely clean kitchen comes from using the right product on each surface, a 5-minute daily reset after cooking, and a monthly schedule that handles the deeper appliance cleaning before buildup becomes a real problem. The single most effective habit is wiping the stovetop and countertop every evening — that consistency prevents the heavy scrubbing sessions that take an hour. For your next step, check out our complete whole-home deep cleaning checklist or our house cleaning tips guide to extend this system to every room.
