Sliding windows fail in predictable ways: dirty or bent tracks make them hard to open and close, worn rollers cause dragging and tilting, broken latches leave the window unsecured, and failed seals cause fogging in double-pane units. Most of these repairs take under an hour and require only basic tools. This guide covers all four repair scenarios with the specific steps for each, starting with the quickest diagnosis.
What You’ll Need
| Tools | Materials |
|---|---|
| Flathead and Phillips screwdrivers | Dry silicone lubricant spray |
| Stiff-bristle brush or old toothbrush | Replacement rollers (if needed — match the profile and diameter) |
| Vacuum with crevice tool | Replacement latch or lock (if needed — match to window brand) |
| Rubber mallet (for bent tracks) | Baking soda and white vinegar (for track cleaning) |
| Needle-nose pliers | Cotton swabs |
| Utility knife | Glass replacement (if repairing a broken pane) |
Safety and Precautions
- Wear cut-resistant gloves when handling glass. If you’re removing a broken pane or a failed double-pane unit, thick gloves are mandatory. Even small glass fragments cause serious cuts.
- Support the window panel before removing it from the frame. Sliding window panels — especially large ones — are heavier than they appear. Have a second person ready when removing a full sash from the frame to prevent dropping.
- Close and secure the window when work spans more than one session. An unsecured sliding window is a weather and security risk. If work takes longer than expected, prop the window closed or use a window security bar until the repair is complete.
Step 1: Diagnose the Problem
Match the Symptom to the Fix
| Symptom | Most Likely Cause | Go to |
|---|---|---|
| Window hard to open or close; drags | Dirty tracks or worn rollers | Steps 2 and 3 |
| Window jumps out of track when sliding | Bent track or damaged rollers | Step 4 |
| Latch won’t catch or window won’t lock | Latch out of alignment or broken | Step 5 |
| Foggy glass between panes | Failed double-pane seal (IGU) | Step 6 |
| Window rattles or has drafts | Weatherstripping worn or missing | Step 7 |
Step 2: Clean the Tracks
The First Step for Any Sliding Difficulty
- Vacuum the tracks with a crevice tool to remove loose debris, insects, and grit.
- Sprinkle baking soda into the track channel, then spray or pour white vinegar — the fizzing reaction loosens caked-on dirt and oxidized aluminum residue.
- Scrub the track with a stiff-bristle brush or old toothbrush, working along the full length. Use cotton swabs for the corners.
- Wipe clean with a damp cloth and dry thoroughly.
- Apply dry silicone lubricant spray along the clean track. Do not use oil-based lubricants — they attract dirt and create sticky buildup. Test the window sliding motion after lubricating.
Step 3: Inspect and Replace Worn Rollers
Rollers That Don’t Spin Are the Root Cause of Most Dragging
- Remove the sliding panel from the frame: slide it to the center, tilt the top inward to release it from the upper track, then lift it out of the lower track. Have a helper ready for large panels.
- Lay the panel flat on a padded surface. Locate the roller housings at each bottom corner of the panel — usually covered by plastic caps or accessible from the bottom edge.
- Spin each roller with your finger. A good roller spins freely and smoothly. A failed roller is stiff, flat-spotted, or cracked.
- Remove the roller by unscrewing the roller housing or pressing the release tab. Take the old roller to a hardware store or window parts supplier to match the wheel diameter, width, and housing style.
- Install the new roller in the housing. Adjust the roller height (most have an adjustment screw) so the panel sits level and at the correct height in the track.
- Re-install the panel and test sliding motion.
Step 4: Straighten a Bent Track
For Tracks That Cause the Panel to Jump or Bind at One Point
- Remove the sliding panel (see Step 3 above).
- Inspect the track for any dents, bent sections, or sections that are visibly narrower than the rest. Mark the damaged area with a marker.
- For a bent aluminum track: use a rubber mallet and a wood block to gently tap the bent section back toward the correct profile. Don’t use a metal hammer directly on the track — it dents the aluminum further.
- Use needle-nose pliers for small kinks inside the track channel. Straighten gradually — aluminum is soft and can crack if forced too quickly.
- If the track section is severely damaged (crimped or torn), the track section may need to be replaced. Some track systems allow partial replacement; others require a full window sash replacement.
- Re-install the panel and test at the repaired section.
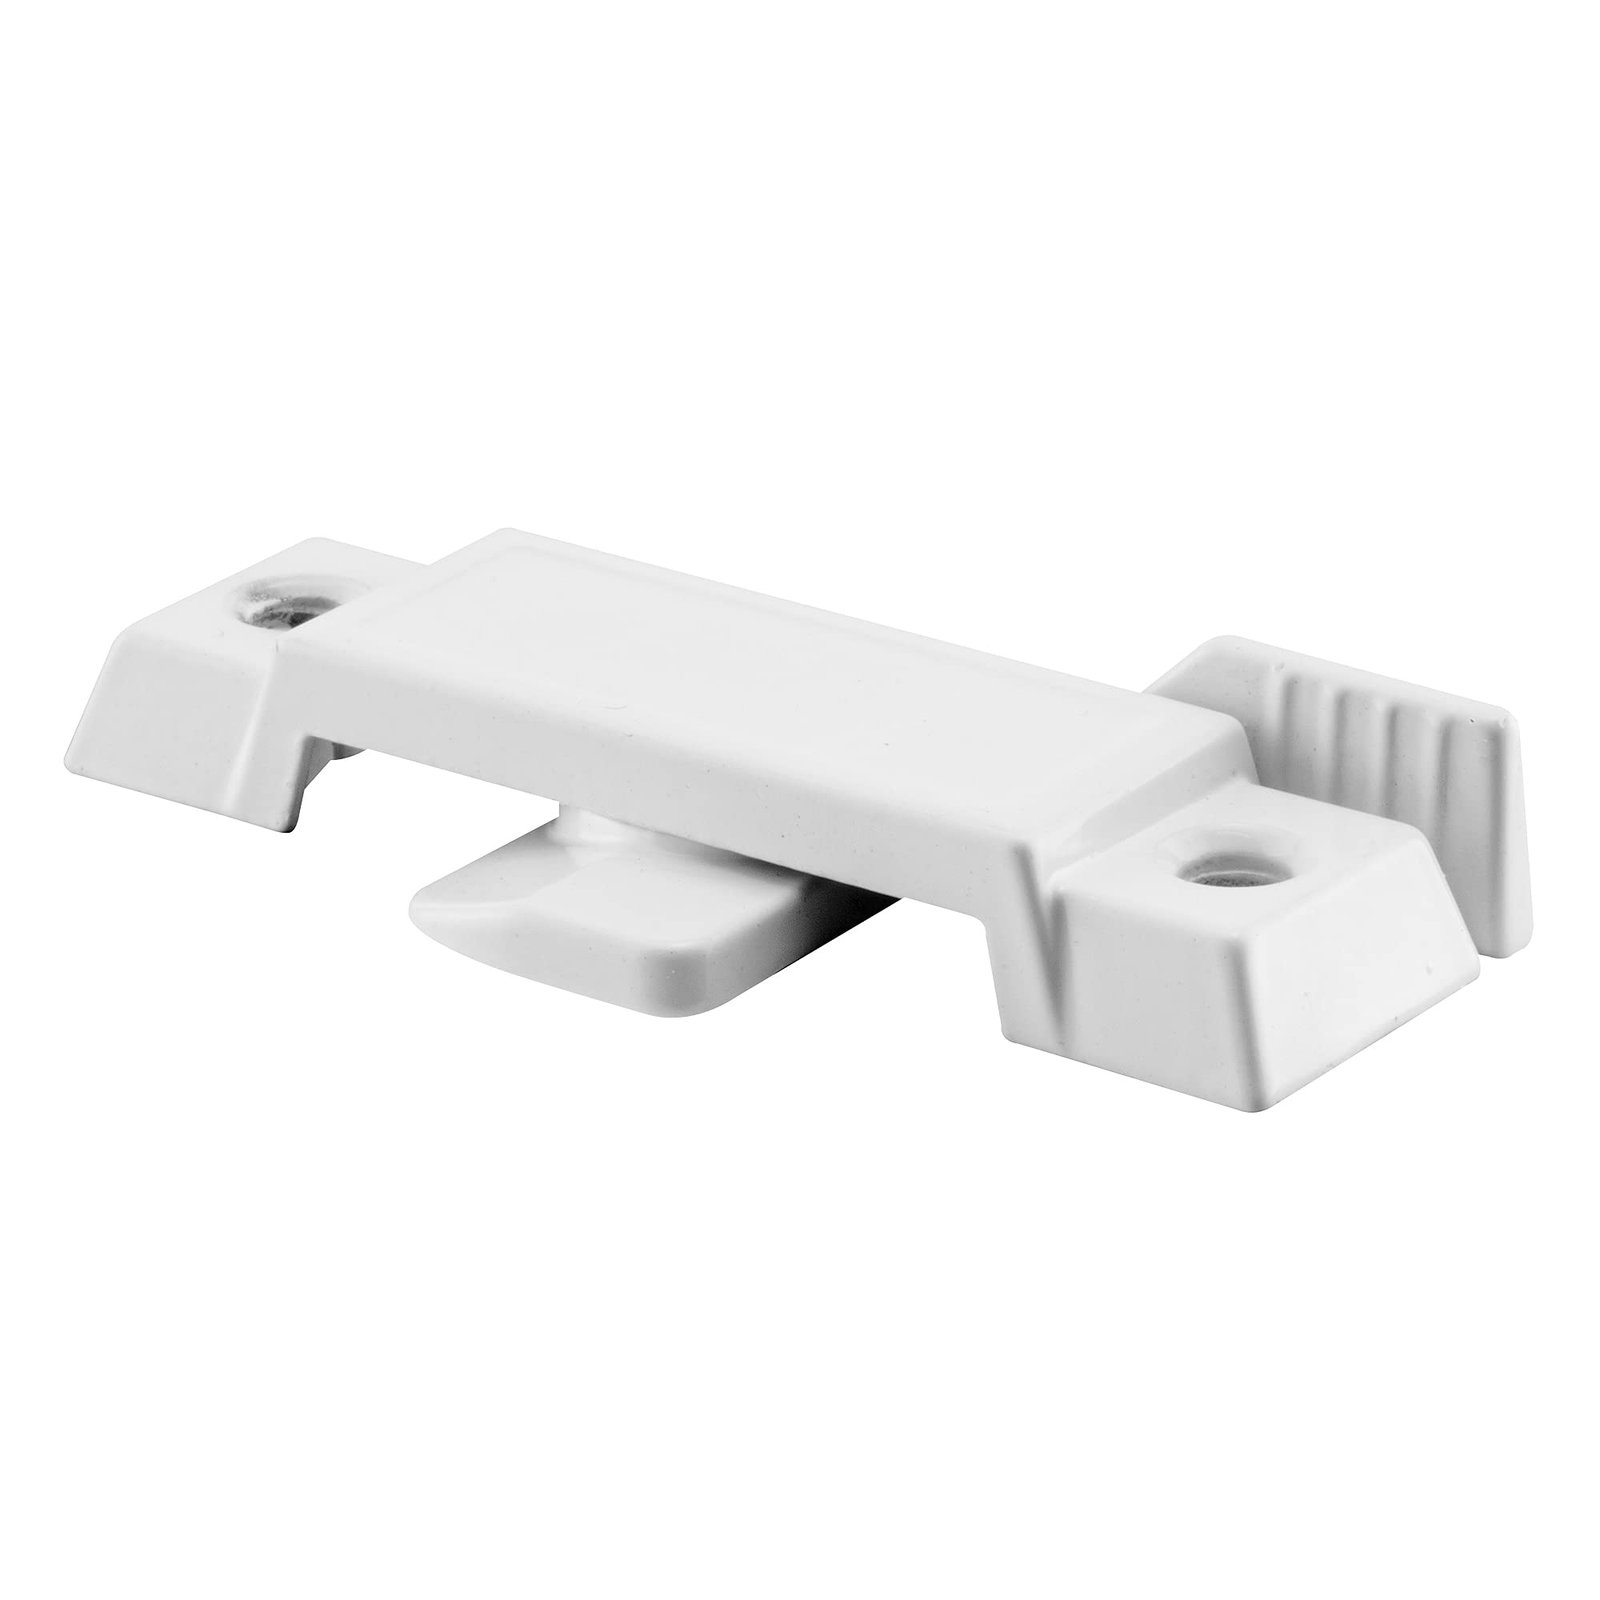
Step 5: Fix or Replace a Broken Latch
The Latch Must Engage Securely for the Window to Be Locked
- Inspect the latch mechanism and the keeper (the strike on the opposite frame). The latch may need adjustment (loose or shifted) or replacement (broken mechanism).
- For a latch that doesn’t reach the keeper: most sliding window latches have adjustment screws that allow the latch position to be shifted slightly toward the keeper. Loosen the mounting screws, shift the latch toward the keeper, and re-tighten.
- For a broken latch: remove the screws holding the latch body. Take the latch to a window hardware supplier or search by the window brand and model to find an exact replacement. Most latches are held with two Phillips screws and swap out in minutes.
- Test the new latch: close the window fully and operate the latch. It should engage with a firm click and resist pulling open with moderate force when locked.
Step 6: Address Failed Double-Pane Glass (Fogging)
Replace the IGU — The Seal Has Failed
A foggy or hazy appearance between the panes indicates a failed thermal seal in the insulated glass unit (IGU). This cannot be fixed from the outside — the unit must be replaced.
- Remove the sliding panel from the frame. On most sliding windows, the glass unit is held in the sash by interior stop beads or glazing clips.
- Remove the interior stop beads (the thin strips that hold the glass unit in the sash). The glass unit should slide out toward the interior.
- Measure the IGU: width, height, and thickness. Note the glass type (clear, Low-E, tempered, tinted). Take these measurements to a glass shop for a fabricated replacement — or order online from an IGU manufacturer.
- Install the new IGU with setting blocks at the bottom corners (small plastic spacers that support the glass edge). Re-install the stop beads.
- Re-install the panel and test operation.
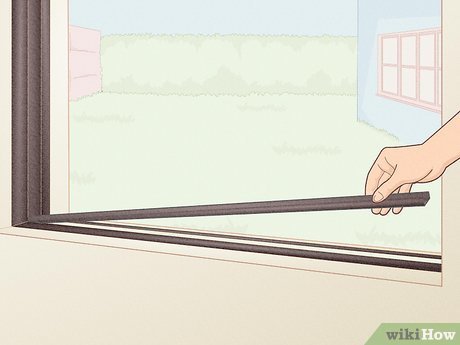
Step 7: Replace Worn Weatherstripping
For Windows That Rattle or Let in Air
- Open the window and inspect the weatherstripping: the foam, vinyl, or brush seals that run along the panel edges and the frame channel.
- Peel or unclip the old weatherstripping. Note the type (self-adhesive foam tape, vinyl kerf strip, or brush insert) and whether it fits into a kerf slot on the sash edge or adheres directly.
- Measure and cut the new weatherstripping to length. For kerf-slot types: press the new strip into the slot firmly along its full length. For adhesive types: clean the surface with rubbing alcohol, let dry, peel the backing, and press firmly.
- Re-install the panel. The window should close with a slight, even resistance across its full travel — not tight enough to make closing difficult, but enough that no drafts are detectable.
Pro Tips and Common Mistakes
- Clean before lubricating — always. Spraying lubricant on a dirty track mixes the lubricant with grit, creating an abrasive paste that wears the rollers faster than no lubricant at all.
- Don’t force a window that’s sticking at a specific point. If the window resists only at one location in its travel, there’s a specific cause (bent track, raised screw head, or debris in that section). Forcing it can damage the rollers or sash. Find and fix the cause.
- Check the adjustment screws on rollers before replacing them. Many sliding window rollers have height adjustment screws on the sash edge. Adjusting these can correct dragging and improve contact with the track without replacing the roller.
- Keep the horizontal track clean, not the vertical frame. The track the roller rides in is what matters most. The rest of the frame just needs to be clean enough that debris doesn’t fall into the track.
Troubleshooting
| Problem | Likely Cause | Fix |
|---|---|---|
| Window stiff only in summer | Frame expands in heat | Adjust rollers down slightly; lubricate tracks |
| Window falls off track when sliding | Track bent or roller damaged | Straighten track; inspect and replace rollers |
| Latch works but window still moves | Latch keeper loose or missing | Tighten or replace the keeper plate on the opposite frame |
| New condensation after seal replacement | Over-sealing — no ventilation gap | Ensure some air movement; verify HVAC is functioning |
| Track lubricant attracts dirt quickly | Oil-based lubricant used | Remove all lubricant with rubbing alcohol; use dry silicone only |
Frequently Asked Questions
Why is my sliding window hard to open?
The most common causes are: dirty or clogged tracks preventing the rollers from rolling freely, worn or stiff rollers that no longer spin, or a track that has a bent section the panel catches on. Start with a deep track cleaning and lubrication — this resolves most sliding difficulty. If the window still drags after cleaning, inspect the rollers.
Can I repair a sliding window latch myself?
Yes — most sliding window latches are simple mechanisms with two screws. Adjustment (shifting the latch position) requires no parts. Full replacement requires matching the latch brand and model to find a compatible part, which you can typically do by searching the window brand and model number or taking the old latch to a window hardware supplier.
How do I remove a sliding window for cleaning or repair?
Slide the panel to the center of the opening. Lift the panel upward until the bottom edge clears the lower track, then tilt the bottom outward and lower the panel out of the upper channel. For most residential sliding windows, no tools are required — the panel simply lifts and tilts out. Some windows have anti-lift blocks (small screws in the upper channel) that must be loosened first.
Why is my sliding window foggy between the panes?
Fogging between panes indicates that the thermal seal in the double-pane unit has failed, allowing humid air to enter the space between the glass sheets. The condensation forms when the temperature differential causes moisture to condense on the inner glass surface. The IGU (insulated glass unit) must be replaced — the seal cannot be repaired.
What lubricant should I use on sliding window tracks?
Dry silicone spray lubricant is the recommended product for sliding window tracks. It reduces friction without attracting dust and doesn’t leave an oily residue. Never use WD-40 (oil-based, attracts dirt), cooking spray, or petroleum-based lubricants in window tracks.
Conclusion
Most sliding window problems have a straightforward fix once you’ve identified the correct cause. Start with the track cleaning and lubrication — it resolves the majority of sticking and dragging issues. If the window still doesn’t slide smoothly after cleaning, inspect the rollers. Latch and lock issues are typically a 20-minute adjustment or replacement. For fogged double-pane units, IGU replacement is the only effective solution. Address the issue at the first sign and avoid forcing the window, which accelerates damage to the rollers and track.
For more extensive window work including frame replacement, our guide on how to replace a window covers the full sash and unit replacement process. And for keeping the tracks and frame clean as a regular maintenance practice, see our guide on how to clean aluminum window frames.
