
An ice maker should be cleaned every three to six months to remove mineral scale, mold, and pink or black slime that grows inside the water system. A dirty ice maker produces cloudy, bad-tasting ice and can harbor bacteria you’re putting directly into drinks. The cleaning process involves running a descaling solution, sanitizing with a food-safe cleaner, and a final water flush — most models have a cleaning cycle button that automates part of this.
What You’ll Need
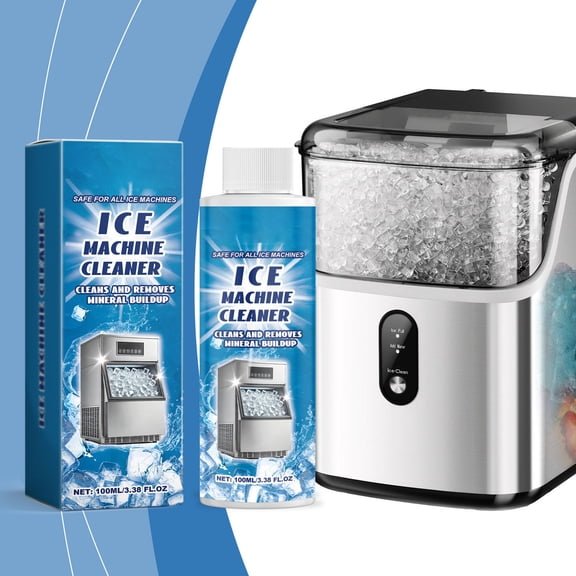
- Ice maker cleaning solution (manufacturer-recommended or food-safe citric acid/nickel-safe descaler)
- White distilled vinegar (as an alternative descaler)
- Food-safe sanitizer (like a bleach solution at food-safe dilution)
- Clean water
- Soft cloths or sponge
- Soft brush or toothbrush
- Rubber gloves
- Ice scoop or tongs
Safety and Precautions
Always use food-safe cleaning products in an ice maker — never standard household bleach at full strength or undiluted chemicals. If using bleach for sanitization, use one tablespoon per gallon of water (food-safe concentration). Discard all ice before and after cleaning — never consume ice made during a cleaning cycle or the first batch produced after cleaning. Unplug the ice maker before manually cleaning the interior components. Check your manufacturer’s manual for model-specific cleaning instructions, as the cleaning cycle process varies between brands.
How to Clean a Portable or Countertop Ice Maker
Empty and Discard All Ice
Remove all ice from the ice basket and discard it. Do not use any ice made in a machine that is due for cleaning — buildup inside the machine can contaminate the ice. Drain any standing water from the water reservoir by removing the drain plug or tilting the unit over a sink, per your model’s instructions.
Wipe the Interior with a Cleaning Solution
Mix your cleaning solution per product directions — if using white vinegar, use undiluted. Dip a soft cloth into the solution and wipe all accessible interior surfaces: the water reservoir walls, the ice-making tray area, and the ice basket. Use a small brush or toothbrush to reach crevices, around the water inlet, and the ice-making pins or fingers.
Run the Cleaning Cycle
Refill the water reservoir with the cleaning solution diluted per product directions. Plug in the unit and press the clean button if your model has one, or run a full ice-making cycle with the cleaning solution in the reservoir. The solution circulates through the water pump, lines, and over the ice-making components, dissolving scale and killing biological growth throughout the internal system.
Discard All Ice from the Cleaning Cycle
Discard every piece of ice produced during the cleaning cycle — it contains cleaning solution residue and should not be consumed.
Run Two to Three Water Flush Cycles
Empty the reservoir, refill with clean water, and run two to three full ice-making cycles. Discard all ice from each flush cycle. This purges all cleaning solution residue from the water lines and internal components. After the final flush, the ice should smell and taste neutral with no chemical odor.
Wipe Down and Dry the Exterior
Wipe the exterior of the ice maker with a damp cloth. Clean the ice basket and lid with warm soapy water, rinse, and dry. The ice maker is now ready for normal use.
How to Clean a Built-In Refrigerator Ice Maker
Turn Off the Ice Maker and Discard Ice
Flip the ice maker’s on/off switch to off (or lift the wire arm to the off position). Empty the ice bin completely and discard all ice. Leave the bin out to allow access to the ice maker components.
Clean the Ice Bin and Components
Wash the ice bin in the sink with warm water and mild dish soap. Rinse thoroughly and let air dry. Wipe the interior of the ice maker cavity in the freezer using a cloth dampened with a food-safe sanitizer solution — one tablespoon of bleach per gallon of water is appropriate. Wipe the ice chute if accessible.
Clean the Water Supply Line Area
The water fill cup or tray inside the ice maker where water enters to freeze is a common mold spot. Wipe it with a cloth dampened with white vinegar or sanitizer solution and a small brush to reach corners. Be gentle around the water inlet valve.
Replace the Filter
Built-in refrigerator ice makers draw water through the refrigerator’s water filter. If you’re doing a full ice maker cleaning, check the filter replacement schedule — a clogged or expired filter is often the cause of bad-tasting ice. Most refrigerator water filters need replacement every six months.
Restart and Discard First Two Batches
Turn the ice maker back on and let it produce ice normally. Discard the first two full batches of ice after cleaning — these may contain traces of cleaning solution or dislodged residue from the clean components.
Removing Mold and Pink Slime from an Ice Maker
Pink or reddish slime inside an ice maker is Serratia marcescens — a bacteria common in moist environments. Black mold can also grow in neglected machines. Both require a direct sanitization step beyond normal descaling. After completing the standard cleaning cycle, wipe all visible mold or slime with a cloth dampened with a food-safe bleach solution (one tablespoon bleach per gallon of water). Use a toothbrush to scrub crevices. Allow the sanitizer to contact the surface for at least one minute before rinsing. Run three flush cycles with clean water before using the ice maker again.
How Often to Clean Your Ice Maker
| Ice Maker Type | Cleaning Frequency |
|---|---|
| Portable/countertop ice maker | Every 3–6 months, or monthly in hard water areas |
| Built-in refrigerator ice maker | Every 6 months; more often if ice tastes off |
| Undercounter/commercial-style | Every 3 months (per most manufacturer specs) |
| After any period of non-use | Always clean before restarting after extended storage |
Pro Tips
- Use a manufacturer-approved cleaner: Many ice maker brands specify nickel-safe cleaners because the ice-making components contain nickel-plated parts that standard acidic cleaners can damage. Always check your manual before using a non-approved product.
- Hard water areas need more frequent cleaning: Mineral scale builds up faster in hard water areas — monthly or quarterly cleaning cycles prevent scale from restricting water flow to the ice molds.
- Don’t skip the flush cycles: Running the machine with just water after cleaning is not optional. Chemical residue in ice is a health concern and produces noticeably off-tasting ice.
Frequently Asked Questions
What causes ice to taste or smell bad?
Bad-tasting ice is usually caused by mineral scale buildup, mold or bacteria inside the machine, an expired water filter, or ice that has absorbed odors from the freezer compartment. A full cleaning cycle addresses scale and biological growth; filter replacement addresses water quality; sealing strong-smelling foods in the freezer addresses odor absorption.
Can I use vinegar to clean my ice maker?
Yes — white distilled vinegar is an effective descaler for most portable ice makers. Use undiluted vinegar for the cleaning cycle. Always follow with multiple clean water flush cycles, as vinegar smell can linger if not fully purged. Check your manufacturer’s manual — some brands specifically recommend against vinegar and prefer citric acid-based cleaners.
Why is there pink slime in my ice maker?
Pink slime is the bacteria Serratia marcescens, which thrives in moist, mineral-rich environments. It’s not mold — it’s a bacteria that’s treatable with a food-safe bleach sanitization step. After treatment, maintain a regular cleaning schedule to prevent recurrence.
How do I know if my ice maker needs cleaning?
Signs include: ice with an off taste or odor, cloudy or discolored ice, visible scale or slime inside the water reservoir or ice-making area, reduced ice production speed, or ice with an unusual texture. If the machine hasn’t been cleaned in over six months, clean it regardless of apparent symptoms.
Should I clean my ice maker if I haven’t used it for several months?
Absolutely. A machine stored with residual moisture inside is likely to have developed mold, bacteria, or mineral deposits during storage. Always run a full clean and sanitize cycle, plus two to three flush cycles, before consuming ice from a machine that has been idle for an extended period.
Conclusion
A clean ice maker produces safe, fresh-tasting ice and runs more reliably. The process isn’t complicated — descale with a manufacturer-approved solution or citric acid, sanitize, and flush multiple times with clean water. The cleaning cycle button on most modern ice makers handles most of the automation; your job is to discard ice during cleaning and run enough flush cycles to fully purge the system. For related appliance maintenance, see our guide on how to clean ice trays — a quick task that complements ice maker hygiene.
