
Vinyl fences are low-maintenance — but not zero-maintenance. Algae, mildew, dirt, and oxidation (that chalky gray film) build up over months and make even a white vinyl fence look dingy. The good news: most vinyl fence grime washes off with the right cleaner and a garden hose, and the stubborn stuff needs only a vinegar or oxygen bleach solution and 20 minutes of contact time. This guide covers every cleaning scenario from a quick seasonal rinse to a full deep clean with oxidation removal.
What You’ll Need
- Garden hose with spray nozzle (or pressure washer — see safety notes)
- Bucket
- Soft-bristle scrub brush or car wash brush with long handle
- Microfiber cloths or soft sponges
- White vinegar (for algae and mildew)
- Oxygen bleach powder (OxiClean or similar — NOT chlorine bleach)
- Mild dish soap
- Magic Eraser or melamine foam (for scuffs and rubber marks)
- Automotive plastic restorer (for oxidized/chalky areas)
- Rubber gloves and safety glasses
Safety Precautions
Do not use chlorine bleach (sodium hypochlorite) on vinyl fences — it degrades PVC plasticizers, causes yellowing, and makes the surface brittle over time. Oxygen bleach (sodium percarbonate) is safe for vinyl and is your go-to for tough biological stains. If using a pressure washer, keep the nozzle at least 12 inches from the vinyl surface and use a wide fan tip (40-degree or wider) — narrow-tip, high-pressure streams can crack vinyl panels and force water into posts and rail cavities. Wear safety glasses when scrubbing overhead areas.
Identify What You’re Dealing With
Different stains need different approaches. Diagnose before reaching for a cleaner:
- Green or black algae/mildew: Common on shaded sections. Looks like a slimy green film or black spotting. Remove with vinegar or oxygen bleach solution.
- General dirt and dust: Brown or gray overall film. Usually removes with plain water and a brush.
- Oxidation (chalky gray surface): The vinyl itself has degraded from UV. Looks like a thin chalky coating that doesn’t wash off with water. Needs a plastic restorer or polishing compound.
- Rubber or tire marks: Black streaks from lawn equipment. Use a Magic Eraser or rubbing alcohol.
- Rust stains (from metal hardware or sprinkler minerals): Orange-brown streaks. Treat with oxalic acid-based cleaner (deck brightener, available at hardware stores).
How to Clean a Vinyl Fence Step by Step
Step 1: Rinse the Entire Fence
Start with a thorough rinse using a garden hose from top to bottom. This knocks off loose dirt and surface debris and wets the fence — wet vinyl cleans more easily than dry. Work systematically from one end to the other so you’re not rinsing dirt onto already-cleaned sections. If using a pressure washer, set it to low pressure (under 1,500 psi) with a 40-degree fan tip and keep the nozzle moving.
Step 2: Apply Your Cleaning Solution
For general cleaning: fill a bucket with warm water and a few squirts of dish soap. For algae and mildew: mix 1 cup white vinegar per gallon of water, or mix 1/2 cup oxygen bleach powder per gallon of warm water. The oxygen bleach solution is stronger and works better on heavy mildew. Apply the solution to one fence section (one panel or 6–8 linear feet) at a time using your scrub brush. Don’t try to cover the entire fence at once — you want the solution to stay wet on the surface while it works.
Step 3: Scrub the Surface
Using a soft-bristle scrub brush with a long handle, scrub the vinyl panels using horizontal strokes, then vertical strokes. The cross-hatch pattern ensures you lift grime from both the smooth areas and any surface texture. Apply firm but not aggressive pressure — vinyl scratches more easily than it looks when scrubbed with coarse materials. Pay extra attention to the bottom rail where dirt accumulates most heavily, and to any horizontal ledges on post caps where algae pools.
Step 4: Let the Solution Dwell on Tough Stains
For algae or mildew, apply the cleaning solution, scrub, then let the solution sit on the surface for 10–15 minutes before rinsing. This dwell time allows the oxygen bleach or vinegar to kill and break down the biological material at the root, not just on the surface. Re-wet the area if it starts to dry during dwell time — dry cleaning solution doesn’t continue working.
Step 5: Rinse Thoroughly
Rinse each section completely from top to bottom before moving to the next. Cleaning solution left to dry on vinyl leaves a film and can dull the surface. Rinse until no bubbles or suds appear in the runoff water.
Step 6: Address Specific Stains
After the general wash, address any remaining specific stains: for rubber or scuff marks, use a damp Magic Eraser with light pressure — these are mildly abrasive and should only be used on stubborn spots, not the full surface. For rust stains, apply an oxalic acid deck brightener per its instructions, scrub, and rinse. For any remaining mildew spots, apply undiluted white vinegar directly with a cloth, let sit 5 minutes, scrub, and rinse.
Step 7: Treat Oxidized (Chalky) Areas
If sections of your vinyl fence have turned chalky gray and don’t brighten after washing, the surface has oxidized. Apply a plastic or vinyl restorer product (303 Aerospace Protectant, Meguiar’s PlastX, or similar) to a clean cloth and rub in circular motions over the oxidized area. For heavily oxidized areas, use PlastX first (a mild abrasive) to remove the oxidized layer, then follow with 303 as a UV protectant. The fence will darken back toward its original bright white or color.
How to Clean a Vinyl Fence With a Pressure Washer
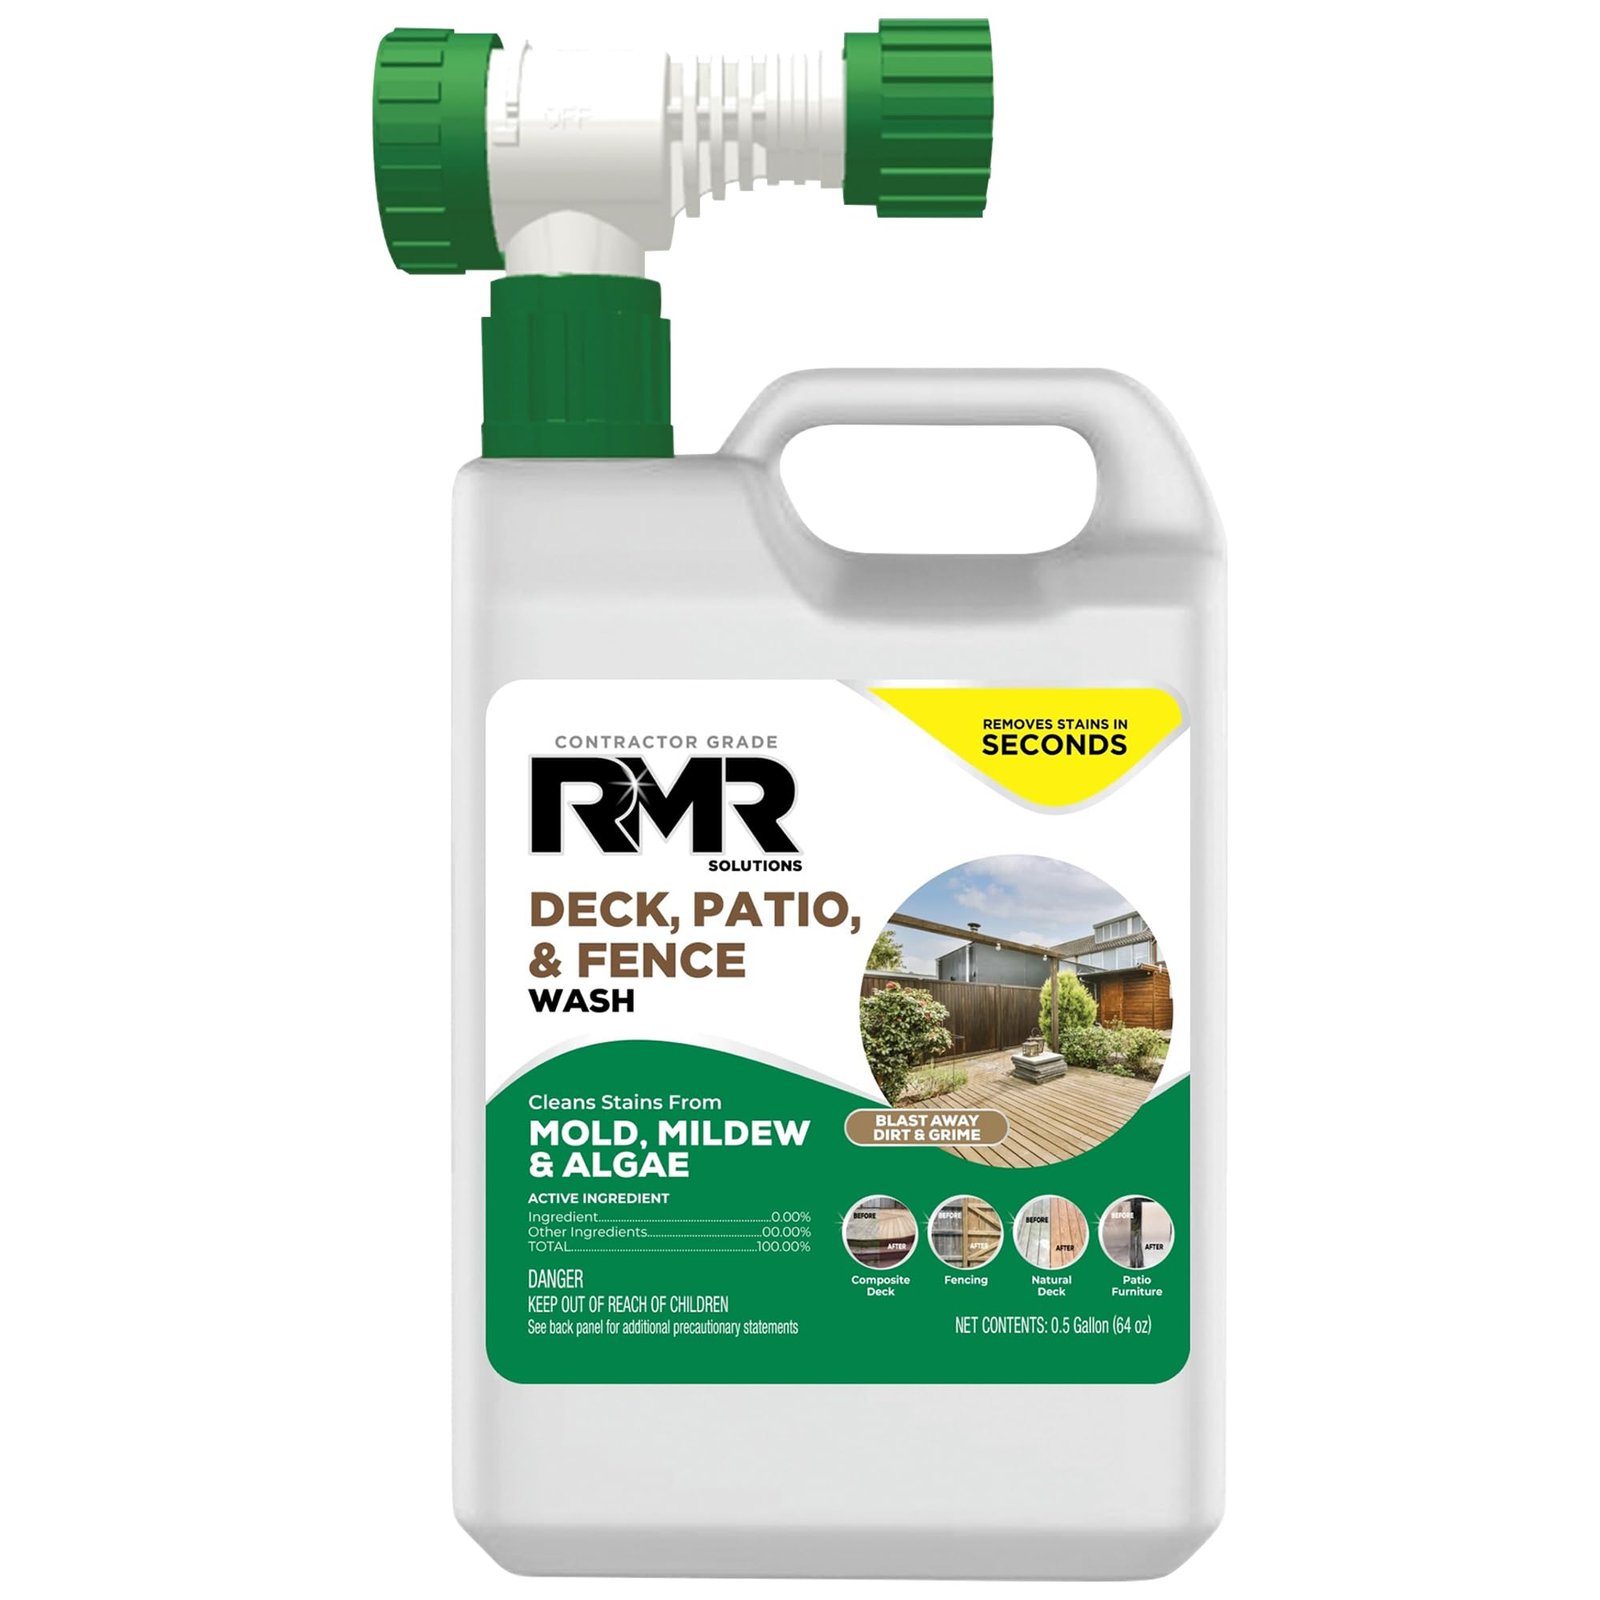
A pressure washer dramatically speeds up vinyl fence cleaning but requires care. Use these settings: 1,200–1,500 psi maximum (most residential pressure washers run 1,800–2,300 psi — dial yours down or use the lower setting), 40-degree fan nozzle tip (the white tip on most sets), and maintain at least 12 inches of standoff distance from the vinyl surface. Use wide, sweeping horizontal strokes from top to bottom. Never concentrate the stream on a single spot — vinyl will crater and crack. Don’t direct the stream into seams between panels or into post tops, as water can infiltrate and eventually cause mold inside hollow posts.
How Often to Clean a Vinyl Fence
For most homeowners: a full cleaning once per year (spring or fall) keeps a vinyl fence looking great. If your fence is in a shaded, damp area prone to algae, clean twice yearly and apply 303 Aerospace Protectant after cleaning to create a surface that resists biological adhesion. A quick rinse with a hose after heavy dust storms or pollen season takes 10 minutes and prevents buildup from baking onto the surface in summer heat.
Pro Tips and Common Mistakes
- Never use chlorine bleach: It yellows vinyl and weakens the PVC over time. Oxygen bleach gives the same biological kill power without the damage.
- Protect nearby plants: Cleaning solution runoff can harm grass and garden plants below the fence line. Wet your plantings thoroughly before you start and rinse them immediately after you’re done to dilute any solution that drips or runs off.
- Work on a cloudy day: Direct hot sun dries cleaning solution before it can dwell and work. Overcast days give you more working time and prevent the solution from leaving residue streaks as it dries.
- Don’t power-wash the post caps off: Many vinyl fence post caps are press-fit, not screwed. High-pressure streams directed straight down into a post cap can pop them off. Clean caps with a sponge or cloth instead.
- Apply protectant after cleaning: A coat of 303 Aerospace Protectant after cleaning adds UV blockers that slow future oxidation and create a slicker surface that dirt and algae can’t cling to as easily.
Troubleshooting
My White Vinyl Fence Still Looks Yellow After Cleaning
Yellowing that persists after thorough washing is usually oxidation or chemical damage from previous chlorine bleach use — neither is reversed by cleaning alone. Try a plastic polishing compound (Meguiar’s PlastX) applied with a cloth in circular motions to remove the yellowed surface layer. If the yellowing is deep into the material (caused by years of UV or bleach), the fence may need a vinyl paint or coating designed for exterior PVC to restore its appearance.
Algae Returns Within Weeks of Cleaning
Rapid algae regrowth indicates a shading problem — the fence section stays damp because sunlight can’t dry it. Trim overhanging branches to increase sunlight. After cleaning, apply an oxygen bleach solution at double strength and let it dwell 20 minutes before rinsing — this kills spores deeper into the surface. Then apply 303 Aerospace Protectant, which creates a surface that biological material struggles to adhere to.
There Are Scratches on the Vinyl After Cleaning
Scratches from cleaning are almost always caused by: abrasive scrubbers (replace with soft-bristle nylon), grit trapped in the cleaning cloth (rinse cloths frequently), or too-narrow a pressure washer tip held too close. Light surface scratches can be minimized with PlastX polishing compound. Deep gouges are permanent — avoid them by using only soft materials on vinyl.
Frequently Asked Questions
Can I use bleach to clean a vinyl fence?
Avoid chlorine bleach (Clorox-type) — it degrades vinyl over time, causing yellowing and brittleness. Use oxygen bleach (OxiClean) instead, which is equally effective at killing algae and mildew but is safe for vinyl, surrounding plants, and concrete hardscape.
What is the best cleaner for a vinyl fence?
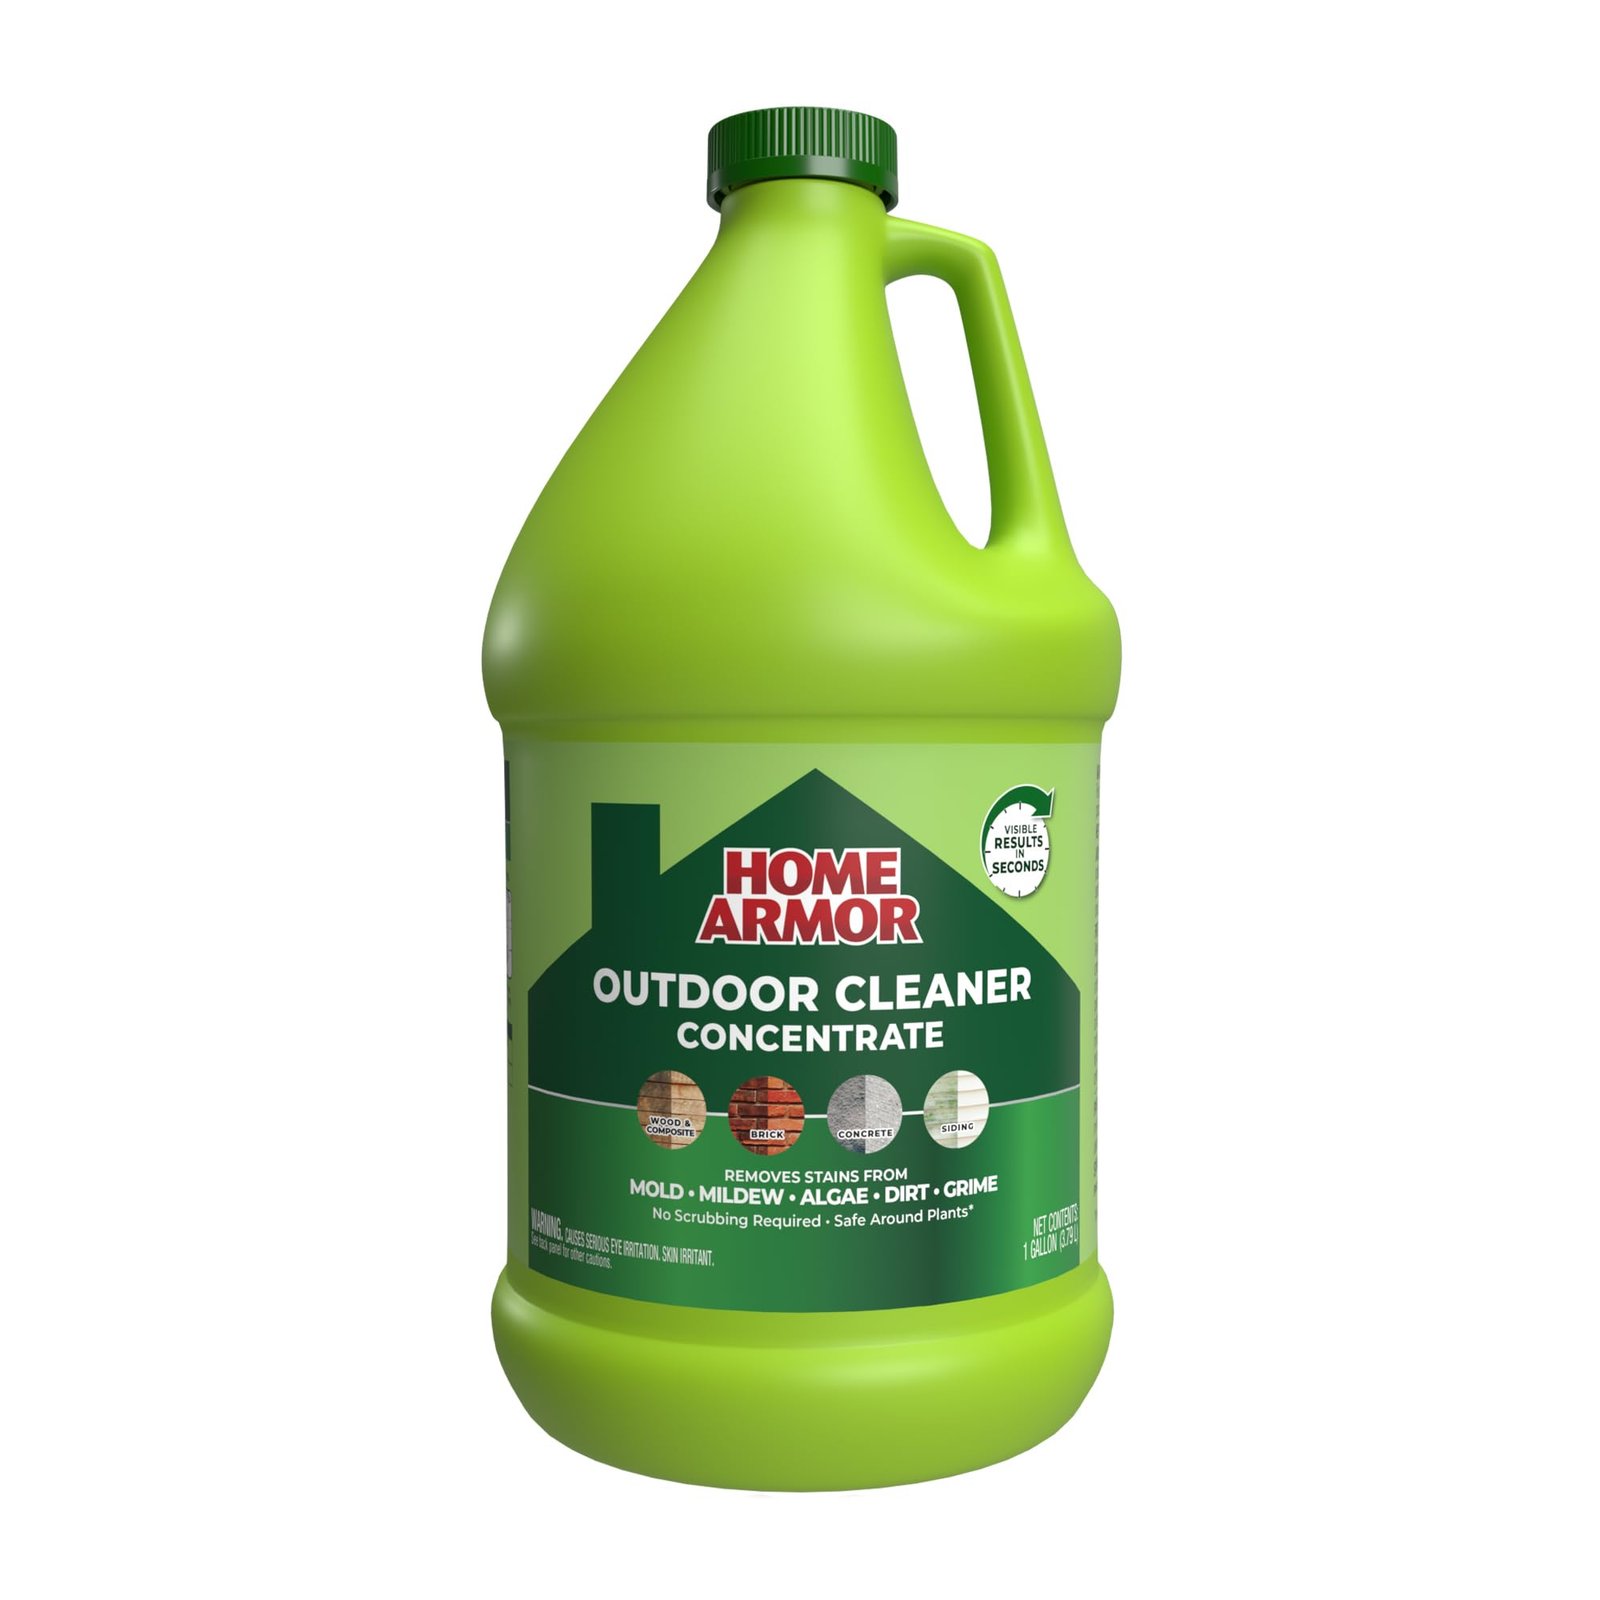
For routine cleaning: dish soap and water. For algae and mildew: oxygen bleach solution (1/2 cup per gallon of water) or a 1:1 white vinegar and water mix. For oxidation: a plastic polishing compound followed by a UV protectant. Dedicated vinyl fence cleaner products (available at home improvement stores) work well but aren’t necessary — the DIY solutions above are equally effective and far cheaper.
Will a pressure washer damage a vinyl fence?
It can if used incorrectly. Keep pressure below 1,500 psi, use a 40-degree wide fan tip, maintain at least 12 inches of standoff distance, and keep the nozzle moving. Used correctly, a pressure washer removes heavy dirt and algae from a long vinyl fence quickly and thoroughly with no damage.
How do I prevent algae from growing on my vinyl fence?
Algae grows in shaded, damp conditions. Increase sunlight exposure by trimming overhanging branches. After cleaning, apply 303 Aerospace Protectant, which inhibits biological adhesion. For persistent shaded areas, apply an oxygen bleach wash solution annually as a preventive treatment before algae can establish.
Can I paint a vinyl fence that has yellowed beyond cleaning?
Yes — there are paints and coatings specifically formulated for exterior PVC/vinyl surfaces. Clean and lightly sand the fence first (fine-grit sandpaper to create adhesion), then apply a vinyl-bonding primer before topcoating with a vinyl-safe exterior paint. Standard exterior latex paint does not adhere well to vinyl without the proper primer.
Conclusion
Cleaning a vinyl fence is largely a matter of using the right product for the right stain type and giving your cleaner enough dwell time to do its work. Dish soap handles routine dirt, oxygen bleach handles biological stains, and plastic restorer handles oxidation — between those three, you can tackle anything that grows or builds up on vinyl. One thorough cleaning per year, followed by a coat of UV protectant, will keep your vinyl fence looking fresh for decades. For other outdoor maintenance projects, see our guide on How to Clean Anti-Freeze Off a Garage Floor.
