Building a dance floor — whether for a basement, garage, backyard, or wedding — is a weekend project that rewards careful planning. The secret to a great dance floor is surface smoothness, slight flex underfoot, and secure panel-to-panel connections. This guide covers how to build an indoor floating dance floor using plywood and hardwood panels, plus a separate section on building a temporary outdoor dance floor on grass or a patio.
What You’ll Need
Tools
- Tape measure and chalk line
- Circular saw or table saw
- Drill and bits
- Orbital sander (60, 80, 120-grit)
- Paint roller and tray
- Rubber mallet
- Knee pads
- Safety glasses
Materials — Indoor Dance Floor
- 3/4-inch tongue-and-groove plywood subfloor panels (base layer)
- 3/8-inch or 1/2-inch hardwood plywood or solid hardwood tongue-and-groove boards (top layer)
- Construction adhesive (for subfloor layer)
- 2-inch flooring screws or ring-shank nails
- Foam underlayment (6mm EVA foam — provides shock absorption and slip between concrete and wood)
- Polyurethane floor finish (water-based, 3–4 coats)
- Wood filler (for seams)
- Finishing nails or pneumatic stapler for top layer
Materials — Outdoor Temporary Dance Floor
- Interlocking modular dance floor tiles (polypropylene or hardwood veneer over polypropylene base) OR
- 3/4-inch pressure-treated plywood panels (for a budget outdoor floor)
- Ground cover tarp (moisture barrier)
- Double-sided tape or panel connector clips
- Portable LED edge lighting (optional)
Safety Precautions
Dance floors must be completely smooth — any protruding screw head, raised seam, or rough patch is a tripping hazard on a moving dance floor. Before finishing, run your hand across every square foot and sand down any imperfections. For outdoor floors on grass, ensure the ground underneath is level and firm — a soft spot or slope under a panel can cause it to rock, twist an ankle, or tip over. Always use non-slip finish or add anti-slip texture for outdoor applications where rain exposure is possible.
Choosing the Right Dance Floor Size
A common rule of thumb is 4.5 square feet per dancer for social dancing (swing, salsa, ballroom) or 9 square feet per dancer for active performances. For a backyard party of 50 guests where half will dance at any given time, a 12 x 12-foot floor (144 sq ft) is a comfortable minimum. Wedding planners typically recommend 3 square feet per guest total. Round up to the next 4-foot increment since standard plywood is 4×8 feet — this minimizes waste cuts.
How to Build an Indoor Dance Floor
Step 1: Prepare the Subfloor Surface
The existing floor — whether concrete, tile, or wood subfloor — must be clean, dry, and level before you build on top of it. Sweep and vacuum thoroughly. Check for high spots greater than 3/16 inch over 10 feet with a long straightedge — grind them down or fill low spots with floor leveling compound. Any unevenness in the substrate will telegraph through your dance floor panels and cause squeaks or rocking.
If building on concrete, check for moisture by taping a 12×12-inch square of plastic film to the floor and sealing the edges with tape. Leave it 24 hours — if condensation forms underneath, you have a moisture problem that must be addressed before laying any wood floor system.
Step 2: Lay the Foam Underlayment
Roll out 6mm EVA foam underlayment across the entire dance floor footprint, butting edges tightly with no gaps. The foam serves two purposes: it provides the slight “spring” underfoot that professional dancers prefer, and it creates a moisture and acoustic break between the concrete and the wood panels. Tape seams with underlayment tape — don’t overlap the foam (overlaps create high spots).
Step 3: Lay the First (Subfloor) Plywood Layer
Starting from the center of the room (or the center of your planned dance floor footprint), lay 3/4-inch tongue-and-groove plywood panels with joints staggered — offset each row by at least 24 inches from the row below, like a brick pattern. This staggering is critical: aligned joints create a weak seam that will flex and eventually squeak under dancing loads. Fasten panels with 2-inch flooring screws every 8 inches along the edges and every 12 inches in the field. Countersink all screw heads below the panel surface.
Step 4: Sand the Subfloor Layer Flat
Using a belt sander or orbital sander, sand across all panel seams until they are perfectly flush. Start with 60-grit to knock down any raised edges, then 80-grit to smooth. Fill any gaps at seams with wood filler, allow to dry, and sand flush again. Run your palm across every seam — you should not feel any edge at all. This step is where most DIY dance floors succeed or fail.
Step 5: Install the Top Hardwood Layer
The top layer is what dancers actually feel. For a premium floor, use 3/4-inch solid tongue-and-groove hardwood (maple is the professional standard for dance floors — it’s hard, tight-grained, and finishes beautifully). For a budget-friendly option, 1/2-inch hardwood veneer plywood with a maple face works well. Install the top layer perpendicular to the subfloor layer — this cross-grain orientation significantly increases rigidity. Nail or staple through the tongue of each board using a flooring nailer or pneumatic stapler. Again, stagger all end joints.
Step 6: Sand the Top Layer
Sand the completed top layer with a drum sander (rental equipment): start with 60-grit diagonally across the grain to remove milling marks, then 80-grit with the grain, then 100-grit with the grain. Follow up with an edge sander for the perimeter. Vacuum all dust thoroughly between grit changes. The final surface should be smooth and uniform with no sanding swirls visible.
Step 7: Apply Polyurethane Finish
Apply a minimum of 3 coats of water-based polyurethane floor finish (oil-based also works but takes much longer to dry between coats). Use a lambswool applicator or a wide foam roller — never a brush, which leaves streaks on large surfaces. Lightly sand with 220-grit screen between coats (after the first and second coat only) and vacuum all dust before the next coat. Allow the final coat to cure fully — water-based poly needs 24 hours before light foot traffic and 7 days before heavy dancing loads. The finish level you choose matters: satin or semi-gloss is standard for dance floors. High-gloss looks great but shows every scuff; matte absorbs too much light.
How to Build a Temporary Outdoor Dance Floor
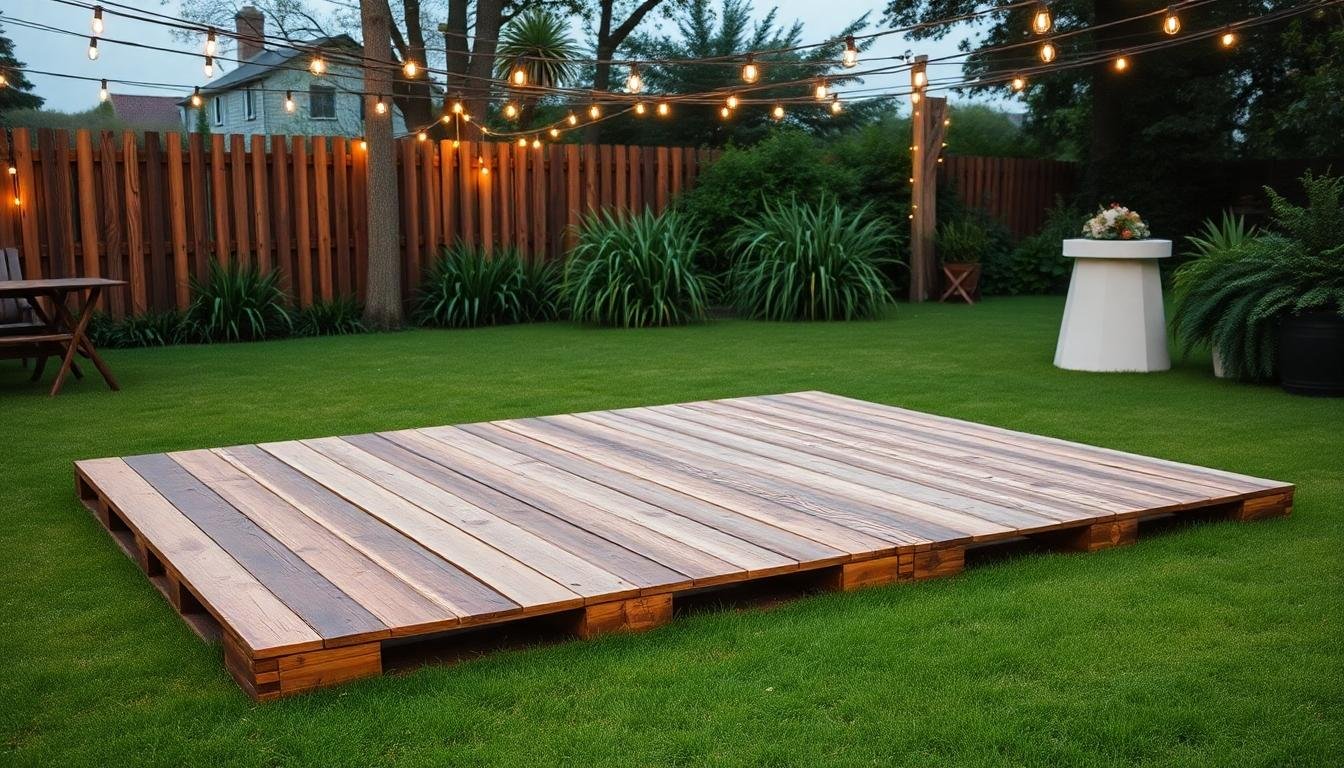
Outdoor dance floors need to handle uneven ground, moisture, and the need to pack up and store after the event. There are two main approaches: interlocking modular tiles (fastest, cleanest) and plywood panels (most budget-friendly).
Step 1: Prepare the Ground
The ground must be as flat and firm as possible. On grass, use a lawn roller to firm the surface, and mow the grass as short as possible the day before. On dirt, tamp the area flat and rake it level. On a patio or deck, sweep clean. Check the surface with a 4-foot level — any slope greater than 1/2 inch over 4 feet will cause panels to rock. For sloped ground, build up the low side with firmly tamped compacted fill or use adjustable-height leg systems available with commercial modular tile systems.
Step 2: Lay a Ground Cover Tarp
Cover the entire floor footprint with a heavy-duty poly tarp. This protects the underside of your floor panels from ground moisture and prevents grass from pushing up between panels during use. Use landscape stakes at the corners to hold the tarp flat. Overlap tarp sections by at least 12 inches and tape seams to prevent shifting.
Step 3A: Modular Tile Method
Interlocking polypropylene dance floor tiles (brands include StayLock, Greatmats, and SnapFloor) click together without tools. Lay starting from one corner, clicking each tile into the previous one. Most tiles are 12×12 inches — plan your layout so you don’t have tiny slivers at the edges. The raised underside of polypropylene tiles allows air circulation and handles uneven ground better than flat plywood panels. For a premium look, choose tiles with a hardwood veneer top surface. Finish the perimeter with beveled edge strips (included in most kits) to eliminate the tripping ledge where the floor meets the ground.
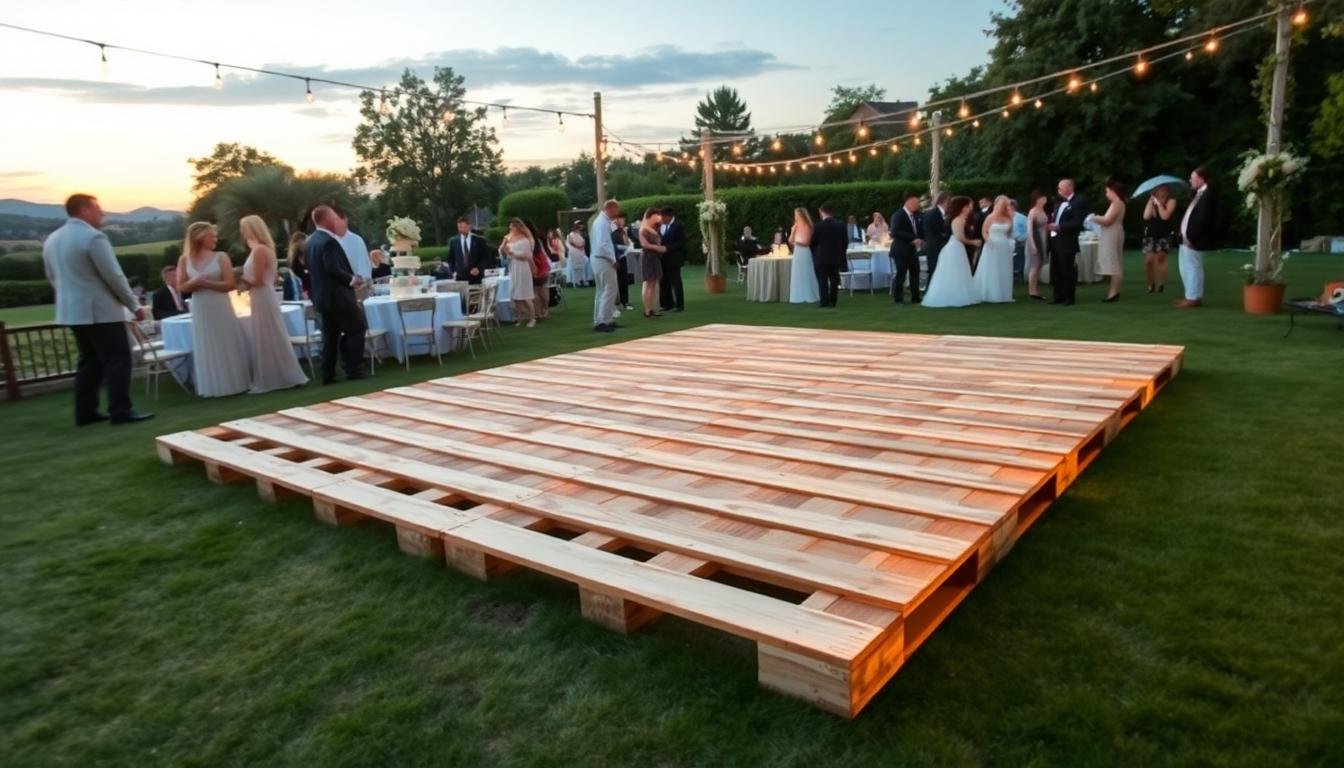
Step 3B: Plywood Panel Method
Cut 3/4-inch pressure-treated plywood into uniform 4×4-foot panels (half sheets). Sand all edges smooth and round all corners slightly with a sander — sharp plywood corners are foot hazards. Lay panels in a staggered brick pattern over the tarp. Secure adjacent panels to each other using surface-mount connector plates (available at hardware stores) or Z-clips that bridge the panel joint on the underside. This prevents panels from separating during dancing. Finish the top surface with 2 coats of polyurethane or exterior deck stain/sealer to prevent splinters and moisture absorption.
Step 4: Secure the Perimeter
The outer edges of an outdoor dance floor must be beveled or have a smooth transition to the ground — not a sharp step-up edge. For plywood panels, cut 45-degree beveled ramp strips from 3/4-inch plywood and fasten them to the perimeter panels. These ramp strips prevent the tripping hazard of stepping onto the floor edge and also prevent panels from sliding outward under lateral forces (salsa, swing dancing).
Step 5: Test the Floor Before the Event
Walk the entire floor and bounce on each panel section. Every panel should be firm with no rocking or flex. Check all connector plates and clips. Dance a few steps across every corner of the floor — any rocking section must be releveled or shimmed before guests arrive. Add additional ground stakes or weights around the tarp perimeter if wind is forecast.
Pro Tips and Common Mistakes
- Stagger all panel joints at every layer: Aligned joints create weak seams that telegraph through the finish and eventually squeak and flex under dancing loads. Every row must be offset by at least 24 inches.
- Never skip the moisture check on concrete: One wet season will ruin a wood dance floor laid directly on a damp slab. The plastic film test takes 24 hours and can save you thousands in rework.
- Use maple, not pine, for the top dance layer: Softwood pine dents and mars quickly under high heels and repeated impact. Maple (Janka hardness: 1,450 lbf) is the industry standard for dance floors for good reason.
- Apply at least 3 coats of poly, not 2: Two coats looks fine initially but wears through at high-traffic pivot points within months. Three coats provides a durable base; four is better for high-use floors.
- For outdoor floors: never leave plywood panels flat on damp ground without a tarp: One rainy night will cup the panels and make them impossible to lay flat again.
Troubleshooting
The Floor Squeaks When Dancers Move
Squeaks on a new dance floor almost always come from panel seams rubbing against each other or against the subfloor layer below. Inject powdered graphite or talc into the squeaky seam using a squeeze bottle applicator — this lubricates the joint without staining the finish. If squeaks persist, the seam needs to be re-fastened: drive 3-inch screws through the top layer and subfloor layer simultaneously at the squeaky seam.
The Finish Is Peeling or Clouding
Finish failure (peeling, bubbling, clouding) after polyurethane application indicates either: moisture in the wood at time of finishing, contamination (dust, oil, or old finish residue), or application in temperatures below 55°F or above 90°F. Sand back to bare wood, ensure the wood moisture content is below 12% (test with a wood moisture meter), clean with tack cloth, and refinish in proper temperature conditions.
Outdoor Panels Are Cupping or Warping After One Season
Cupping means moisture got under the panel — the bottom face absorbed moisture and swelled while the top stayed dry (or vice versa). For pressure-treated plywood, this is less common but still happens if the panels are stored flat on the ground without air circulation. Store panels vertically on edge between uses, and ensure both faces are sealed with polyurethane or deck sealer — sealing only the top face causes differential moisture movement and cupping.
Frequently Asked Questions
What is the best wood for a dance floor?
Hard maple is the professional standard — it’s used in NBA basketball courts and competitive ballroom dance floors worldwide. It provides the right hardness (resists denting), has a tight, even grain that takes finish uniformly, and has slight natural flex that’s easy on joints. For budget builds, birch plywood with a maple veneer face is a good alternative.
How thick should a dance floor be?
A two-layer system works best: 3/4-inch plywood subfloor plus 3/4-inch solid hardwood top layer = 1.5 inches total. This thickness provides rigidity without excessive weight, and the double-layer construction eliminates flex and squeak. Single-layer floors (3/4-inch only) are acceptable for light use but not for sustained heavy dancing.
Can I build a dance floor on carpet?
You can, but it’s not ideal — carpet underneath a dance floor compresses unevenly and causes rocking panels. If you must build over carpet, use the thickest, most rigid panels possible (3/4-inch minimum) and screw them together tightly so they act as one rigid unit rather than individual panels. A better option: cover the carpet area with 1/2-inch hardboard panels first to create a firm substrate, then lay your dance floor on top.
How do I protect a dance floor from high heels?
High heels — especially stilettos — concentrate enormous pressure (up to 1,000 psi) on tiny contact areas and can dent even maple floors. Apply a minimum of 4 coats of high-traffic polyurethane, and consider a commercial floor finish rated for high-heel use. Some event venues use a thin polycarbonate dance floor overlay specifically for events with high-heel traffic.
How do I make an outdoor dance floor non-slip?
Add anti-slip additive (fine aluminum oxide or silica sand particles) to your polyurethane topcoat before application — mix thoroughly and apply as normal. This creates a slightly textured surface that dramatically improves traction when wet. Alternatively, use a dedicated exterior anti-slip deck coating as your topcoat on outdoor plywood panels.
Conclusion
Building a dance floor comes down to three fundamentals: a flat and firm substrate, staggered panel joints at every layer, and a thorough polyurethane finish with no rough spots or seams. Whether you’re building a permanent basement studio or a one-weekend backyard party floor, investing time in surface preparation pays off every time someone steps onto it and says it feels like a real dance floor. For related projects, see our guide on How to Install Vinyl Flooring and How to Repair a Concrete Floor for concrete subfloor prep.
