
Adjusting door hinges fixes most common door problems — sagging, rubbing, not latching, or swinging open on its own — without replacing the door or calling a carpenter. In most cases, all you need is a screwdriver and 20 minutes. The fix you use depends on the symptom your door is showing, so this guide starts by helping you diagnose the problem first, then walks you through each adjustment method step by step.
What You’ll Need
| Tools | Materials (if needed) |
|---|---|
| #2 Phillips screwdriver (manual, not drill) | Longer #9 or #10 wood screws (3-inch) |
| Flat-head screwdriver | Wooden toothpicks or golf tees |
| Hammer | Wood glue |
| Needle-nose pliers | Cardboard shims (cereal box thickness) |
| Utility knife or chisel (for mortise work) | Sandpaper (120-grit) |
| Tape measure | Hinge pins (replacement, if bent) |
| Pencil | Petroleum jelly or bar soap (lubrication) |
Safety & Precautions
- Support the door before removing hinge pins. A full interior door weighs 25–50 lbs. If you need to remove a hinge pin to work on it, have a second person hold the door or brace it with a wedge underneath to prevent it from falling.
- Don’t use a power drill to drive hinge screws. It’s easy to over-torque and strip the screw head or the wood threads — use a manual screwdriver for control, especially when driving longer replacement screws into old holes.
- Check for hidden wiring before drilling or chiseling. Doors next to electrical panels or older homes with unusual wiring runs — confirm no wiring runs through the door frame area before drilling new holes.
- Wear safety glasses when chiseling. Mortise adjustment with a chisel can throw wood chips at eye level.
Step 1: Diagnose Your Door Problem First
Before touching a single screw, spend 2 minutes diagnosing exactly what your door is doing. The fix is completely different depending on the symptom. Here’s how to read the door:
Door Sags and the Top Corner Rubs the Frame
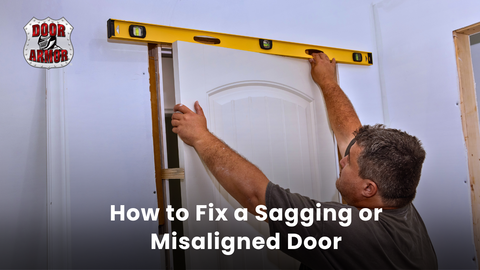
Open the door halfway and look at the top corner on the latch side. If there’s a gap at the top and the door drags or rubs at the bottom corner of the latch side, the door has sagged. This is almost always caused by loose or stripped screws on the top hinge. The top hinge carries most of the door’s weight and is the first to fail.
Door Rubs or Sticks Along the Top Edge
If the door rubs across the full top edge or high up on the latch side, the hinges may be set too deeply into the mortise (recessed too far into the frame or door), or the frame itself has shifted. This causes the hinge side to stand proud — pushing the door top into the frame.
Door Won’t Latch — Gap Is Too Large on Latch Side
If there’s a visible gap between the door and the stop on the latch side and the door won’t close tight enough to catch the latch, the door has shifted away from the frame. The hinges are either loose, or the door has swollen slightly.
Door Swings Open or Closed on Its Own
A door that won’t stay put — either creeping open or swinging shut by itself — usually has a hinge pin that is slightly bent, or the door frame is slightly out of plumb. Gravity does the rest.
Door Has Uneven Gap All the Way Around
If the gap between the door and the frame is wider on one side than the other, or not parallel, the door is tilted in its frame. This typically requires adjusting both the depth of the hinge mortises and/or the angle of one or more hinges.
How to Adjust Door Hinges: Step-by-Step by Symptom
Step 1 — Tighten All Hinge Screws First (Always Start Here)
Regardless of the symptom, your first action on any door hinge adjustment is tightening every hinge screw on both the door and the door frame. This fixes the majority of door problems instantly. Use a manual #2 Phillips screwdriver — not a drill. Turn each screw clockwise until it’s genuinely snug. If a screw spins freely without biting (it’s stripped the wood), move to Step 2 below before anything else. After tightening, test the door. If the problem is gone, you’re done. If it persists, continue to the relevant section below.
Step 2 — Fix Stripped Hinge Screw Holes
A screw that spins without gripping has worn out the wood fibers in the hole. This is the number-one reason doors sag. The fix is to rebuild the hole so new screws have solid material to bite into:
- Toothpick method (most common fix): Dip 3–4 wooden toothpicks in wood glue and pack them into the stripped hole. Break them off flush with the surface. Let the glue dry for 30 minutes. Drive your original screw back in — it will now grip the toothpicks and wood glue.
- Longer screw method (for sagging doors): Replace the top two screws on the top hinge (frame side) with 3-inch #9 or #10 wood screws instead of the standard 3/4-inch or 1-inch screws. These longer screws drive past the door frame and into the structural framing stud behind it — giving you a solid anchor that handles the full weight of the door. This is the single most effective fix for a sagging door.
After fixing the stripped holes, tighten all screws and retest the door before proceeding.
Step 3 — Adjust Hinge Depth With Cardboard Shims (Door Rubs at Top)
If your door rubs at the top after tightening screws, the hinge on the problem side is sitting too deep in its mortise — pushing that side of the door into the frame. Fix this by shimming the hinge out slightly:
- Remove the screws from the hinge leaf that’s sitting too deep (usually the top hinge on the frame side).
- Cut a piece of cardboard (cereal box material is perfect — about 1/32″ thick) to the exact size of the hinge leaf.
- Place the cardboard shim in the mortise behind the hinge leaf.
- Replace the hinge and re-drive all screws.
- Test the door. If it still rubs, add a second layer of cardboard shim. If it now has too big a gap, the shim is too thick — trim it down.
The goal is a consistent 1/8-inch gap (roughly the thickness of a nickel) between the door and the frame on all sides.
Step 4 — Deepen a Hinge Mortise With a Chisel (Door Has a Large Gap on One Side)
The opposite problem from Step 3: if the hinge sits too far out from the door or frame (not recessed enough), the door won’t close fully on that side. You need to deepen the mortise:
- Remove the hinge leaf.
- Score around the mortise outline with a utility knife to prevent wood from tearing outside your target area.
- Use a sharp chisel at a low angle to carefully pare away thin layers of wood — work across the grain first, then with the grain. Remove only as much as needed — start with 1/32″ at a time.
- Test-fit the hinge after each pass. You want the hinge leaf to sit perfectly flush with the surrounding wood surface.
- Replace the hinge, drive the screws, and test the door.
Step 5 — Bend the Hinge Knuckle to Stop a Door From Self-Moving
If your door swings open or closed on its own and the frame is plumb (confirmed with a level), the fix is to very slightly bend the barrel of the middle hinge to add friction to the pivot point. This is a controlled, minor bend — not a dramatic reshape:
- Open the door to 90 degrees and brace it so it won’t move.
- Place a flat-head screwdriver against the hinge knuckle (the barrel of the hinge) at a slight outward angle.
- Tap the screwdriver handle gently with a hammer — just 2–3 light taps — to create a very slight inward bend in the knuckle. The goal is to add just enough friction that the hinge pin doesn’t slide freely.
- Test: open and close the door. It should now hold position. Repeat with 1–2 additional light taps if needed.
Alternative: Remove the hinge pin, place it on a hard surface, and use a hammer to put a very slight curve in the pin itself (a barely perceptible bend). Reinstall. The bent pin creates friction against the barrel and holds the door in position.
Step 6 — Adjust an Adjustable Hinge (Euro-Style or 3-Way Adjustable)
If your door has European-style adjustable hinges — common on cabinet doors, newer interior doors, and all uPVC exterior doors — the process is entirely different and much easier. These hinges have visible adjustment screws that move the door in three directions:
- Side-to-side (horizontal): Usually a screw on the side of the hinge mounting plate. Turning clockwise moves the door toward the hinge side; counterclockwise moves it away.
- Up and down (vertical): A screw underneath or on the bottom of the hinge arm. Loosening it lets you slide the door up or down, then retighten.
- In and out (depth): A screw at the back of the hinge arm. This adjusts how far the door sits in or out of the frame.
Make adjustments in small turns (quarter-turn increments) and test after each adjustment. You don’t need to remove any screws or the door for adjustable hinge work — it’s entirely screw-turn adjustments with a Phillips screwdriver.
Step 7 — Lubricate Squeaky or Stiff Hinges
A hinge that squeaks, feels stiff, or has any visible rust needs lubrication as part of the adjustment process. Remove the hinge pin by tapping the bottom of the pin up with a flat-head screwdriver and hammer. Wipe the pin clean, then apply one of the following:
- Petroleum jelly (Vaseline): Best for interior hinges — long-lasting, no smell, won’t attract dust.
- Bar soap or wax: Rub the pin against a bar of soap. Works well and is a classic carpenter’s trick.
- 3-in-1 oil or WD-40: Fast application, but oil migrates and may drip onto flooring. Use sparingly on interior hinges.
- White lithium grease: Best for exterior hinges that need weather-resistant lubrication.
Reinstall the pin, open and close the door several times to work the lubricant into the barrel. Wipe off any excess from the hinge face.
Pro Tips From the Job Site
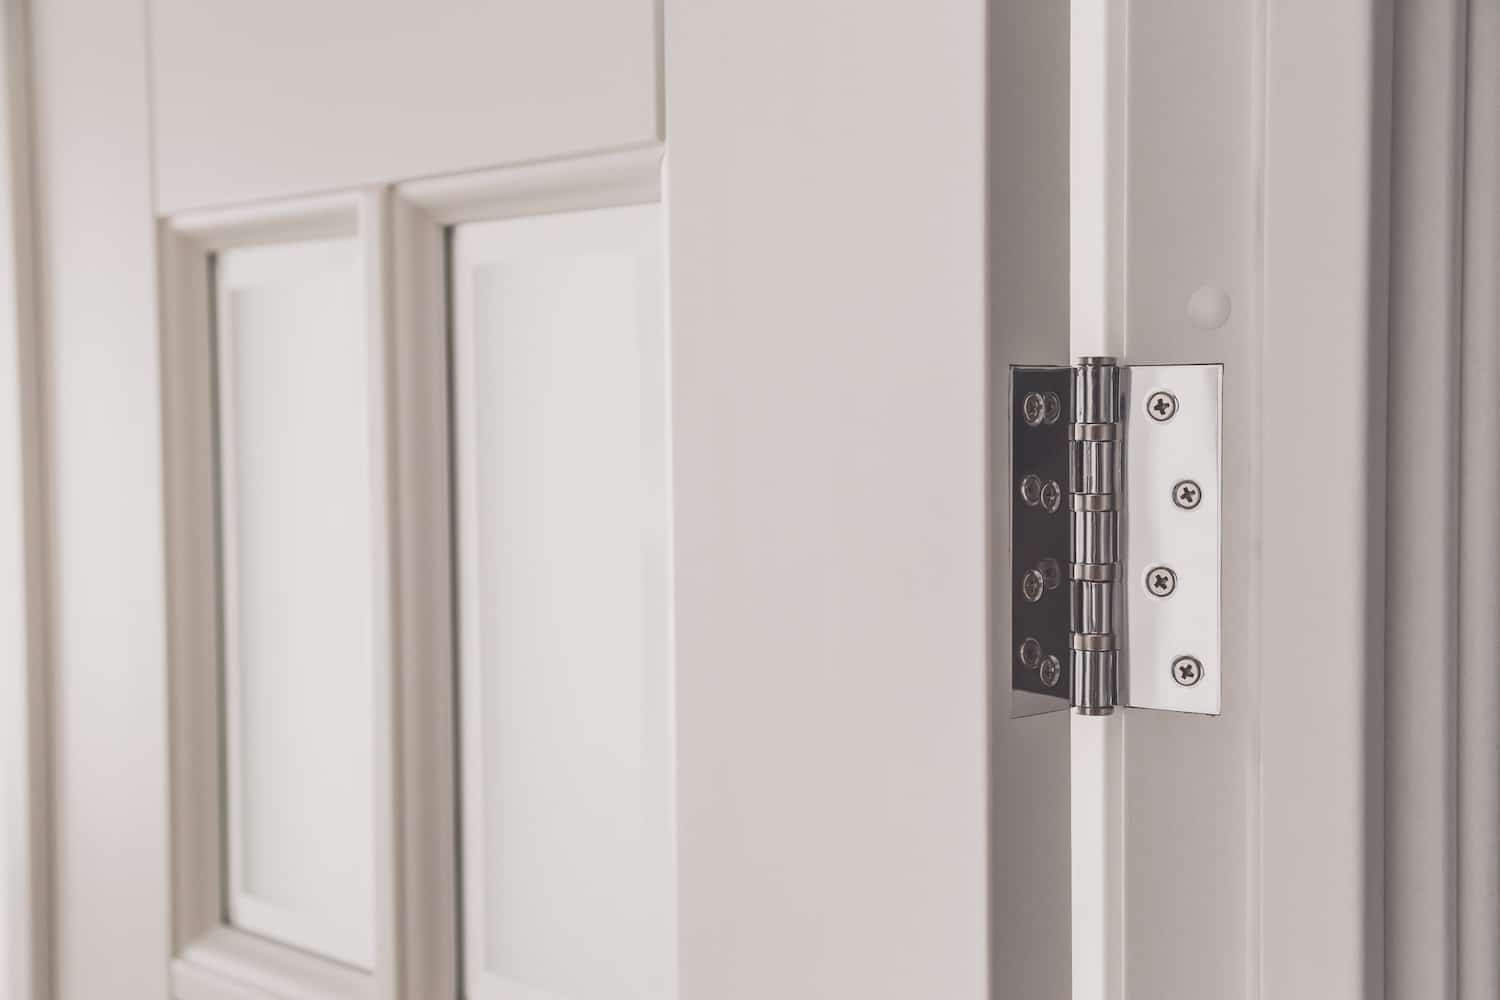
- The 3-inch screw trick solves 80% of sagging doors. Before doing anything else on a sagging door, replace the top two screws on the top hinge (frame side) with 3-inch screws that reach the stud. Most door sagging is a fastener problem, not a hinge problem.
- Always adjust the top hinge first. The top hinge carries 60–70% of the door’s weight. If you have to choose between fixing the top or bottom hinge, start at the top.
- Check the frame for plumb before shimming. Use a level on the hinge side of the frame. If the frame is out of plumb by more than 1/4 inch over the height of the door, shimming hinges is a temporary fix — the frame itself needs attention.
- Mark hinge positions before removing anything. Use a pencil to trace the outline of any hinge leaf before you remove it. This lets you replace it in exactly the same position.
- Test with the door fully closed and latched, not just swung shut. Push the door against the stop and verify the latch catches cleanly. A door that swings shut but doesn’t latch needs latch strike plate adjustment in addition to hinge adjustment.
- Seasonal swelling is different from a hinge problem. If your door sticks only in summer and swings freely in winter, the issue is wood expansion from humidity — not the hinges. Painting the top and bottom edges of a wood door seals out moisture and prevents seasonal sticking.
Troubleshooting: When Hinge Adjustment Isn’t Enough
The Door Still Doesn’t Latch After Adjusting Hinges
If the door aligns correctly with the frame but the latch bolt doesn’t line up with the strike plate hole, the strike plate needs to be moved or the hole elongated. Loosen the strike plate screws and shift the plate up, down, or toward the door stop as needed. If the misalignment is less than 1/8 inch, filing the strike plate opening with a metal file is faster than relocating the plate.
The Door Frame Is Visibly Warped or Twisted
If the door frame itself is bowed, twisted, or has shifted significantly (often visible as a gap that’s wide at the top and narrow at the bottom, or vice versa), hinge adjustments will only partially compensate. The frame may need shimming from behind, or in severe cases, removal and reinstallation. This is a carpentry repair that goes beyond hinge work.
The Door Has Been Painted Shut or Painted Over the Hinges
Old paint buildup on hinges causes stiffness and misalignment. Use a utility knife to score around the hinge edges and break the paint seal. For hinges fully buried in paint, remove them, soak in paint stripper, clean, and reinstall. While the hinges are off, strip any paint from the mortise as well — paint buildup in the mortise raises the hinge and throws off the door alignment exactly as if you’d over-shimmed it.
The Gap Adjustments Don’t Hold — Screws Keep Loosening
If your hinge screws keep backing out over time, the wood around the holes has deteriorated. The toothpick-and-glue repair in Step 2 is the right fix. For a more permanent solution, remove the hinge, fill the old holes completely with a two-part epoxy wood filler, let it cure fully (24 hours), then drill pilot holes and drive fresh screws. Epoxy filler is significantly stronger than the original wood fiber in old, soft, or damaged door frames.
Frequently Asked Questions
How do I stop my door from swinging open or closed by itself?
A self-moving door is almost always caused by either a slightly bent hinge pin or a door frame that’s out of plumb. First, check the frame with a level. If it’s plumb, the fix is to bend the hinge pin very slightly (remove it, place on a hard surface, and give it a barely perceptible tap with a hammer) to add friction. Alternatively, give the middle hinge knuckle 2–3 very light taps with a flat-head screwdriver and hammer to tighten the barrel slightly. Either method adds enough friction to hold the door in position.
Why does my door suddenly not close properly after years of being fine?
Three common causes: (1) Hinge screws have loosened over years of use — tighten them first. (2) The house has settled slightly, shifting the door frame out of square — a gradual process that’s common in houses more than 10–20 years old. (3) Wood has swollen from increased humidity (common in spring or after heavy rain). Identify which by checking whether the problem is seasonal (humidity) or consistent (settling/loose screws).
Can I adjust door hinges without removing the door?
Yes — in almost every case. Tightening screws, shimming, chiseling the mortise slightly, and bending the hinge pin can all be done with the door in place and on its hinges. You only need to remove the door if the hinge itself is damaged and needs to be replaced, or if you need to do significant mortise work on the frame-side hinge that requires unobstructed access.
How much of a gap should there be between a door and the frame?
The standard gap for an interior door is 1/8 inch (about 3mm) on the sides (hinge side and latch side) and top. The bottom gap depends on the flooring: 3/4 inch over hardwood or tile, 1/2 inch over carpet. These gaps allow the door to open and close freely with minor seasonal swelling without rubbing. A consistent, even gap on all sides is the benchmark for a properly hung and adjusted door.
How do I adjust door hinges to fix a door that rubs at the top on the latch side?
This is the classic sagging door symptom — the door has dropped at the latch side, so the top corner rubs the frame. The fix: first tighten all hinge screws, especially the top hinge. If the top hinge screws are stripped, replace the two frame-side screws with 3-inch screws that reach into the wall stud. This pulls the top of the door back into alignment. If tightening doesn’t fully fix it, add a cardboard shim behind the bottom hinge on the frame side — this tips the door slightly and lifts the latch-side top corner away from the frame.
Conclusion
Most door hinge problems come down to three things: loose screws, stripped screw holes, or a hinge that’s sitting at the wrong depth in its mortise. Start by tightening every hinge screw on both sides — that solves the majority of door issues in under 5 minutes. For sagging doors, replace the top hinge’s frame-side screws with 3-inch screws that reach the stud. For rubbing or misalignment, shim or deepen the mortise as needed. Work through the steps in order, test after each adjustment, and you’ll have a smooth-operating door without replacing a single part in most cases.
Next Step: If your door adjustment revealed a bigger gap problem at the floor level, check out our guide on How to Fix a Gap Between the Floor and the Wall. And if you’re hearing squeaks from the floor nearby, see How to Fix a Squeaky Floor for a fast DIY fix.
