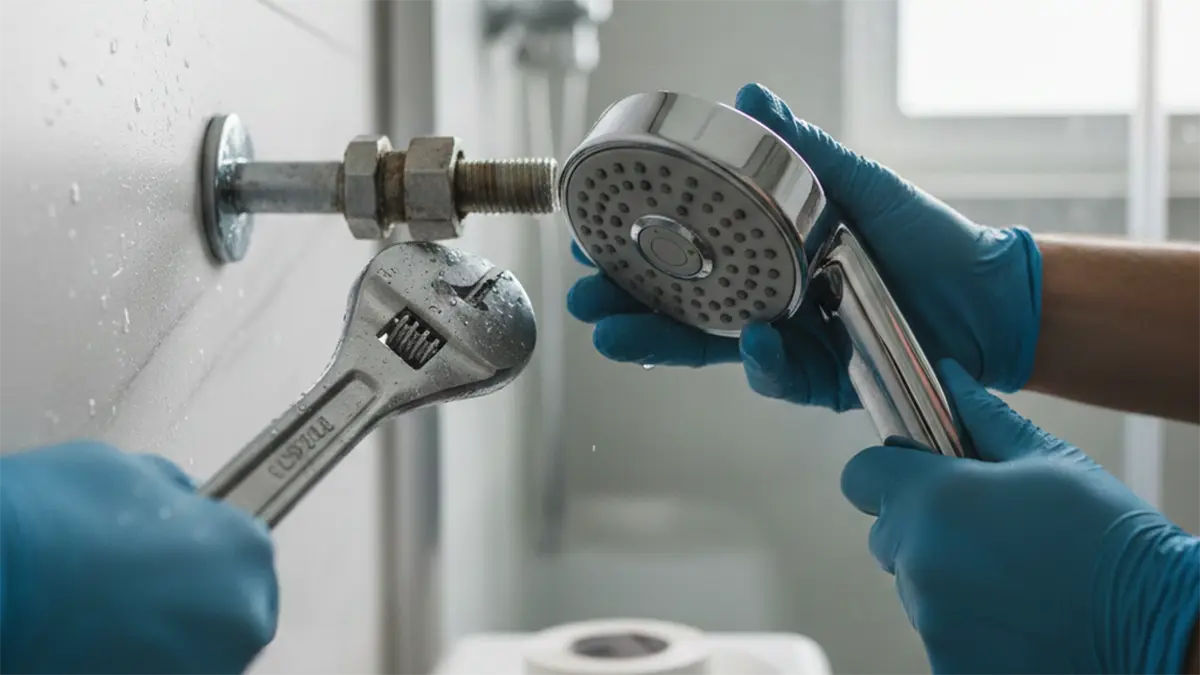
Replacing a shower head is a straightforward home improvement task that most homeowners can complete in under 30 minutes. The process typically involves unscrewing the old unit, thoroughly cleaning the threads on the shower arm, applying new plumber’s tape, and then securely screwing on the new shower head. This simple upgrade can significantly improve your shower experience.
- Gather essential tools like an adjustable wrench and plumber’s tape.
- Always turn off the water supply before starting.
- Clean the shower arm threads thoroughly for a good seal.
- Apply plumber’s tape clockwise for effective sealing.
- Hand-tighten the new shower head, then use a wrench for a final snug turn.
- Check for leaks after installation and tighten if necessary.
Why Upgrade Your Shower Head?
Upgrading your shower head offers several benefits beyond just aesthetics. A new shower head can improve water pressure, provide different spray patterns for a more customized experience, and even help conserve water with efficient designs. Over time, old shower heads can accumulate mineral deposits, leading to reduced performance and an unappealing look. A replacement can revitalize your bathroom and enhance your daily routine.
Gathering Your Tools and Materials
Before you begin, ensure you have all the necessary items on hand. Having everything ready will make the replacement process smooth and efficient. Most of these tools are common household items.
- New Shower Head: Choose one that fits your style and desired features.
- Adjustable Wrench or Pliers: For loosening and tightening the shower head.
- Plumber’s Tape (PTFE Tape): Essential for creating a watertight seal.
- Rag or Cloth: To protect finishes and wipe up any drips.
- Old Toothbrush or Small Wire Brush: For cleaning the shower arm threads.
- Optional: A small bucket to catch any residual water.
Essential Safety Precautions
While replacing a shower head is a low-risk DIY project, a few safety measures can prevent minor inconveniences or damage. Always prioritize safety to ensure a smooth and successful installation.
- Turn off the main water supply to your shower or the entire house before starting. This prevents unexpected water flow and potential flooding.
- Be careful when working with tools to avoid scratching your shower fixtures or slipping.
- If the old shower head is very stubborn, avoid excessive force that could damage the shower arm or plumbing behind the wall.
- Wear gloves if you have sensitive skin, especially when cleaning with any mild cleaning solutions.
How to Replace a Shower Head: A Step-by-Step Guide
Follow these steps carefully to ensure a proper and leak-free installation of your new shower head. Taking your time with each stage will yield the best results.
Turn Off the Water Supply
Locate the main water shut-off valve for your house or the specific valve for your bathroom. Turn it off completely to prevent water from flowing while you work. This is a crucial first step to avoid any mess.
Remove the Old Shower Head
Using an adjustable wrench or pliers, grip the base of the old shower head where it connects to the shower arm. Turn counter-clockwise to loosen it. If it’s stubborn, a little penetrating oil can help, but be gentle to avoid damaging the shower arm. Once loose, unscrew it by hand and set it aside.
Clean the Shower Arm Threads
Inspect the threads on the shower arm for any old plumber’s tape, mineral deposits, or debris. Use an old toothbrush or a small wire brush to thoroughly clean these threads. A clean surface is vital for a good seal with the new plumber’s tape and shower head.
Apply New Plumber’s Tape
Take your plumber’s tape and wrap it clockwise around the threads of the shower arm. Start at the end of the threads and wrap it 3-4 times, overlapping slightly. Wrapping clockwise ensures the tape tightens as you screw on the new shower head, rather than unraveling. Smooth the tape down to ensure it adheres well.
Install the New Shower Head
Carefully align the new shower head with the taped threads on the shower arm. Begin to screw it on by hand, turning clockwise. Make sure it’s straight and not cross-threaded. Hand-tighten until it’s snug.
Tighten with a Wrench (Gently)
Once hand-tight, use your adjustable wrench to give the new shower head an additional quarter to half turn. Do not overtighten, as this can strip the threads or crack the shower head’s plastic components. A snug fit is sufficient for a watertight seal.
Restore Water Supply and Check for Leaks
Slowly turn the water supply back on. Once the water is fully restored, turn on your shower and check carefully for any leaks around the connection point. If you notice any drips, turn off the water, tighten the shower head slightly more, and recheck. Repeat until no leaks are present.
Common Mistakes to Avoid
Even a simple task like replacing a shower head can go wrong if certain common pitfalls are not avoided. Being aware of these can save you time and frustration.
- Forgetting to Turn Off Water: This is the most common oversight, leading to a sudden spray of water. Always shut off the water supply first.
- Not Cleaning Threads: Old tape or mineral buildup prevents a proper seal, leading to leaks. Always clean the shower arm threads thoroughly.
- Wrapping Plumber’s Tape Counter-Clockwise: This causes the tape to unravel as you tighten the new shower head, making it ineffective. Always wrap clockwise.
- Overtightening: Applying too much force can strip the threads on the shower arm or crack the new shower head, leading to significant issues.
- Cross-Threading: Starting the new shower head crooked can damage the threads, making it difficult to achieve a secure, leak-free connection.
Troubleshooting Leaks and Other Issues
Even with careful installation, sometimes issues can arise. Most problems, especially leaks, are fixable with minor adjustments.
- Persistent Leaks: If a leak continues, it’s usually due to insufficient plumber’s tape or improper application. Remove the shower head, clean the threads again, apply 4-5 layers of new plumber’s tape clockwise, and re-install, ensuring it’s snug but not overtightened.
- Low Water Pressure: If your new shower head has unexpectedly low pressure, check if it has a flow restrictor. Many modern shower heads include these for water conservation, and they can sometimes be removed or adjusted according to manufacturer instructions.
- Shower Head Won’t Tighten: This could indicate stripped threads on either the shower arm or the new shower head. If the shower arm threads are damaged, it might require a professional plumber to replace the arm itself.
When to Call a Professional Plumber
While replacing a shower head is a common DIY task, there are situations where professional help is advisable. Knowing when to call a plumber can prevent further damage and ensure the job is done correctly.
- If the shower arm itself is loose, corroded, or damaged. This could indicate a problem with the plumbing inside the wall.
- If you encounter significant leaks that persist even after multiple attempts to re-tape and tighten the shower head.
- If the old shower head is seized onto the arm and cannot be removed without excessive force, which risks damaging the wall plumbing.
- If you’re uncomfortable working with plumbing or lack the necessary tools.
Frequently Asked Questions
How often should you replace a shower head?
There’s no strict rule, but it’s generally recommended to replace a shower head every 6-12 months if you live in an area with hard water, as mineral buildup can significantly reduce performance. Otherwise, replacing it every few years or when you notice decreased pressure or visible wear is a good practice.
Do I need plumber’s tape when replacing a shower head?
Yes, plumber’s tape (also known as PTFE tape or Teflon tape) is essential. It creates a watertight seal between the shower arm and the shower head, preventing leaks and ensuring a secure connection. Always apply it clockwise around the threads.
What tools are needed to replace a shower head?
You’ll primarily need an adjustable wrench or pliers to loosen and tighten the shower head, and plumber’s tape for sealing. An old rag or cloth is useful for cleaning and protecting surfaces, and a small brush can help clean the shower arm threads.
Can I replace a shower head without turning off the water?
It is strongly advised to turn off the water supply before replacing a shower head. While it might seem possible to do it quickly, failing to turn off the water can lead to an unexpected spray, a significant mess, and potential water damage.
What if my new shower head leaks after installation?
If your new shower head leaks, the most common cause is insufficient or improperly applied plumber’s tape. Turn off the water, remove the shower head, clean the threads, apply 4-5 fresh layers of plumber’s tape clockwise, and re-install, ensuring a snug but not overtightened fit.
Is replacing a shower head a difficult DIY task?
No, replacing a shower head is considered one of the simpler DIY plumbing tasks. With the right tools and a few basic steps, most individuals can successfully complete the replacement in a short amount of time, typically less than 30 minutes.
Conclusion
Replacing a shower head is a rewarding and straightforward DIY project that can significantly enhance your bathroom’s functionality and appearance. By following the steps outlined, gathering the right tools, and paying attention to crucial details like proper plumber’s tape application, you can achieve a leak-free and satisfying upgrade. Don’t hesitate to tackle this simple task to enjoy improved water pressure and a refreshed showering experience.
